Vanquish Pangloss Statue Guide
Get the Best of All Possible Worlds Achievement/Trophy with our handy guide to all the Pangloss Statues
5-1 Denoument

101: When you are in control, head all the way around the walkway, past the door controls, to the end where the statue will be on the ground, in the right hand corner.
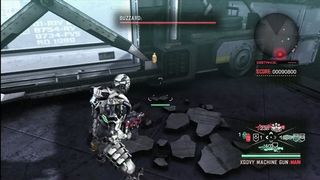
102: This statue is a bugger. When you enter the area with the Buzzard, head to the right wall where there is a scaffolding platform.Look behind it on the ground to see the statue well hidden on the ground there.
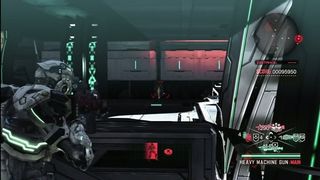
103: Once you exit the room with the Buzzard, you will come to a bridge that has two huge lasers firing across it. When you reach the other side of the bridge, head to the right and the statue will be against the far wall.
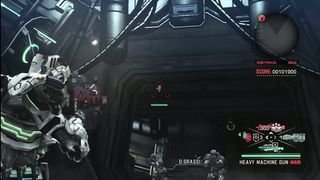
104: Once you head through the door to the control room, you will go down a long hallway will some small steps.At the far end will be another doorway with the statue sitting atop, just inside of it.
5-2 Soldier
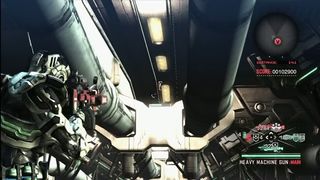
105: After the radio chat, head for the door with the red light in the center.When you reach it, turn around and look up to see the statue floating there.
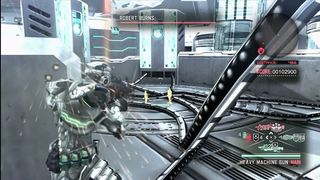
106: At the start of the boss fight as soon as you go through the door, make a right and there will be a ramp there leading down.When you reach the lower level, there will be two statues sitting on the ground.These two easy ones must be to make up for some of the incredibly devious ones.
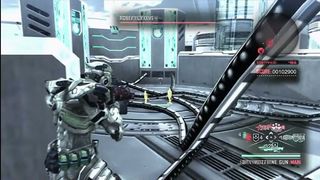
107: See the last statue location.

108: Once the railcar reaches the end of its trip, hop off and make your way down the ramp.Head to the right and look under the railcar beside yours to find the statue under there.
5-3 Deception
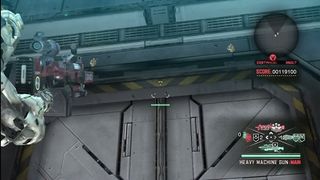
109: Again these next two statues are right next to each other.After the mission briefing, and as soon as you are in control, turn around and look up to find two statues above the doorway.
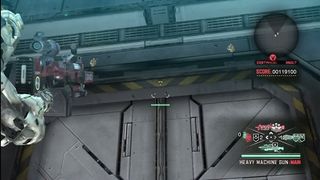
110: Read the previous statue location.It seems near the end of the game, they just aren’t trying anymore.
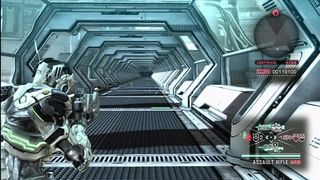
111: AGAIN, just not trying.As you make your way forward down the next corridor, there will be two statues sitting on the ground.Be sure to not go any farther than is pictured in the image or else a cutscene will play and you won’t be able to get them without restarting the checkpoint.
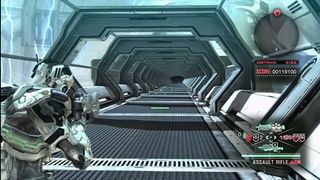
112: See the previous entry.Enjoy your trophy/achievement!You earned it!
Sign up to the 12DOVE Newsletter
Weekly digests, tales from the communities you love, and more
Jeff McAllister is a freelance journalist who has contributed to 12DOVE over the years. You'll typically find his byline associated with deep-dive guides that are designed to help you scoop up collectibles and find hidden treasures in some of the biggest action and RPG games out there. Be sure to give Jeff a thanks in the comments while you're completing all of those tricky Achievements and Trophies.

Legendary Zelda dev "wasn't too pleased" about working on A Link to the Past as it robbed his enjoyment of playing the finished game: "I still really don't want to play that game"

Making an open-world game like GTA 6 bug-free is "a lot different" than something like The Witcher 3, says former Rockstar dev