Vanquish Pangloss Statue Guide
Get the Best of All Possible Worlds Achievement/Trophy with our handy guide to all the Pangloss Statues
3-1 Forward
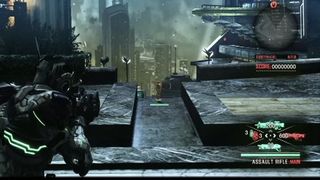
53: When the mission starts, there are two drop ships. Look to the right of them and there you will see three plant holders.Head over there and to the right of the far right plant holder will be a statue enjoying the view.
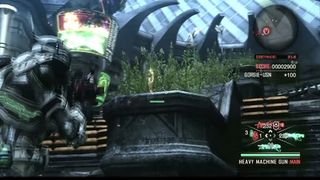
54: After the first checkpoint, you will come to a descent that is filled to the brim with Romanov’s and RI’s.Make your way down and on the left side, at the back of the second plant holder will be another statue in the bushes.
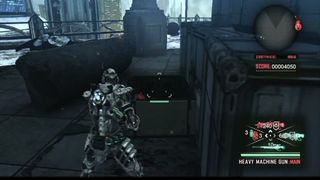
55: When you reach the bottom of the stairs, you will go to the right through an archway to collect a ton of weapons. There will also be a few crates here.You can open them will your melee strike, but only the far green box that is front of a stack of grey boxes will hold a surprise and that surprise is another statue.
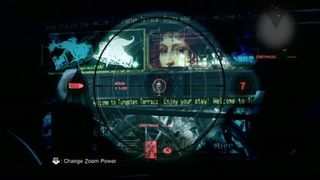
56: After you nab the previous statue, round the corner and you will see 4 signs on the far left side.Look between the bottom and the middle sign to see the final statue of this mission sitting there.
3-2 Attack
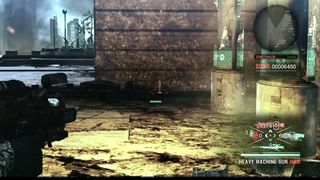
57: After your chat with Bravo 35, round the corner and before you head through the doorway, look to the right of it and behind a broken sign column there will be a statue on the ground. Keep in mind that this statue comes before the splash screen to mission 3-2 appears, so you need to get it before going through the doorway.
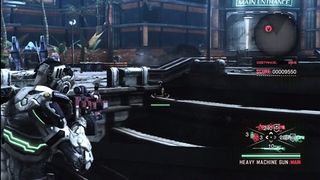
58: When you are able to cross the draw bridge. Head up the stairs and look to the right, just across from the stairs on the other side of the bridge.The statue will be sitting on the ledge there, in the corner to the right of the walkway.
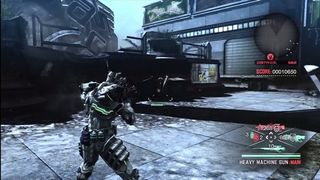
59: This statue will come after the mission results have popped up but will still give you time to grab it. Head up the stairs after the battle defending the giant Pangloss statue and go to the right, behind the right side troop transport to find a tipped over crate -assuming it was tipped over in battle- to find another statue hiding in there.
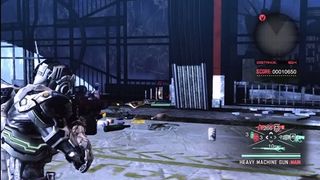
60: After you go through the large door and are told of an elevator, follow the walkway around to the right and you will pass some stores.The final statue for this mission is on the ground behind some bars under the Cuban Cafes sign.
3-3 Vertigo
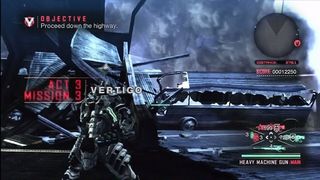
61: As soon as the mission title appears, look to the left of the area and you will see the first statue sitting inside the front of the demolished bus there.
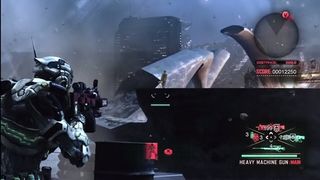
62: This statue can be missed if you aren’t quick on the draw.When you start hearing “RPG” being shouted, the road ahead of you will start to buck and fall. Look to the left side of the heaving part to see the statue sitting on the corner edge.If the road falls before you get it, you’ll need to start the checkpoint over to give it another go.
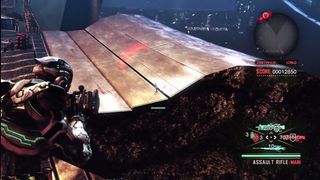
63: For the next statue, continue across the collapsing bridge and look for a large column to fall.As soon as it does and it falls out of the way, go forward a little bit and look to the ledge on the right that is still hanging on.The statue will be there on the side closest to you.
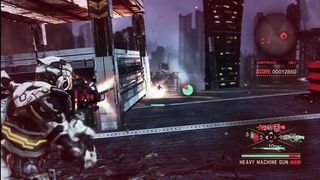
64: Keep running up the collapsing highway and you will come to swarm of enemies at the top of a ramp.Take them out and continue to see a structure to your left fall away. Just past there, there will be a smaller building on the left side of the road. As you pass it, look behind it to find a statue on the ground there.
3-4 Dragon
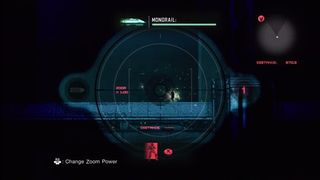
65: At the start of the mission you will pick up a silent sniper rifle and need to take out the search lights.After you take them out, quickly look to the right side and there will be a walkway that spans the area.On top of the walkway will be the first statue.
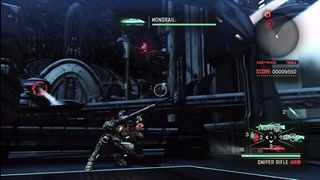
66: After you take out the first set of lights and pass the first walkway, you will see another walkway coming up and a few more lights.Look to the right side and about half way up to find a platform there with a statue on it.It’s a toughie to see, but the reticule in the image shows exactly where it is.
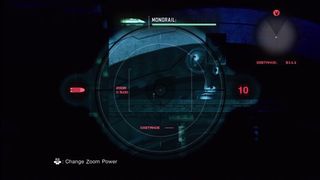
67: Just after you take out the flying enemy ship, look directly ahead of the monorail to find a few more enemies.At the very far end will be two turrets.Just to the left of them will be another statue.
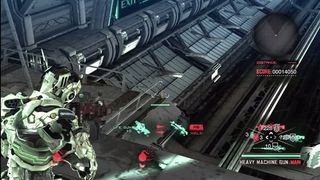
68: Once you get off the monorail, head up the stairs and there will be a LFE weapon depot.Look behind it and down to the left to find a statue sitting on the corner of a ledge there.
3-5 Despair
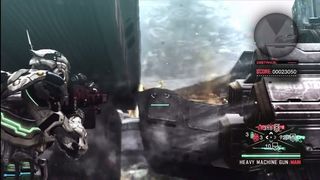
69: Once you have defended the rail gun tanks, and you did defend them right? A scene will play of you jumping down from the turret.Make a left and behind the tank on top of a broken ramp there will be the statue
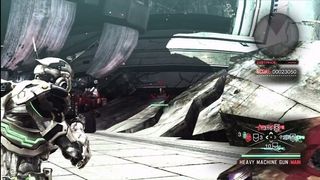
70: Just after the previous statue, you will need to run head long up to the Kreon and its mammoth feet.Look to the right of the area when you are close to it and there will be a statue sitting atop a pile of rocks.
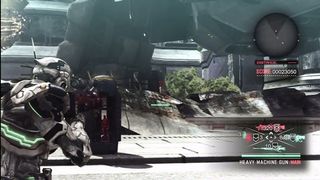
71: Just past the last statue, continue forward and look to the left side when you reach the weapon depot in the center of the area.The statue will be a top a pile of rubble there at the end.
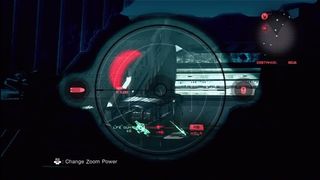
72: Once you have destroyed the burner in the foot of the Kreon, continue across the walkway and take cover behind the sandbags.Look towards the end of the walkway and there will be a destroyed bus on the left side with a statue sitting on top of it.
3-6 Infiltrate
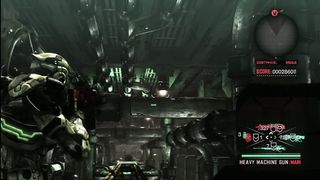
73: When you hit the end of the first corridor, you will hop on to a moving railcar. Look up and you will see a large pipe go by overhead.Let it go past and be on the look out for the second pipe.On top of it and to the right of the center will be the statue.
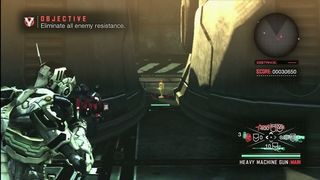
74: After your battle with “Unknown” the garbage pile, go through the large door and enter the room with a load of enemies and some domes.Look on the left side between the secpnd and third dome to find the statue there.
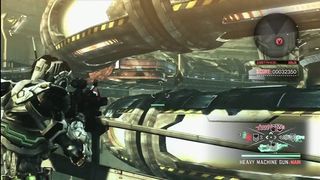
75: When you come out of the energy ring, the first time you come across some enemies, you will have to fight a few RI’s and a Romanov.Once they are taken care of, continue up the curved ramp, but look to the right just as you start your way up. You will see the two energy rings and the statue will be sitting on top of the bottom one.
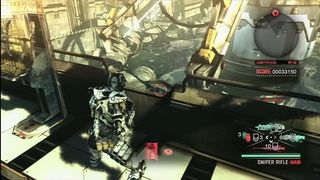
76: once you exit the energy ring, you will come to lift which takes you to a bridge and another railcar.When you reach the second one, before operating the control panel, look over the edge of the railing, behind the switch.Down and to the left a little will be the final statue of this mission sitting on top of the ring.
3-7 Phantoms
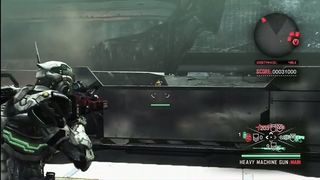
77: First statue of this mission is easy to find but also easy to miss.As soon as the scene is over, immediately turn to your left to find the statue on the other side of the railing there.
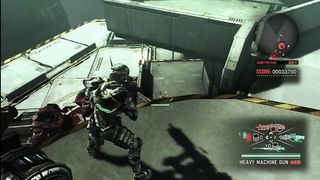
78: Once you clear out the lift that has some enemy carriers on it, another lift against the wall will drop for you.As you ride it up, you may notice the statue on a platform just over the railing.Don’t worry if you miss it.Head off the lift at the top and clear out the enemies.Then head to the closest turret to where you entered and look down to find the statue there.
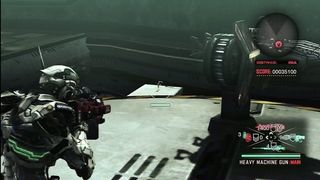
79: This statue is right after the previous one.Head to the second turret across from the first and look out over the edge. The statue will be sitting out on the ledge over the expanse, slowly moving up and down.
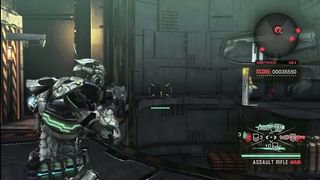
80: For the final statue of this chapter, continue along the walkways until you come to a room full of enemy drop ships. At the back of the room with be a lift that will shoot you up to the next level. When you arrive, immediately look to the left, to the other side, to see the statue sitting there.
Sign up to the 12DOVE Newsletter
Weekly digests, tales from the communities you love, and more
Jeff McAllister is a freelance journalist who has contributed to 12DOVE over the years. You'll typically find his byline associated with deep-dive guides that are designed to help you scoop up collectibles and find hidden treasures in some of the biggest action and RPG games out there. Be sure to give Jeff a thanks in the comments while you're completing all of those tricky Achievements and Trophies.
