How to build a Valheim workbench, cover it with a roof, and upgrade it
Make a Valheim workbench to start building and upgrading
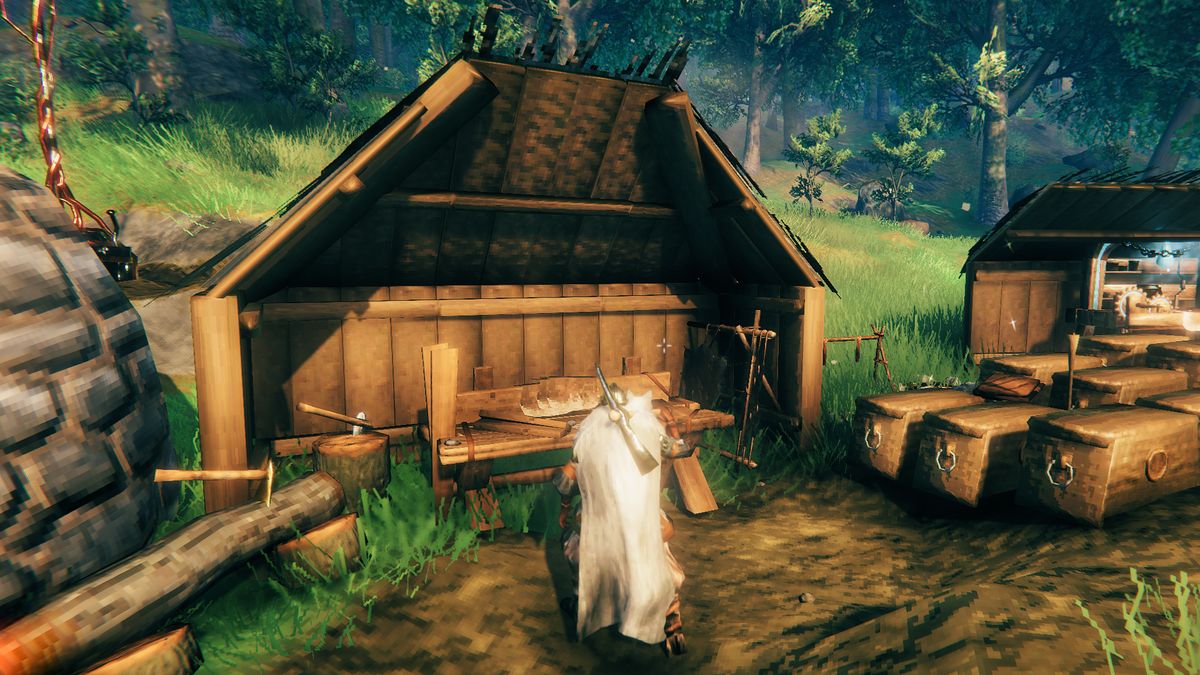
The Valheim workbench is the first crafting station in the game, opening up a range of crafting recipes to get you started. It doesn’t cost much and unlocks the building area for your first base. There’s just one problem: the game doesn’t tell you how to build a workbench. And even if you figure that out by yourself, you may run into another issue: it doesn’t work unless it’s properly sheltered.
Obviously it's the first big step through your Valheim crafting progression and, if you can't work out what to do, then you won't be able to access all sorts of crafting recipes for various Valheim weapons, Valheim armor and other useful items.
And, even if you do get one up and running, there's still the matter of workbench upgrades as well. So, to help you get started quicker, our workbench guide explains everything you need to know.
Valheim tips |Valheim repair | Valheim seeds | Valheim merchant | Valheim biomes | Valheim roadmap | Valheim Game Pass | Valheim Elder summon | Valheim cheats and spawn item list | Valheim Bonemass
How to build a workbench in Valheim

- To build a workbench in Valheim you first need to punch some trees and craft a stone axe.
- With the stone axe chop down bigger trees until you can craft a hammer.
- With the hammer equipped, open the build menu and select the workbench to make one.
You need 10 wood to craft a workbench and it can be placed wherever you like, just make sure it's the place you want your first base to be so you can build walls and a roof around it.
How to use the workbench in Valheim by building a roof

The workbench can't be used until you've built a shelter around it, as the workbench needs to be underneath a roof to work. So your next step is to keep collecting wood. This can be whatever size you like, but I decided to build a full room complete with bed, fireplace, and chest when I started, but you can just place four walls with some roof tiles above the workbench facing the open world if you like. Strong weather can hinder this though, so to ensure it works you'll want to build an enclosed space for the workbench.
How to upgrade your Valheim workbench

When you have a workbench in Valheim, you can build plenty of objects and tools, but your choice is limited initially. In order to unlock everything you need to upgrade your workbench, which is done by placing different utility objects nearby.
In no particular order, place these objects around the workbench to upgrade it:
- Chopping Block (10 Wood, 10 Flint)
- Tanning Rack (10 Wood, 15 Flint, 20 Leather Scraps, 5 Deer Hide)
- Adze (10 Fine Wood, 3 Bronze, Forge)
- Tool Shelf (10 Fine Wood, 4 Iron, 4 Obsidian, Forge)
Place all four nearby and the workbench will be upgraded to level five. That's all there is to know about the Valheim workbench – upgrading it should be one of your core goals in the early game, so get to it!
Sign up to the 12DOVE Newsletter
Weekly digests, tales from the communities you love, and more
Give me a game and I will write every "how to" I possibly can or die trying. When I'm not knee-deep in a game to write guides on, you'll find me hurtling round the track in F1, flinging balls on my phone in Pokemon Go, pretending to know what I'm doing in Football Manager, or clicking on heads in Valorant.
- Leon HurleyManaging editor for guides
- Marloes Valentina Stella

