Uncharted: Golden Abyss collectibles guide
Find every treasure, glyph, carving, mystery, charcoal rubbing, and photo opportunity throughout this handheld adventure
Chapter 28
Treasure 1: Spanish Halberd

As you walk down the corridor, you may spot a treasure, but a cutscene will trigger before you reach it. After the scene, backtrack through the doorway and check corner here.
Treasure 2: Xiumixihuatli
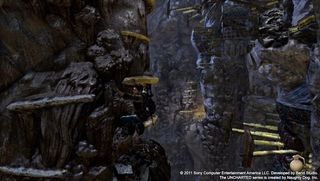
Use the sniper rifle to kill the enemies in distance, then leap to the massive column on your left. Climb down a bit, but instead of leaping across the gap to grab the wall, shimmy clockwise around the column, then drop down to the ground to find a treasure.
Treasure 3: Statuette of Teohixtamo
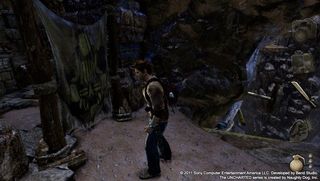
Soon after you get past the monkey bar section, you’ll be back on your feet and have to take out four enemies. From this area, turn around to find a canvas. Cut through it and get the treasure.
Treasure 4: Statuette of Hazolitectal
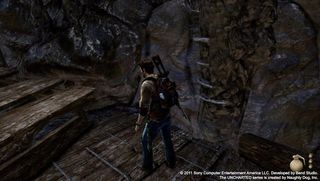
After the second monkey bar section, you’ll find yourself on a wooden platform having to deal with two snipers. Take them out, then look for this stalactite to your right. Jump to it, climb up and to the left, then leap to the nearby ledge. Cut through the canvas and continue on until you find a treasure.
Photo 1:Zetocatli Monoliths
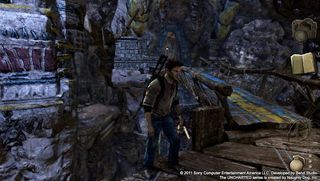
After you lower the bridge, cross it, then walk right, to the edge of the wooden platform. A photo prompt will appear.
Treasure 5: Statuette of Apacitapanol
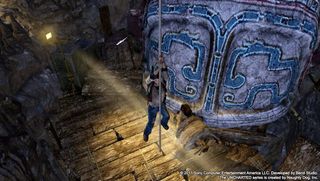
After another monkey bar segment, you’ll have to deal with several baddies. Once you’re safe, walk over to the raised bridge. After cutting the rope, use it to climb up to a treasure.
Treasure 6: Statuette of Izopochtzi
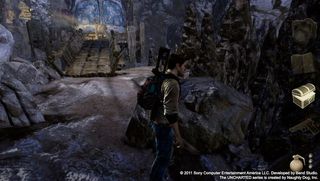
Cross the bridge. On the other side you’ll find two rocks that can be used as cover to fight the enemies ahead. Behind the rock on the left, you’ll find a treasure.
Chapter 29
Treasure 1: Statuette of Ticonahitzichi
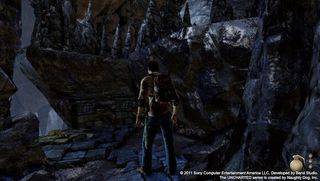
As you make your way at the beginning of chapter 29, look for this high ledge to your right, just before a drop off. If you’re shuffling along a narrow ledge, you’ve gone too far.
Treasure 2: Sanctus Bells
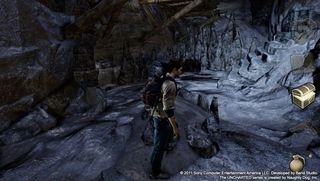
Soon after killing the minigun-wielding baddy, you’ll descend a short set of stone stairs. As soon as you do, take a left and grab this treasure from the ground.
Treasure 3: Statuette of Quixtenolin
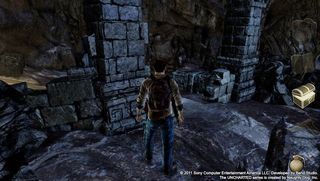
Soon after fighting some enemies as you descend a wooden ramp, you’ll reach a bend in the path that goes left. You’ll also probably be shot by someone using a grenade launcher at this point. Turn right and look for two manmade stone columns. The treasure is behind one of them.
Photo 1: Road of Fear
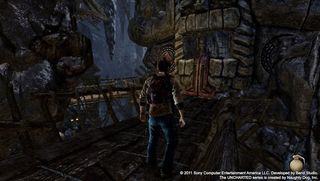
Soon after treasure 3, you’ll come upon this giant statue with a tongue. Climb into the mouth for a photo op.
Treasure 4: Statuette of Otapixical
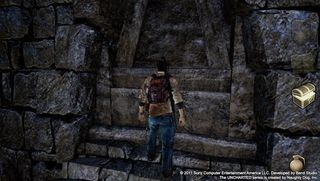
Journey deeper into the mouth to find this treasure.
Treasure 5: Statuette of Zitzmitalicayo
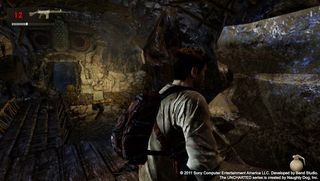
You’ll eventually have a big firefight near a raised wooden bridge which lowers during the battle. Before crossing it, look for this high ledge to your right. Climb up here and follow the path to a treasure.
Photo 2: Doorway of the Gods
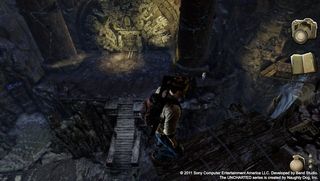
After sniping the enemies attacking Chase, you’ll cross a wooden plank. Just beyond this on your left are some handholds leading up. Use them to reach a photo op.
Treasure 6: Albarello Fragments
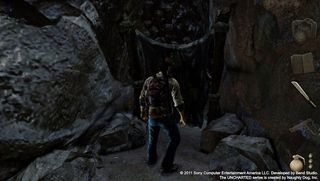
Soon after photo 2, you’ll have to kill a few snipers. Drop off the end of the staircase to ground level, then turn left. Continue until you find this canvas. Cut through it to find a treasure.
Sign up to the 12DOVE Newsletter
Weekly digests, tales from the communities you love, and more
Many years ago, Lorenzo Veloria was a Senior Editor here at 12DOVE helping to shape content strategy. Since then, Lorenzo has shifted his attention to Future Plc's broader video game portfolio, working as a Senior Brand Marketing Manager to oversee the development of advertising pitches and marketing strategies for the department. He might not have all that much time to write about games anymore, but he's still focused on making sure the latest and greatest end up in front of your eyes one way or another.

