Transistor Test Challenge Room guide
Speed Test
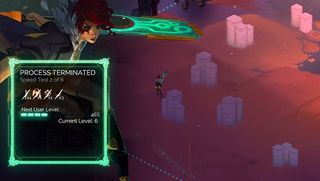
The Speed test is a time attack but as you progress through the 6 arenas, you’ll soon discover that passing or failing hinges on your planning technique. Running around in real time bludgeoning everyone over the head will only get you so far. You’ll need to make the most of each turn to take out as many enemies as possible. If you pull it off, the cooldown period for the Transistor won’t even be an issue.
The available time decreases with each test and they have a preset loadout that will hint as to what type of attack combinations you should be employing to pass the stage. Taking note of the enemy types is also key to passing the tests. The most bothersome of the little blighters are:
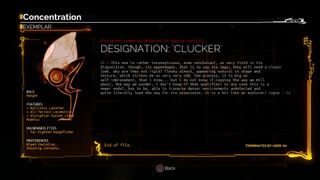
Cluckers
These pointy headed sods are all mouth and no trousers. They’ll rain down heavy projectiles on you from as far away as possible but if you approach them, they’ll immediately turn tail to scurry off to a quiet part of the map sans Red to bombard you once again. Cluckers don’t have a huge life bar so it’s worth planning moves that damage them as part of a group attack but don’t ignore them for too long because those ballistics can cause you a lot of trouble in the harder challenge maps when every man and his dog are hot on your heels.

Fetch
Speaking of dogs, these persistent buggers just don’t know when to quit. Although as they’re objective is to kill you, that’s probably a desirable character trait in their species. Without the use of Jaunt, these guys are practically impossible to outrun so ideally you’ll want to hit and run so that you’re as far away from them as possible when the Turn is over. Our objective is to wipe out the process as fast as possible so work that in to your strategy as opposed to just running away and wasting a Turn.
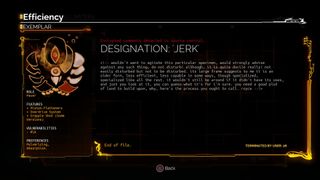
Jerk
This guy will follow you all over the map, smashing everything in sight and generally being a jerk. You don’t have to worry about him too much as he’ll never be far behind so you’re free to focus on the targets posing a higher threat level because he’ll either be close enough to get damaged in the fallout or if you prefer, you can take him out last in a frenzy of backstabs and combos. Maybe he’s not so bad after all…

Weed
Weeds replenish enemy HP so they’re a high priority and conveniently a one-hit kill for the most part. Always take them out first. If they’re scattered across the map, you can take out the ones next to your target and then move on, as you’ll find that the enemies will start to appear in groups across the map in the harder tests so there’s no point worrying about a Weed next to untouched enemies that you’re not planning to approach for a Turn or two.

Young Lady
Young Lady is one of the most annoying enemies because as soon as you hit her, she’ll transport herself out of range and spawn shadow copies that will attack you immediately. The good news is that they'll disappear as soon as she’s eradicated. Planning a Turn that involves a backstab is a good way to start but there’s no point planning any follow up attacks because she won’t be in the same place after she first takes damage. She also spawns a large cluster of cells upon her demise that will need to be mopped up pronto before they all turn into Badcells and start pinging about all over the shop.
The Young Lady is definitely a high priority target and on the plus side, she will follow you until she gets hit so use that to your advantage and plan attacks in her vicinity, making use of area attacks that may extend to her new spawn point and cause additional damage. If there aren’t many other enemies about, this is the one case you may be better off not using Turn so that you can follow her and attack in real time.

Man
The man will lurk around in a corner of the map sending out target seeking packets called Haircuts to blow up in your face causing a tremendous amount of damage. Luckily the Haircuts have a tiny amount of HP and can be detonated by giving them a swift bash, preferably from out of range of the blast. The Man’s HP is quite high but he won’t really move around the map a great deal so if you can cause any AoE damage in his vicinity that’s great, but if you leave him for last, he will need a good beating before he goes down, so make sure you’ve allowed yourself enough time and that you don't forgot about him.
Jump to Section:
Sign up to the 12DOVE Newsletter
Weekly digests, tales from the communities you love, and more

