Tomb Raider: Definitive Edition map locations guide
Locations of maps which reveal document, relic, and GPS cache locations.
There are quite a few achievements and trophies in Tomb Raider that can be had just from finding the various collectibles in every area. We're here to help you find the maps which will show you the locations of all documents, relics, and GPS caches within a given area. Finding all of these collectibles will yield either 125 achievement points or 6 bronze trophies and 1 gold trophy.
To find all of the numerous collectibles that are scattered about the game, the best route to take is to first collect the treasure maps for each area that reveal the locations of each hidden item. In certain areas, where optional tombs are available, you will receive treasure maps as a reward for completing them. Below we have listed where each and every treasure map is located, as well as how to get through each of the optional tombs unscathed. We have also included a video which will show you the locations in more detail as well as maps for each area that reveal every item listed so you can collect all the trinkets that your heart desires.
Timestamp links for all map locations available in the Tomb Raider Map Locations Guide video description on Youtube.
MAP LOCATIONS
COASTAL FOREST
To find the map in this part of the island, go to the second campsite in the coastal area. From here, go to the near center of the area where you can find a bridge with a couple of beamed arches overhead of it. Go to the right of the bridge and climb up the slight hill next to the cliff wall. Hop from the platform atop the hill to the beam that spans the bridge. Cross the beam and then hop over to the boarded platform where there will be a zip line leading down and a table. On the table will be the map that will show all the items in this area.
MOUNTAIN TEMPLE
This map can be found in a cave by the waterfall right next to the base camp fire at the Mountain Temple. Simply hop in the water and go towards the waterfall and the cave will be on the left hand side. Enter the cave to find the map sitting on top of a crate.
MOUNTAIN VILLAGE
OPTIONAL TOMB: TOMB OF THE UNWORTHY
When you reach the tomb, located to the southern part of the Mountain Village, you will need to hop across the room by using the cage in the center hanging from the ceiling. Jump to the far side, to the torch and light it. Hop back on the cage and then burn the bags that are hanging on it. Once you do, hop back up to the upper ledge where you first jumped off and then push the metal cage on the right side of the tomb off the edge. When you do, the metal platform in the center will rise. Jump onto the metal platform now that it is higher and jump off to the left side. Use your ax to climb up the wall and follow the corridor around to the treasure to receive the Relic map.
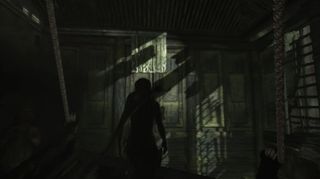
OPTIONAL TOMB: HALL OF ASCENSION
At the northern area of the Mountain Village, you will come to this tomb entrance. When you enter the structure at the other side of the bridge, you will need to raise the platform directly in front of you and use it to get to the right side wall. Before you operate the lift, go to the left side and use the crank to close the shutters and stop the wind. Once the shutters are closed, return to the crank at the lift across from the entrance and wait a second or two before operating it. Turn the crank and then climb up the box next to it. Hop over to the lift as the shutter opens and it will carry you to the far side of the room, high enough to jump against the wall. Grab the ledge and shimmy to the left to where you can climb up. Do so and then follow the corridor to reach the chest and the GPS Cache map.
BASE EXTERIOR
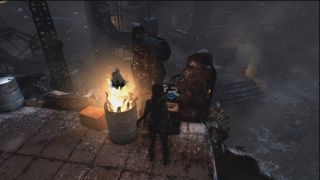
When you are at the Radio Tower base camp at the Base Exterior, simply use the zip line located there. Once you have finished the ride and landed, go to the left side of the zip line and there will be a barrel on fire. Next to the barrel will be a crate with the map on it.
SHANTY TOWN
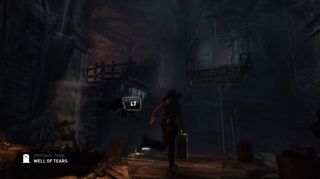
OPTIONAL TOMB: WELL OF TEARS
When you arrive in the tomb, there will be a lift in the center of the room and several gas canisters lying about. Toss three canisters onto the lift to make it lower and then jump on it to make it go all the way to the ground. Once on the ground, toss the canisters off the lift and then run back up to the ledge near the fire where you entered. Jump on the now rising lift and quickly jump off it to the ledge on the left side. When you pull yourself up, the chest will be right in front of you. Open it and you will receive the Relic Map for Shanty Town.
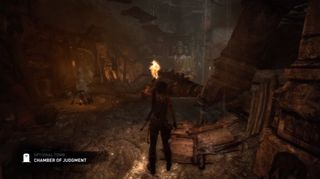
OPTIONAL TOMB: CHAMBER OF JUDGEMENT
When you reach the windmill in Shanty Town, this tomb is located just behind it on the ground. Enter the cave and follow the passage around to the tomb. Once you enter, you will need to collect the gas cans around the room and place them on the end of the platform that teeters closest to the entrance. There are 3 platforms where the cans are that you will need to break. The first is to the right where you can use your rope arrow to swing the tire to knock down the platform behind it. The next is above the fires in the center of the room. This you can knock down by tossing the other gas cans onto. The weight will break the shelf, bringing down all the gas cans on it. The final can is to the left side of the room, next to the large statue. Use the ramp to the left of the teeter and jump off it to grab the platform and pull it down. Now that you have all the cans, place them on the end of the teeter and then use the teeter as a ramp to jump to the climbable wall across from it. Scale up and to the left and you will find the chest there after you pull yourself up which will have the GPS cache map.
GEOTHERMAL CAVERNS
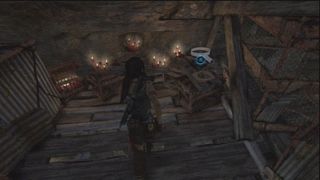
When you are at the base camp for the Catacombs, head down the hill and just before the large gate, there will some wooden scaffolding on the right side. Climb up the planks on the side of it to reach the top and the map will be there.
SUMMIT FOREST
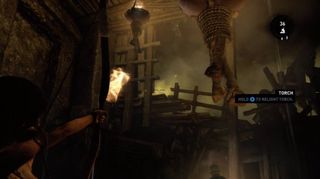
OPTIONAL TOMB: STORMGUARD SANCTUM
This tomb can be found in the northeast part of the forest, just past the bridge. When you enter the tomb, you will need to ignite the two hanging torches in front of you and the one above you. Once they are lit, aim a fire arrow at the green gas cloud that is up and to the left. The explosion will cause some debris to fall from the ledge above and allow you to climb the wall next to the torch. Once up, go to the left and light the pile of garbage across from you on fire. It will clear a path for you to climb up. Jump forward and use your axe to climb up through the opening to the chest that will have the Summit Forest Relic map.
SHIPWRECK BEACH
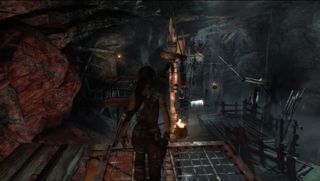
OPTIONAL TOMB: TEMPLE OF THE HANDMAIDENS
Once inside the tomb located on the beach, use the crank that is directly in front of you to raise the cage in the water that will allow the buoy to pass through. Immediately jump up the ledge on the left side and swing across the pole there. Fire a rope arrow at the rope below as the buoy approaches and you will pull a bar out of the way to allow the buoy to pass and hit another bar. When it hits the next bar below, it will turn the pole in front of you, allowing you to jump across to it and jump again to the climbable wall. Make your way up and you will find the chest there with the GPS Cache map.
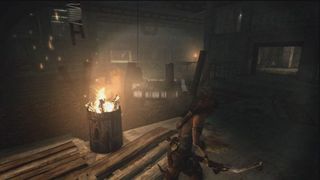
OPTIONAL TOMB: THE FLOODED VAULT
When you enter this tomb, at the south end of the Shipwreck Beach, you will need to go up the stairs and press the green button to turn on the power. Head back down the stairs to open the large door by pressing the green button there. Now go through and burn the cloth that is on the left side, keeping the boat docked. Once it is burned, enter the room on the right and shotgun the barricade to open the wall. Now use the rope arrow to pull the boat towards you. Hop on it once it is close and then jump to the platform to the right. Once on there, use the rope arrow to hit the bundle of rope up above and it will pull the electricity out of the water for a few seconds. Once it’s out, run to the stairs on the far side. Now you will need to pull the boat under the electrical wire so that the water stays safe. Once you have the wire on the boat, hop in the water and run to the right and head up the stairs to find the chest there and the Relic map for the Shipwreck Beach.
CLIFFSIDE BUNKER
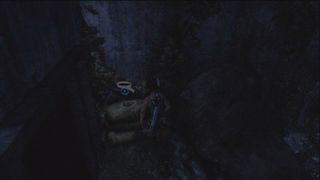
When you first reach the bunker and enter the gun battery, go through the hole in the wall on the left side. This will take you to a small outdoor area where the map will be sitting on a pile of sandbags next to the wall.
RESEARCH STATION
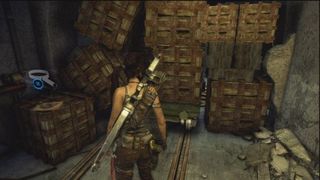
When you reach the bottom of the elevator shaft and go through the large door, follow the next corridor down about halfway to find a stack of boxes on the left side. Hop over the crates and you will find this map behind the boxes.
CHASM SHRINE
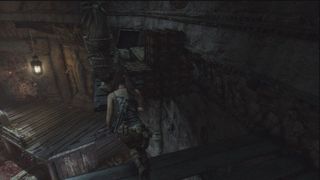
Once you pass the camp and enter the next room, there will be a large pit in the center. Before operating the cranks, you can go to the left side of the room and use the ramp to jump to the second floor. From there, follow the wooden catwalk around to above the entrance of the room and hop over the gap to find a crate with the map on it.
Sign up to the 12DOVE Newsletter
Weekly digests, tales from the communities you love, and more
Jeff McAllister is a freelance journalist who has contributed to 12DOVE over the years. You'll typically find his byline associated with deep-dive guides that are designed to help you scoop up collectibles and find hidden treasures in some of the biggest action and RPG games out there. Be sure to give Jeff a thanks in the comments while you're completing all of those tricky Achievements and Trophies.

