The Witcher 2 Monster Contract Guide
Who needs quest markers? We've got you covered on all the Witcher ii monster contracts!
Act III
The Gargoyle Contract

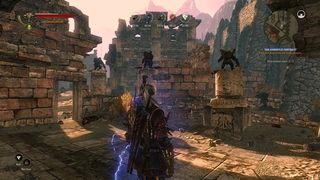
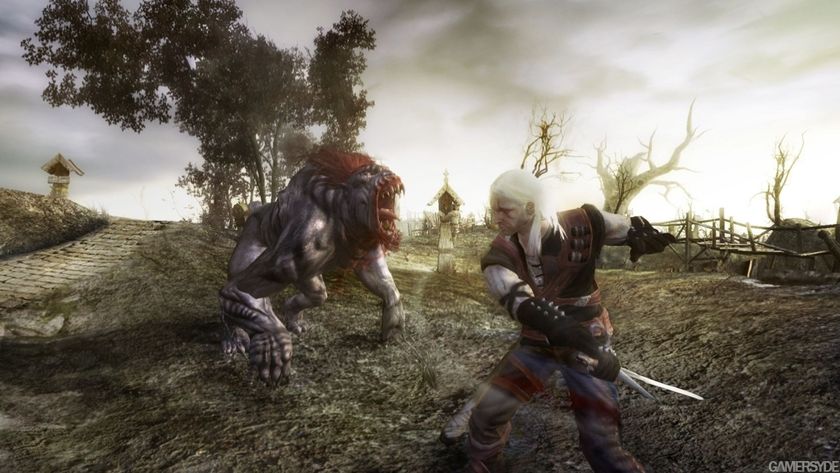
Gargoyles are the strongest non-boss monsters in the game. They typically attack in groups - revealing themselves with a surprise dive attack that will knock Geralt off his feet. They attack quickly and hit hard. The cherry on top of this sunday is that, like Rotfiends, Gargoyles explode upon death. The only difference with this explosion is that, instead of getting poisoned, Geralt can be set on fire.
There are no weaknesses that you can exploit with Gargoyles. The only advice we can give is to make use of your Quen sign and attack with heavy blows. Likewise, make sure to beat feet when the creature dies.
Knowledge
“Gargoyles, Gutters, Splutters - Maintenance and Repair” is the tome you need. If you haven’t grabbed this book in either of the previous chapters, you can still get it from Felicia Cori in Loc Muinne’s market square. Researching the book will reveal that you must deactivate a series of runic glyphs that are keeping the stone sentries active. There are three different locations you must deactivate.
Other books you’ll need are the “Rune Placement Description” series. There are six books in total and they describe the various runes you’ll need to deactivate.
Tools
Other than the “Rune Placement Description” books, there are no special tools needed for this contract.
Deactivating the Runes
This is the most difficult contract you’ll encounter. Aside from Gargoyles generally being a total bitch to kill, the runes in each room are randomized so we can’t give you a single answer as to how to deactivate them. Finding the rooms is simple, though.
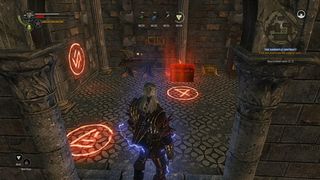
The first room can be found to the left of Loc Muinne’s main gateway. You’ll find a small stone courtyard with a descending stairway. The second room can be found to the right of the main gateway in a similar stone courtyard. The third and final room can be found at the far right-hand end outside of the giant stone amphitheater where the final quest of the game takes place. It goes without saying that each of these rooms are guarded by Gargoyles, so take care when engaging them.
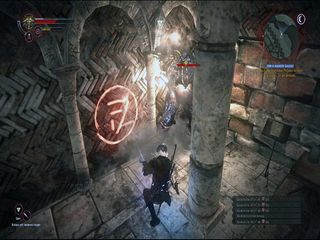
Now, to the hard part. Each room has four runes and a note that provides you with a clue as to how to deactivate them. In our playthrough, the runes represented war, thunder, art, death, sky, butterfly, life, animal, fate, weather, reason and time.
So, let’s look at a clue:
“On the dark sky,
the beauty of a falcon’s flight,
faster and faster”
The first line always represents one rune, the second line represents two and the third line represents one. This particular clue translates to “weather, art, animal, time.” Reference your rune description books for each room to know what the runes look like and what they mean. Deactivate the runes in order from first clue to last. Do this for each of the three rooms.
June 15, 2011
Sign up to the 12DOVE Newsletter
Weekly digests, tales from the communities you love, and more
Jordan Baughman is a freelance journalist who has written for the likes of GamesRadar and Gamer magazine. With a passion for video games and esports, Baughman has been covering the industry for years now, and even hopped the fence to work as a public relations coordinator for clients that include EA, Capcom, Namco, and more.







The Witcher 3 lead says "not many games" were trying to match the RPG back in 2015, and that meant "there was a risk" to making it in the first place

The Witcher 4 devs explain how Ciri's fighting style will differ from Geralt's: "He's nimble, but he feels like a block...she's liquid"
