All Stray Memories for B-12 and how to find them
Complete all 27 B-12 Memories in Stray at these locations
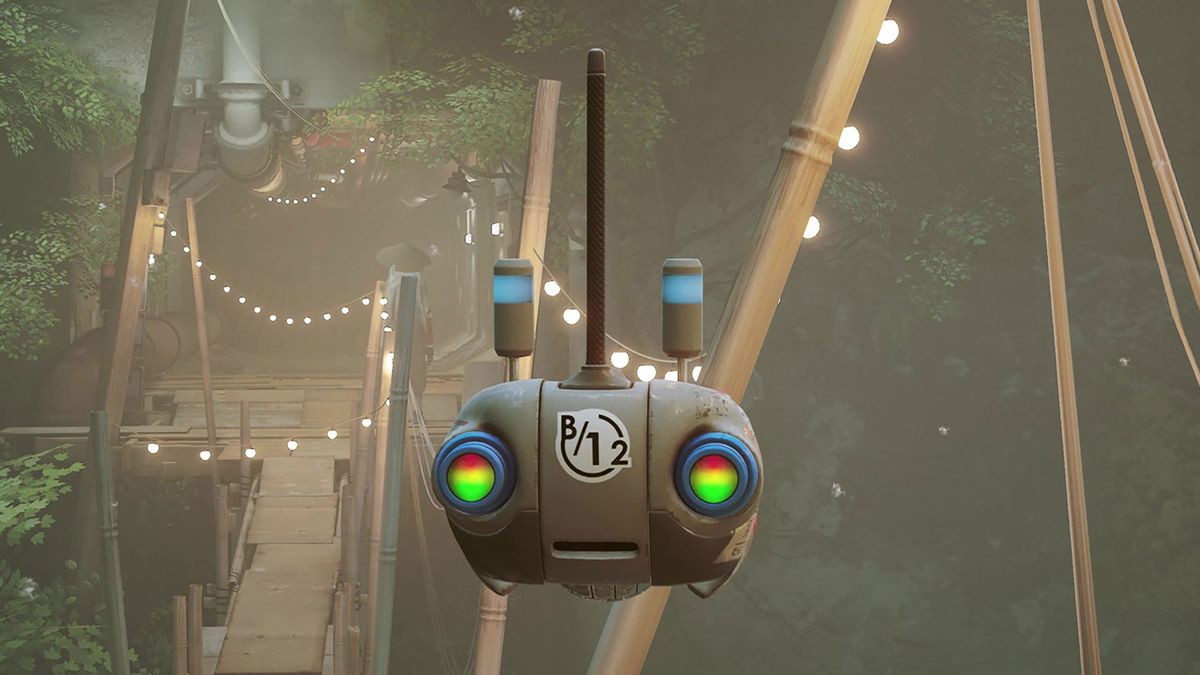
If you find all of the Stray Memories for B-12 then you can gradually build a timeline of events, and understand what led to the post-apocalyptic world you are currently exploring being formed. Overall there are 27 memories for our cute drone companion to discover, though bear in mind that they aren't found in every level and they only start to appear once you get to The Flat. Some of these digital recollections are key to the story and will be automatically added to your collection as you progress, while others can only be picked up by exploring off the beaten path to find their hiding places. This may sound like a lot of work, but I've made the process as simple as possible by outlining where to find all 27 Stray Memories below, so you can reassemble your little pal's mind.
All Stray Memories locations
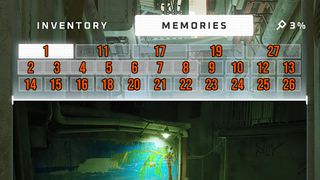
You can unlock Stray Memories from Chapter 3 onwards, as the first two levels do not contain any of these collectibles. Also, in Chapter 6 you revisit the same area of The Slums that Chapter 4 is set in, so those memories can be found during either level. I've numbered the Stray Memories above in the order they appear in the game, and they're distributed across the chapters as follows:
- Inside The Wall - no memories
- Dead City - no memories
- The Flat - 1 memory
- The Slums - 7 memories
- Rooftops - 3 memories
- The Slums Part 2 - same 7 memories as The Slums
- Dead End - 3 memories
- The Sewers - 2 memories
- Antvillage - 2 memories
- Midtown - 7 memories
- Jail - 1 memory
- Control Room - 1 memory
Should you miss any Stray Memories during your playthrough, you can use the chapter select option to go back and complete your set, as these collectibles carry over during replays on the same save file.
Stray Memories - The Flat
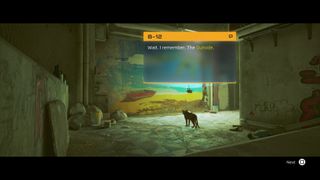
The Flat (1/27): Collected automatically when you reach the beach scene mural after riding the bucket pulley outside the flat.
Stray Memories - The Slums
Note that you return here for The Slums Part 2 in Chapter 6, so you'll have another opportunity to find any collectibles you missed the first time.
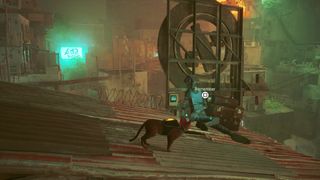
The Slums (2/27): With your back to the Guardian, approach the steps going down ahead then climb up the units on your left until you reach the red roof with a circular arrow sign on top. Look behind that sign to find a robot slumped behind with a set of suitcases.
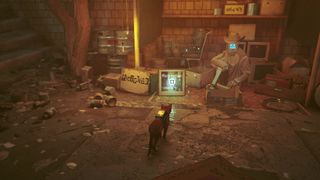
The Slums (3/27): This is the mystery item sold by The Market Place seller Azooz for three energy drink cans. There are a total of four Stray energy drink locations available by interacting with vending machines as follows:
- Opposite Morusque the musician down the stairs from the Guardian
- In the alleyway near where you entered the area, next to the RIP Humans graffiti (Stray Memory 6)
- On the balcony above Rozey, the robot sat watching TV in an alleyway
- Directly below the rooftop with the sofa and TV you can change channels on near the library
Once you have three energy drink cans in your inventory, interact with the mystery item at The Market Place and show any of them to Azooz to complete the transaction so you can scan the picture. If you picked up a fourth can of energy drink, you can buy one of the Stray music sheets Azooz is selling, and you should also grab the Electric Cable as you'll need it to obtain the Stray Poncho.
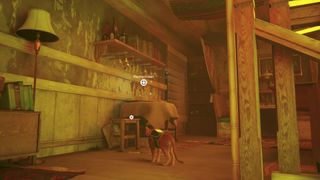
The Slums (4/27): In the upstairs area of the bar, inspect the bowl of food on a round table under a shelf of hanging glasses.
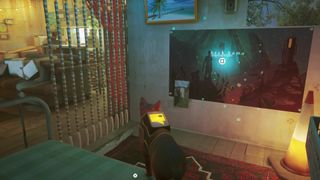
The Slums (5/27): Inside Momo's apartment at the top of The Slums, head through the beaded curtain into the bedroom area and check out the video game poster. You can also start your search for the Stray Notebooks here, if you haven't done so already, by talking to Momo.
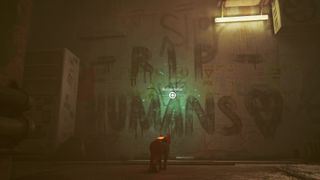
The Slums (6/27): In the back alleyway near where you entered the area and the robot closed the gates to shut you out, go up the stairs and look at the graffiti on the wall near a vending machine you'll need for Stray Memory 3.
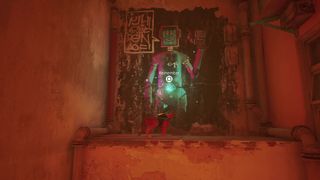
The Slums (7/27): Head down the stairs to the left of the Guardian towards Morusque, then turn left into the first alleyway and climb up to the painting on the wall above the AC units.
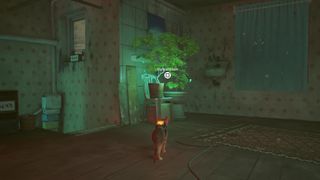
The Slums (8/27): Enter Elliot Programming (marked with binary code signs) by scratching on the front door, then head upstairs and inspect the plants growing from a pot and a toilet. You can also talk to Elliot while you're here to complete a stage in the process to unlock the Stray safe code.
Stray Memories - Rooftops
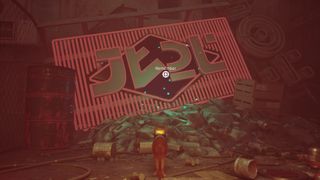
Rooftops (9/27): After passing the second group of Zurks, you'll jump across a gap and this flickering neon sign will be straight in front of you.
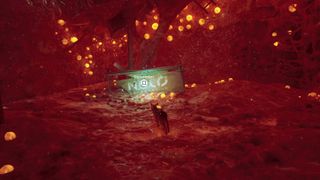
Rooftops (10/27): Once you've used the rolling barrel to squish Zurks and open the gate, look left beyond the pile of girders to find a sign stuck in the growth.
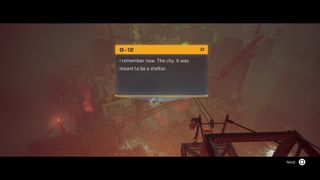
Rooftops (11/27): Received automatically at the end of the chapter.
Stray Memories - Dead End
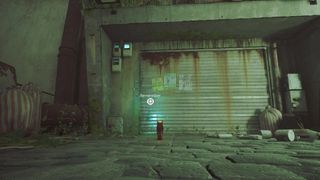
Dead End (12/27): After receiving one of the Stray Badges automatically and then starting the chapter, turn left and inspect the large shutter gate in the wall – make sure you do this before sliding down the ramp.
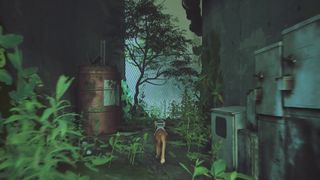
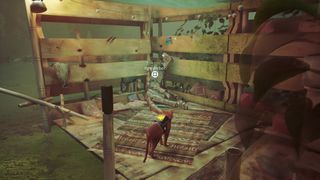
Dead End (13/27): After climbing the pipes following the trolley riding section, go straight ahead into the short alley and through the gap under the fence, where you'll find a robot on a floating pontoon. Visit this area before you climb over the nearby fence or you'll be locked out.
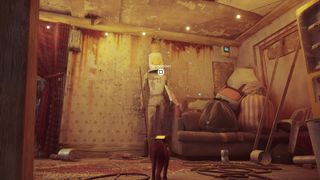
Dead End (14/27): When you meet Doc, look behind where he was sitting to find a mannequin with a bucket for a head.
Stray Memories - The Sewers
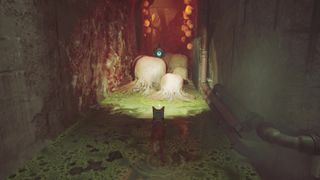
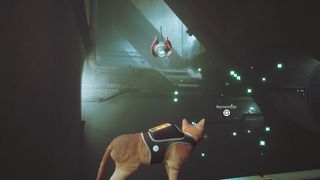
The Sewers (15/27): Once Momo opens the gate for you and you move on to the next corridor, look for a path to the left with a number of Zurk nests in it. Get past these to find a pipe you can climb into on the left, and at the other end you can scan the sewer system.
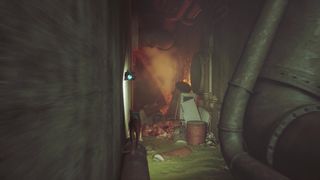
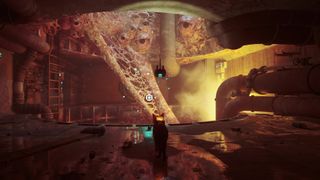
The Sewers (16/27): After getting through several heavily Zurk-infested areas you'll drop down onto a pipe, then instead of turning right to continue through the level you should go left and along the pipes and barrels until you reach a hidden area with the unusual substance.
Stray Memories - Antvillage
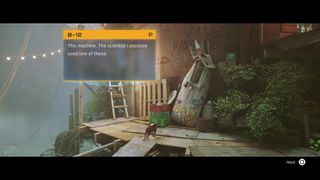
Antvillage (17/27): Received automatically when you enter the village at the start of the chapter.
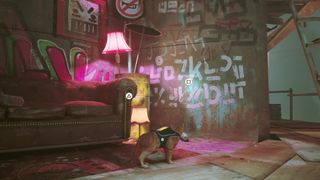
Antvillage (18/27): After speaking to Zbaltazar, climb back down to the lowest level and scan the wall near the sofa where a robot is watching TV – you can also collect a Stray Scratch for this chapter from the sofa here.
Stray Memories - Midtown
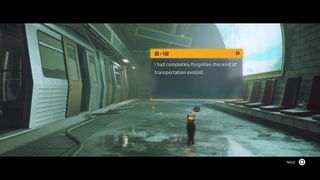
Midtown (19/27): Received automatically when you arrive at the subway station.
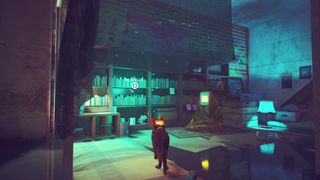
Midtown (20/27): After going up the stairs to exit the subway station, turn right and visit Ledoc's library area.

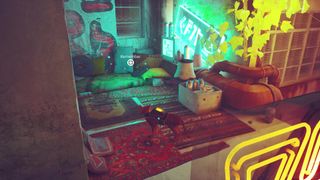
Midtown (21/27): In the back alley where Albert is sweeping, climb up onto the blue awning then jump over several AC units until you reach the platform above with some bottles along the edge.
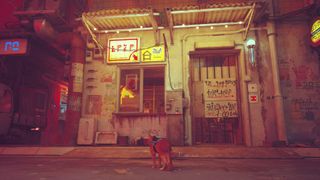
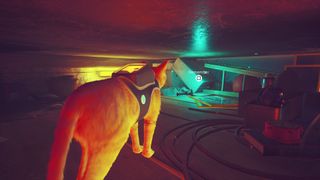
Midtown (22/27): Hop in through the street level window of the barber shop near the big hologram robot, then jump to the upper storage area and look at the pictures.
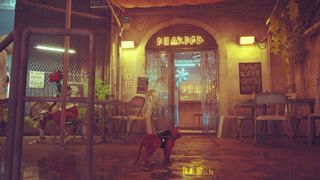
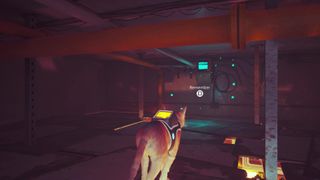
Midtown (23/27): Go inside Mattbee's food shop near the big hologram, then climb up into the ceiling space and look above the entrance.
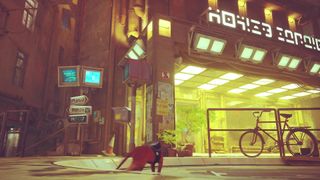
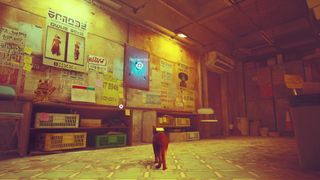
Midtown (24/27): After stealing the Stray Atomic Battery, you can get inside the security room by the big hologram, then scan the picture of a Sentinel on the wall.
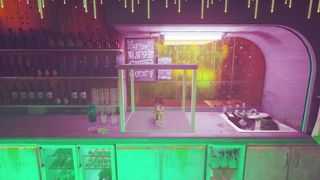
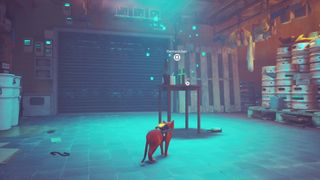
Midtown (25/27): Inside the nightclub, jump on the dumbwaiter next to the sink behind the bar to ride down into the storage area, then look at the table.
Stray Memories - Jail
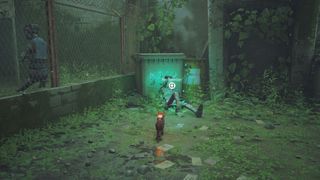
Jail (26/27): After locking the Sentinel in the cell during your escape, look to the right after passing through the next gate to find a rebooted robot.
Stray Memories - Control Room
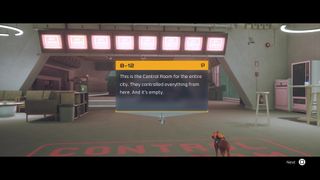
Control Room (27/27): Received automatically once you enter the control room.
Congratulations, you've found all of the Stray Memories!
Stray Memories Reward
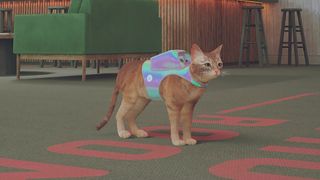
As well as earning the I Remember! Trophy or Achievement for collecting all 27 of the Stray Memories, you'll also receive a jazzy pearlescent backpack reward from B-12, which you will continue to wear during any replayed chapters on the same save.
© 12DOVE. Not to be reproduced without permission.
Sign up to the 12DOVE Newsletter
Weekly digests, tales from the communities you love, and more

Iain originally joined Future in 2012 to write guides for CVG, PSM3, and Xbox World, before moving on to join GamesRadar in 2013 as Guides Editor. His words have also appeared in OPM, OXM, PC Gamer, GamesMaster, and SFX. He is better known to many as ‘Mr Trophy’, due to his slightly unhealthy obsession with amassing intangible PlayStation silverware, and he now has over 750 Platinum pots weighing down the shelves of his virtual award cabinet. He does not care for Xbox Achievements.
