How to complete the Starfield Sabotage mission
Infiltrate the Infinity Ltd Corporate Headquarters with stealth or go loud during Sabotage in Starfield
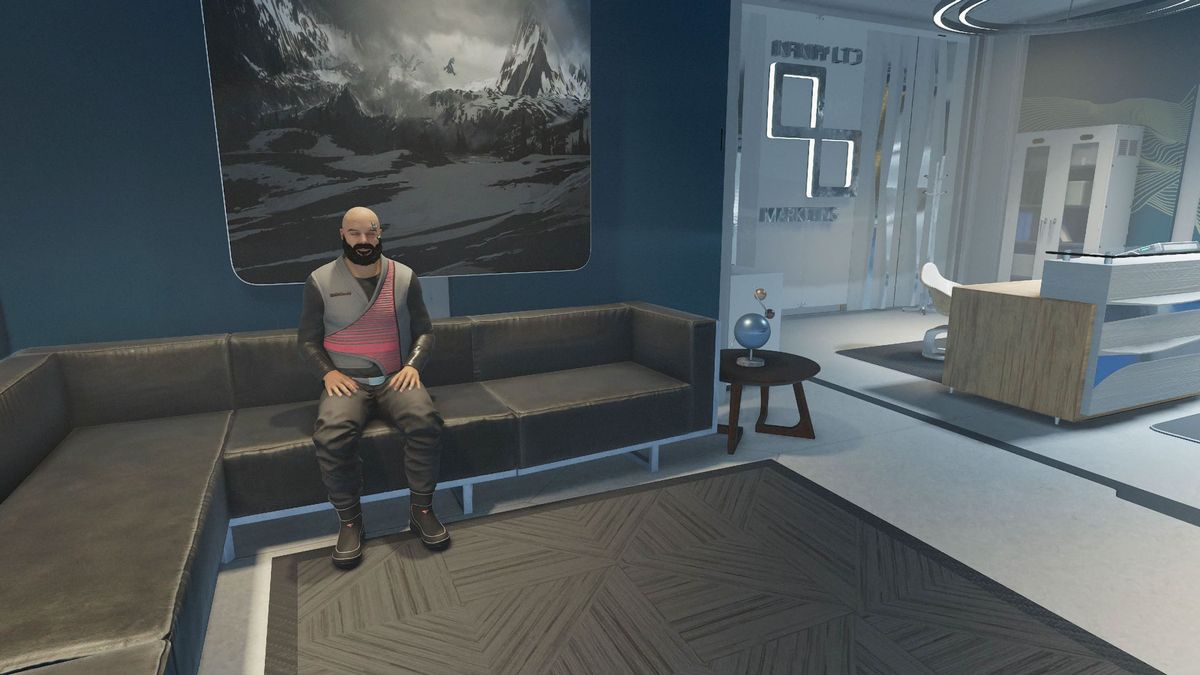
For the Starfield Sabotage mission, you'll be infiltrating the Infinity Ltd Corporate Headquarters to do some corporate sabotage and steal a particularly valuable item. It's the penultimate mission in the Starfield Ryujin questline and is certainly a big one, testing all your stealth and espionage capabilities, though it's not essential that you keep a low profile - in fact, the stealth aspect of this mission is probably causing you some issues. As with many missions in Starfield, there are several ways to approach your objectives when you enter Infinity Ltd, so I've got the lowdown on whether you take a stealthy approach and sneak your way through Sabotage in Starfield or simply go in all guns blazing.
It is worth using stealth during Sabotage in Starfield?

If you want to know whether it's worth using stealth during Sabotage in Starfield, then the honest answer is no, not really. I've completed the mission with both a sneaking and weapons-free approach, and the outcome I received didn't seem to change either way. You also need to know that completing Sabotage without triggering the alarm is incredibly difficult and frustrating, so you really don't need to put yourself through all of that. If you do decide you desperately want to stealth the whole thing, then bear the following in mind:
- You need to be able to use stealth in Starfield to avoid detection
- You need to have the Security skill for Starfield lockpicking at rank 2 or higher to prevent the alarms sounding
- You may receive Lung Damage or Burns, so bring appropriate Aid items
- Dismiss your partner so they're not following you around
- Equip the Operative Suit to make you harder to detect
- Regularly use Quicksaves with occasional manual saves, in case you get detected
- You can be partially detected, as long as you hide before the alarm is activated and wait until the guards stand down
Starfield Sabotage mission stealth walkthrough
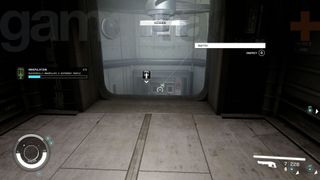
To get started, head up to the roof access and use your Neuroamp implant to manipulate the Infinity Security guard into hitting the switch to turn off the fan. You can then drop down into the area below, then go through the doorway to the left and interact with the Maintenance Systems computer to sabotage the heating system and release the gas. This clears the building of non-essential personnel but puts all guards on high alert.
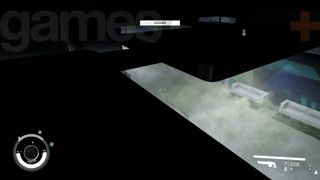
Open the vent opposite then follow the duct round to the left, before dropping through the hole onto the raised ceiling platform. Turn around and follow the platform to Lucas' office, then drop down and hack the door – this will be a novice lock if you've released the gas but expert if you haven't. Once inside, perform another novice hack on Lucas' computer then follow the Overseer Program prompt in the top left corner.
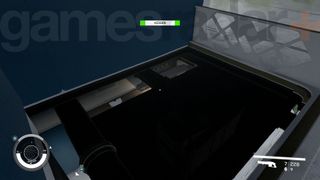
With the program installed, leave Lucas' office and hop over the barrier on your left to drop onto another set of raised ceiling platforms. Go around to the right, follow the pipes and open the vent at the far end, then drop down the area beyond and open the hatch to access the toilets.
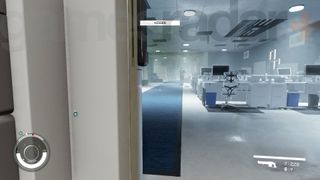
Open the door and carefully peer around, waiting for the guard ahead to walk away, then dart down the corridor on your left and into the office on the left. Hide behind the desk and wait for the next guard to walk past, then exit to the left and head to the break room at the far end. Manipulate the guard in the break room to walk off to the right, then go to the left end and through the vent in the storage room. Drop down to yet another set of raised ceiling platforms and pipes, then follow them round to the marker leading you to Research and Development. Beyond the vent you can drop down the elevator shaft, then open the next vent to emerge in R&D.

Next, you need to sneak along the pipes to the main room, follow the pipes around to the left then enter the vent. From there you can proceed forward, open a hatch, and drop down into a shower. In this area, sneak up the stairs to the right to reach Faye's office, where you'll find a Credstik and Digipick on her desk with an R&D ID Card behind them – grab this as it's important. Access Faye's computer and once again follow the Overseer Program prompt in the top left corner of the screen, then go back to the shower and hop back up into the vent you entered from.
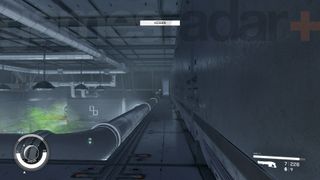
Back in the main room, hop across the pipes to the opposite side, then hug the right-hand wall all the way across until you enter a new area.
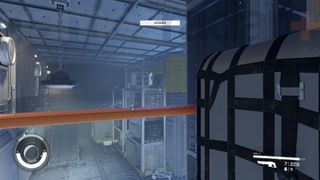
Drop down to this balcony below, then vault the railing onto the shelves below. Stand up and dash/jump across the gap ahead to avoid the turret, then hide under the ramp ahead.

When the guard comes down to investigate, manipulate them with the Neuroamp and send them to the opposite side of the corridor, then dash up the ramp and use the computer on your right at the top to deactivate the turret. Hop the railing and use the R&D ID Card on the reader below next to the big red Secure Access doors to open them, get inside then use the switch to close the doors before the guard regains control.
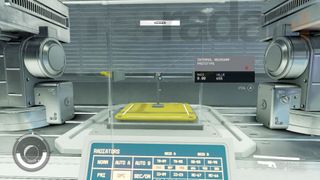
Inside the secure room, there's a switch on the wall by the Neuroamp Prototype you can use to close the blinds, to increase your chances of remaining undetected here. Next, you'll need to follow the cable back to the Security Access Controls and perform an expert level hack to disable the alarm system. Finally, approach the holding chamber and open it, then grab the Neuroamp Prototype.
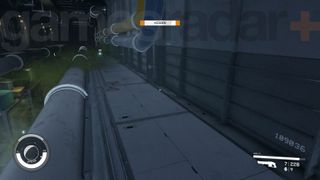
Now all you need to do is escape, so go back through the Secure Access doors you entered from, follow the corridor to the left all the way round and you'll be back at the shower again, so hop back up into the vents. Follow the pipes all the way to the end of the corridor you originally entered the main room from, and there will be an elevator at the far end waiting to take you back to the entrance. Now you just need to head to the building opposite to deliver the evidence to David Barron at the SSNN Field Office, before returning to Ryujin Tower to report to Masako and see the outcome of your work.
© 12DOVE. Not to be reproduced without permission.
Sign up to the 12DOVE Newsletter
Weekly digests, tales from the communities you love, and more

Iain originally joined Future in 2012 to write guides for CVG, PSM3, and Xbox World, before moving on to join GamesRadar in 2013 as Guides Editor. His words have also appeared in OPM, OXM, PC Gamer, GamesMaster, and SFX. He is better known to many as ‘Mr Trophy’, due to his slightly unhealthy obsession with amassing intangible PlayStation silverware, and he now has over 750 Platinum pots weighing down the shelves of his virtual award cabinet. He does not care for Xbox Achievements.













The Witcher 4 and Naughty Dog's Intergalactic are reportedly skipping 2026 and won't be ready until at least the year after

CD Projekt boss says "cutting-edge single-player games" – you know, like The Witcher 4 and Cyberpunk 2 – will "continue to enjoy great popularity" despite industry shifts


