Starcraft II: Wings of Liberty – Campaign walkthrough & strategy guide
So it's been 10 years since you played Starcraft? Better check out our walkthrough
This is the last of the early-game semi-tutorial missions. Here, you're going to learn how to defend and repair stuff, but also how a good offense can be the best defense. It's also the first mission in which you'll encounter non-Terrans; in this case the dreaded Zerg. Keep in mind that one of the optional achievement goals here basically makes this an entirely different mission, so I'll address that only at the end, in green.
1.As usual, select your SCVs and have them start mining. Also, select your headquarters and right-click on the minerals to make sure that new SCVs start mining right off the bat.

a.Immediately cull one of your SCVs off the main pack and have it build a refinery.

b.Don't forget to set your headquarters to build SCVs, either. You're going to want at least five more throughout the course of the mission.
2.Next, take a look at the top portion of your base. You'll see you've got some unmanned bunkers here. Take your marines and stick 'em in there – make sure you don't garrison any medics you may have, as this will not be an effective use of the bunkers.
a.You can tell the bunkers are full when the bar on top of them goes from greyed out to fully white.

3.Leave the two inner bunkers empty for now. You don't need them filled up.

a.Also, at this time make sure you build a Tech Lab on one of your two bunkers and a [NAME OF ADD-ON] on the other. One should build only marines all the time, the other – the one with the tech lab – should build one medic for about every 6 marines, and should otherwise build marines all the time.
4.Around this time you should be attacked by some Zerg. Usually just a few Zerglings, sometimes some more interesting stuff, but your garrisoned bunkers and rocket towers should easy be able to handle them.
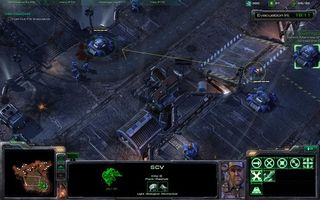
a.Don't forget to repair your bunkers and towers when they're damaged. Assign an SCV to float around for this purpose.
b.When the SCV is not repairing, have it build Supply Depots.
c.Build a TON of these if you want to get the offensive achievement. You'll want a supply capacity of over 100, and will probably want to build an extra SCV to dedicate solely to this purpose.
d.(Achievement) Also, at this time, if you're planning on doing the offensive mission, make sure you upgrade your marines' armor at the Engineering Bay. You can also upgrade their weapons if you have the resources, but this is slightly less important.
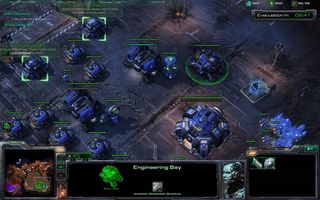
5.You should keep on building marines and medics until you've got a total of about 20 folks. Keep this force in the strip of ground between your bunkers to float around and handle any minor Zerg raids.

6.That's pretty much it for the main mission. If you like, you can build multiple, redundant bunkers and garrison them, as well. In general, you want to stack them with overlapping fields of fire, so that they kinda look like the 5 pips on the side of a die. You should definitely take this tack if you want to get the achievement for not losing any buildings during the mission.
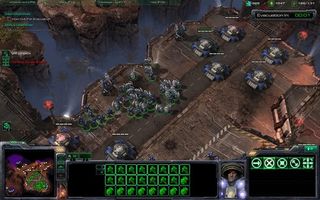
a.Easy peasy, just repair, relax, and hold out for pickup.

7.(Achievement) Now, if you want to get the achievement for killing four Zerg hatcheries on hard difficulty, you're going to have to alter your tactics from the above slightly.
a.First of all, you can't just sit back and chill. You'll get periodic messages from groups of marines asking for help – go save them. You'll meet surprisingly little resistance doing this at first, so about a dozen marines and a medic should do ya.
b.However, if you actually want to take out the Zerg, you're going to need a lot more guys: about 40-50, in fact – so figure about 35 marines with about 7 or 8 medics.
c.Once you've got that posse together, head to the left corner of the map, and using attack move, assault the Zerg base.
8.(Achievement) The primary thing to keep in mind is the rule I mentioned above: always kill what can hurt you first. This is not always a good tip for multiplayer, but in single-player, where the AI can't respond by making new defenses and such, this is gospel.
a.Especially important in this case are the Spine Crawlers. These things do massive damage to your marines and need to be killed post-haste. Do your best, also, not to expose your guys to multiple spine crawlers at once. Bunch them up and stay out of range.

9.(Achievement) Once you've dealt with the Spine Crawlers and other defenders, move on to killing the hatcheries. Don't worry about the other buildings much – they don't really matter at all in the long run.
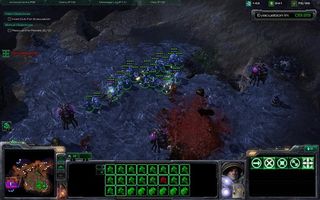
a.Also, make sure you're building plenty of marines and medics back at the home base and rallying them up to reinforce you at all times.
10.(Achievement) There are three hatcheries in this particular base, so destroy them all, then high tail it north to the second Zerg enclave. Make sure you've got plenty of marines – again, at least 35 – and in this case ignore everything and just attack the nearest hatchery. This is one of the few times I give you permission to ignore stuff that's attacking you for stuff that isn’t.

a.Once you've killed the last hatchery, you've got your achievement, so pull your remaining dudes back to your base and dig in for the impending finale!
Sign up to the 12DOVE Newsletter
Weekly digests, tales from the communities you love, and more
