Starcraft II: Wings of Liberty – Campaign walkthrough & strategy guide
So it's been 10 years since you played Starcraft? Better check out our walkthrough
This mission introduces the Battlecruiser and all its mighty power. You'l constantlly be taking damage from Protoss force fields in this mission so its important that you strike hard at the Rip Field generators before pulling back out to repair.
1. Destroy the first Rip Field generator

Easily done with your 3 starting Battlecruisers, send them in and have them use their Yamato Guns on the generator, it will blow up, allowing you to push forward.
2. Begin harvesting, create a defense
Build a small defense for your initial base, as you’re likely to have some Protoss periodically dropped on your doorstep. A few Marines in a bunker and a Missile Turret are ideal. Get an Armory going and level up Ship plating and weapons, you’ll need them.
3. Build the fleet

Above: Overkill?
The easiest way to accomplish this mission is just by spamming Battlecruisers and making sure they’re repaired. Build the Tech Lab on your Starport and begin spamming Battlecruisers out as fast as you can, build an additional Starport if you really want to speed things up. The ships very quickly eat up resources, so make sure to have your SCVs producing Supply Depots.
4. Rescue the prisoners

The prisoners are marked clearly on the map, scoot a few Battlecrusiers over to each green triangle and destroy their jail to free them. The prisoners can be helpful in taking out pesky ground forces and reducing the potential damage your Battlecruisers might take. They are permanently cloaked, and do an excellent job taking out High Templars and Archons. Just be careful not to stray too close to detector units.
5. Destroy the Mothership

At this point the Protoss will summon a Morthership to the field. As usual, they are very powerful and have the ability to temporarily warp units out of existence. Spawn a large group of Vikings or Wraiths from the Mercencary building to give your Battlecrusiers some anti air support before taking on the Mothership, as you’ll need to make up for the units that will be warped away. Make sure to use your Yamato gun on them, but don’t worry about it if the Battlecruisers get warped, Vikings and Wraiths are more damaging as anti air and have better range.
5. Continue destroying the Rip Field generators
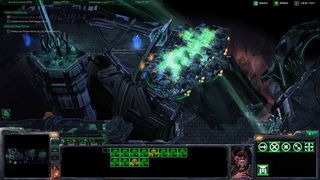
Once the second Rip Field is down, begin moving your base from its starting point, across the gap towards the Protoss base you destroyed. Set up a rudimentary defense here as well just in case your Battlecruisers are too far away to help. Continue to build Battlecurisers and take down each generator one at a time. Make sure to continue freeing the Protoss prisoners and having them attack as well.
6. Destroy the Xel’Naga Vault
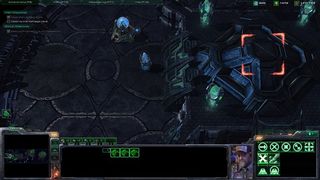
As long as you take it slow and make sure your Battlecruisers are repaired, you can easily push forward, taking out all the enemy Protoss and Yamato Gunning the Rip Field generators. Make sure to destroy the Rip Field generator to the left of the Xel’Naga Vault before destroying the Vault to get the Achievement for destroying all of the generators. Destroy the vault to finish the mission.
Sign up to the 12DOVE Newsletter
Weekly digests, tales from the communities you love, and more

