Starcraft II: Wings of Liberty – Campaign walkthrough & strategy guide
So it's been 10 years since you played Starcraft? Better check out our walkthrough
This is the secret mission you unlocked in Media Blitz. Another small squad mission, this one has you controlling Raynor and some Marines through a secret facility.
1. Breach the door, grenade the enemies
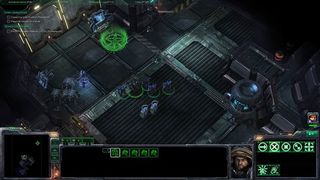
Raynor has some unique abilities in this mission, an explosive charge that allows him to breach doors and grenades, both of which you’ll get to use immediately.
2. Use the security console, release the Zerglings
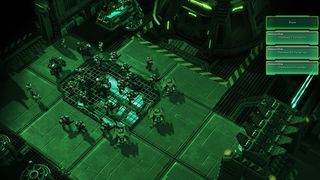
Once you’ve got into the security console, you’ll be given the option of unleashing some enemies on the Marine force waiting to ambush you. Releasing the Zerglings is the best option as they’ll take out all of the Marines but also lose most of their force in the process, making it easy for you to mop up. Whatever you do don’t unleash the Zealots as they’ll kill all the Marines and most will survive, making it an extremely difficult fight for you in such close quarters.
3. Collect the first Protoss Relic
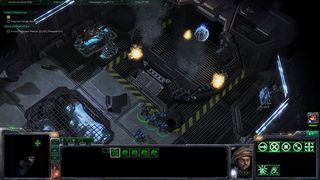
Once you’ve cleared out the remaining Zerglings, blow up the holding pen you released them from as it contains the first Protoss Relic. Continue forward, you can breach the door on the right for additional plasma gun ammo.
4. Make your way forward and request reinforcements
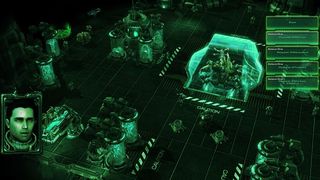
Access the next computer and you‘ll be given the choice of calling down some reinforcements. It’s best to pick the 8 Marines or 3 Marauders as the additional Medics are unnecessary and the Firebats are unable to attack from range while moving.
5. (Achievement) Defeat the Brutalisk, collect the second Relic
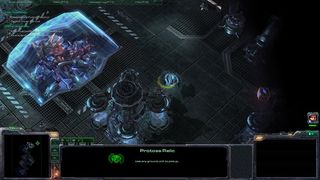
Have Raynor take care of the scattered troops around the room before accessing the computer. You can skip killing the brutalisk if you’re not up for it, but you’ll miss out on the level’s main achievement and 4 Zerg research points. To defeat the Brutalisk you’ll need to put maximum range between you and it, so make sure your Marines are in position before you let it out. Have your Marines use their stimpacks and focus fire the Brutalisk while Raynor uses the Plasma gun ammo and grenades. If possible, try and get the Brutalisk to attack an individual unit and have them kite the Brutalisk around.
6. Destroy the containment unit, run away
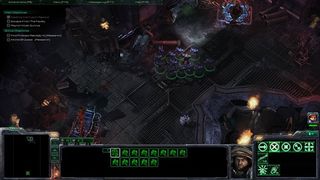
Move to the next room and destroy the containment unit, you’ll unleash the prototype creature, sending it on a rampage. After the rampage, follow the path through the debris until the prototype appears, its invulnerable so keep moving. You’ll encounter some scattered enemies as you’re fleeing which raynor can quickly dispose of with grenades.
7. Collect the second Protoss Relic, flee the base.
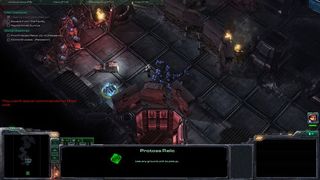
After a little chase the prototype will vanish, take a break to heal and assemble yourself if necessary. Continue pushing through the scattered enemy forces, using Raynor’s grenades where necessary. A little further forward and the prototype will appear again, attempting to break through some debris keep moving forward using greandes to clear groups of enemies that will hold you up.

Above: CAMEO
Push forward until the Prototype disappears again, using your chrono rounds to slow him down and focus firing the debris in the way. Make enough progress and the Prototype will vanish again. At this point, backtrack a little to find the last Protoss relic being guarded by two Zealots. Continue forward and be prepared for the final Prototype ambush, use the last of your Chrono rounds to slow him down and make a break for the transport.
Sign up to the 12DOVE Newsletter
Weekly digests, tales from the communities you love, and more
