Starcraft 2: Heart of the Swarm brutal campaign walkthrough
Guide to completing the campaign on brutal difficulty
UMOJA MISSION 3: RENDEZVOUS
Main Objective: Hold Out for Reinforcements, Destroy the Drakken Pulse Cannon
Bonus Objective: Rescue Trapped Swarm Queens [0/3]
ACHIEVEMENTS
Rendezvous: Complete the "Rendezvous" mission in the Heart of the Swarm campaign.
First Strike: Destroy 15 enemy structures before Naktul's forces arrive in the "Rendezvous" mission.
Zerg Save the Queen: Rescue all trapped Swarm Queens before Naktul's forces arrive in the "rendezvous" mission on Normal difficulty.

The initial position for your spine crawlers gives you a fairly small concave. Pulling them back will give you the room to place more spine crawlers in your defenses while maintaining a larger concave. Also, the units you start with are enough to deal with the first wave, so build drones to about 15.
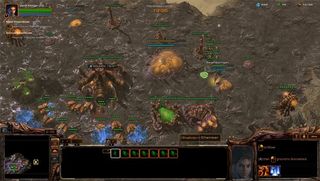
After you deal with the first wave of units, directly to the right lies some resources to pick up. Build a macro hatchery and a few more spine crawlers to supplement your unit production and defenses. The next wave can be easily dealt with by Kerrigan and a handful of zerglings.

The next wave is rather large. First it will be a handful of marines, marauders, and medics, followed by a group of wraiths. Kerrigans abilities make dealing with these fairly easy, so use them often. Also, be sure to supplement your defense with additional spine crawlers from time to time.
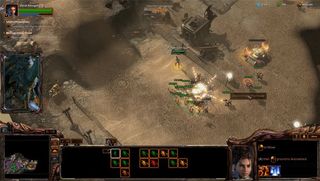
There is a large group of terran units guarding the swarm queen to the east. This may require two waves of zerglings to deal with, as you want you keep your eyes on the minimap as well. You don't want to be caught out of position while another wave of terran units attacks your base.
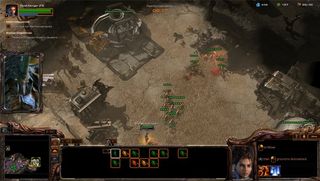
After dealing with the initial group of units by the fence, there are very few remaining and don't require many zerglings in order to clean up to free the first swarm queen.
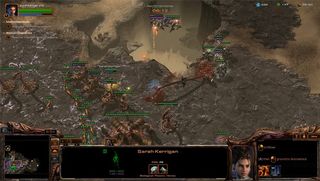
Shortly after, you will be alerted of a large terran force bearing down on your position. Reinforce your defenses with some queens to deal with the air units and more spine crawlers to deal with the rest.
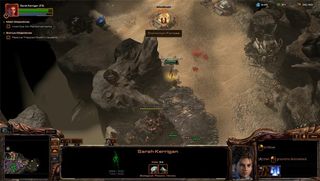
The next trapped swarm queen can be found directly to the north from the left exit of your base. The first things you will encounter are some bunkers. Kerrigan can easily with with them herself using her abilities, so don't waste zerglings.
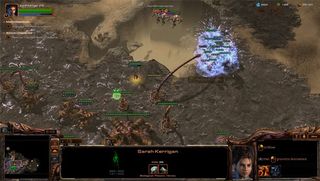
You will be alerted of another large wave of units soon. This should be easily with if you've been maintaining your defenses.
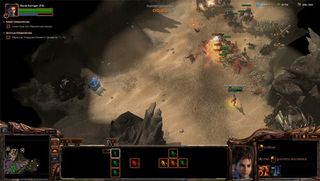
There's quite a bit by the second swarm queen, so kite them back to your spine crawlers to clean them up.
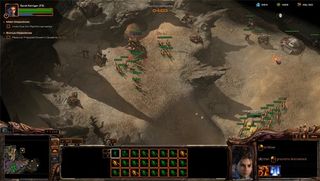
After freeing the second swarm queen, head back to your base and prepare for the frequent incoming waves as the timer ticks down for your reinforcements to arrive. There are two ways to reach the last swarm queen and you'll have ample time to do so afterwards.
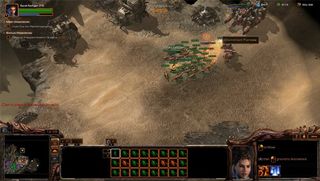
You'll be greeted by a hefty amount of resistance if you try and make your way into their base. Killing off additional units out on the map isn't necessarily required at this point. The first initial defensive outpost will be destroyed when your reinforcements arrive.

As you make your way forward another worm will spawn spitting out additional units. At this point, you can easily attack-move to clear out the next area and free the next swarm queen.

Clearing out the area to the left isn't necessary.
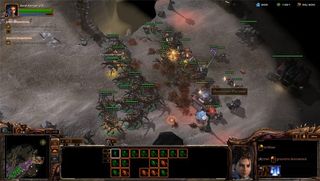
The same could be said with the small base to the right of the objective, but there's nothing like being thorough. Unfortunately this will make things more difficult as you should be close to being mined out by now.

Instead of clearing out the unnecessary areas of the map with terran units and wasting units, use your units to head straight for the objective, so you don't have to rely on oddball tactics like this to finish the mission.
Sign up to the 12DOVE Newsletter
Weekly digests, tales from the communities you love, and more

