Starcraft 2: Heart of the Swarm brutal campaign walkthrough
Guide to completing the campaign on brutal difficulty
SKYGEIRR MISSION 3: PHANTOMS OF THE VOID
Main Objective: Destroy the Protoss Base, Deactivate the Temples [0/5], Kerrigan Must Survive
Bonus Objective: Destroy Xel’Naga Crystals [0/3]
ACHIEVEMENTS
Phantoms of the Void: Complete the “Phantoms of the Void” mission in the Heart of the Swarm campaign.
Stukov Strikes Back: Don’t let Stukov die in the “Phantoms of the Void” mission.
The Phantoms Menaced: Kill 2 Hybrid within 20 seconds of eachother in the “Phantoms of the Void” mission in Normal difficulty.
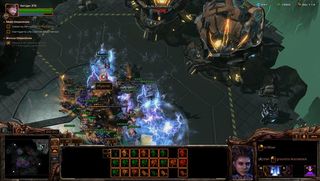
The Protoss units are easily taken care of with your starting units. Mend the Ultralisks to keep them alive.

Stukov’s abilities are actually quite strong. The infested terrans he spawns are good for soaking up damage and his single target attack does a considerable amount of damage. The defenses as the first Temple are easily overtaken, but keep in mind, Stukov must channel in order to destroy it. He can still use his abilities while he channels, so try and fight by him.
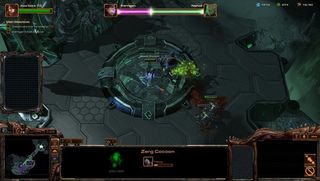
Channeling takes 60 second to complete. You will be able to complete channeling the first temple just as the hybrid arrives. If Stukov dies, like Kerrigan, he will respawn back at your base. Luckily the hybrid will remain at the temple.
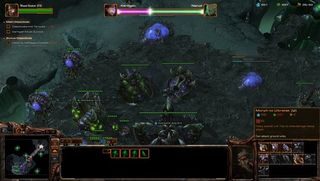
It will be a while before Kerrigan is in danger again, giving you time to saturate your base, get some macro hatcheries up, and build some tech structures. Start building Ultralisks now, to make up for their rather long build times.
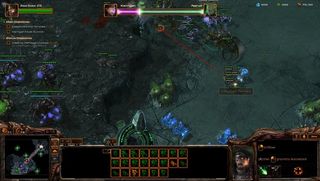
Clear out and take your expansion as you make your way towards the next temple to the east.
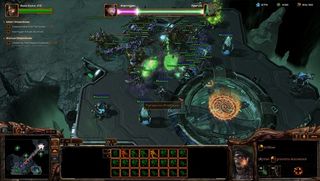
There isn’t much defending the next temple. Start building hydralisks if you haven’t already because there you will start seeing some air units. There will be a few scouts mixed in the first wave of units after you start channeling.
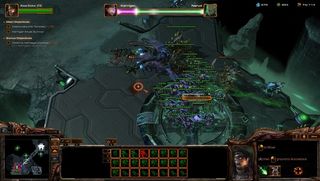
A second hybrid will attack right after the first. It should be easy to destroy within the time limit for The Phantom Menaced achievement. Keep an eye on your minimap. There will be a small group of protoss ground units attacking your main base from the north.
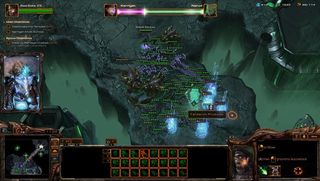
The first Xel’Naga crystal is directly to the east of your expansion. A few units will warp in to defend it.

Avoid the Protoss base to the far east. Attacking will end up wasting time and units. The Xel’Naga crystals are hidden is easy to reach places, so you don’t have to worry about missing out on completing the Bonus Objective.

There is a small Protoss outpost defending the temple to the northeast. Don’t forget to rally units to your location to help replenish your army and help defend while channeling.
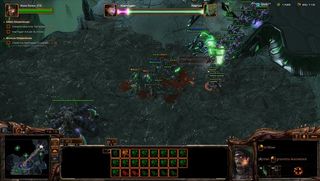
Be aware of the minimap. Small groups will randomly attack your base. This can be especially dangerous if you’re channeling at a temple and don’t notice an attack until it’s too late.
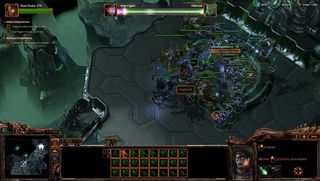
The northeastern temple will be just as easy to take as the last one. The only difference being that the 2 immortals in it’s initial defense are replaced by 2 colossus. You will be attacked by 2 hybrids after the first wave while channeling.
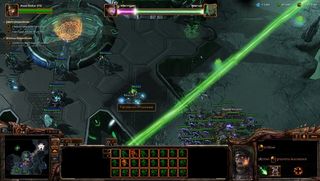
You will be able to reach the next temple rather quickly, as it’s directly to the west.
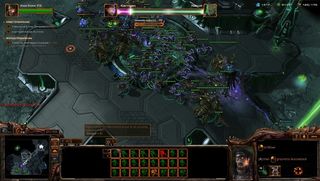
By now you should have enough of an economy and a bank to build a pretty formidable army capable of taking anything the rest of the mission has to throw at you. 3 hybrid will be sent simultaneously along with protoss units while you channel at this temple.
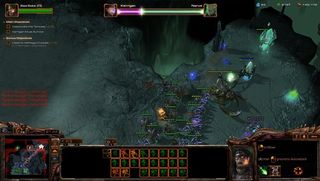
The second Xel’Naga crystal is to the northeast, almost underneath Narud’s energy beam.
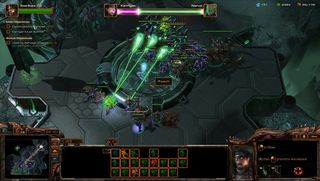
Be mindful of random counterattacks. They will come at you both the east and north, where the protoss bases lie.
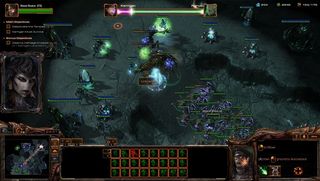
Avoid the Protoss base to the north. Like the one to the east, it will be both a waste of time and units.
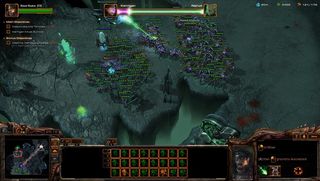
The last Xel’Naga crystal is to the south of the last temple location.
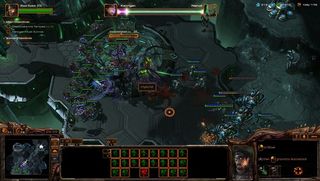
During the last temple channeling, make sure you move your units far enough back the attacking protoss and hybrids are in range of Stukov. Set your rally to flank attacking forces.
Sign up to the 12DOVE Newsletter
Weekly digests, tales from the communities you love, and more


