Starcraft 2: Heart of the Swarm brutal campaign walkthrough
Guide to completing the campaign on brutal difficulty
ZERUS MISSION 2: THE CRUCIBLE
Main Objective: Kerrigan's Chrysalis must survive.
Bonus Objective: Kill the Tyrannozor
ACHIEVEMENTS
The Crucible: Complete "The Crucible" mission in the Heart of the Swarm campaign.
Epic Meal Time: Kill 75 enemy units with Primal Spawn Locusts in "The Crucible" mission.
Can't Touch This Chrysalis: Complete "The Crucible" mission without Kerrigan's Chrysalis taking damage on Normal difficulty.

The beginning of this mission is basically a tutorial for swarm hosts so it was skipped in the video. Bear in the mind, unlike multiplayer, the swarm hosts are not completely burrowed. They can still be attacked in the campaign. Their full burrow ability is chosen back in the Leviathan between missions.
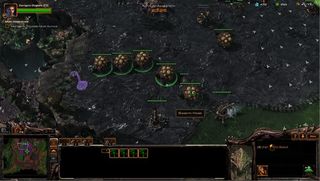
The first few waves will be on either the left or the right so it's safe to move all of your defenses to either side. Also, don't let the spawning pool fool you. You can still burrow and do everything normally in it. All it does is slow down movement speed.

This is a good time to get your economy going and build a few macro hatcheries. Starting your expansion is also safe, as it doesn't really become the target of attacks until much later in the mission. I wouldn't waste the minerals on static defenses, unless they're swarm hosts. Enemies will be attacking the chrysalis from many different directs and swarm hosts are much easier to shuffle around.
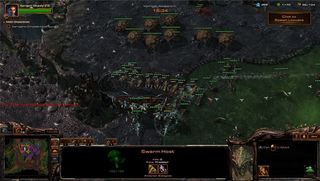
At roughly 9:00, you can use Primal Spawn Locusts from Kerrigan's Chrysalis. It can be used every 2 minutes, so you don't have to use it sparingly. Starting a Hydralisk den is advised because primal zerg fliers start attacking at roughly 11:00.
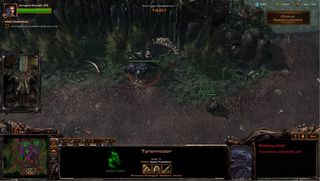
The Tyrannazor appears on the map at roughly 12:30. It has 2000 hp and is extremely strong and has a cleave attack. Using anything but zerglings is pretty effective against it, but make sure you kill it in one attempt, because it regenerates health quickly.
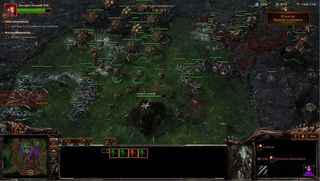
At roughly 13:10, you are attacked from both sides. Use the Primal Spawn Locusts to make short work of this wave.
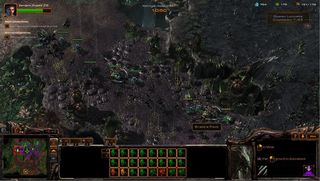
During the wave that starts at roughly 15:50, spawning locusts can be used to take care of this wave giving you an opportunity to get your army into position to kill the Tyrannozor.
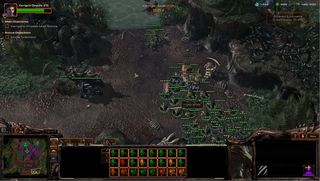
After you cross the stream of primal zerg tuck your army into the corner and burrow. Doing this causes the primal zerg to disengage allowing you to fight the Tyrannozor one on one.
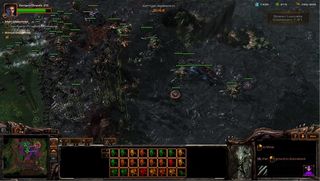
Roughly around 17:20, another wave will commence. Spawn locusts to minimize damage while your army makes it way back from the Tyrannozor den.
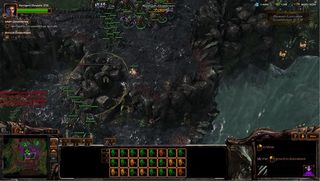
At 19:15, the primal zerg will start attacking the destructible rocks south of Kerrigan's Chrysalis. Shortly after you will be attacked again from all directions. Spawn locusts once again to take care of this wave.

While your locust cooldown is still recharging, try and fight on the chrysalis giving the locusts spawned by your swarm hosts a chance to tank a good portion of incoming waves of units.
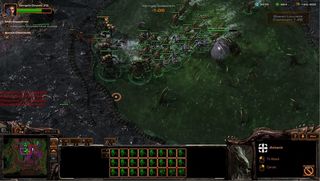
At 23:43 the primal zerg stop fighting each other and join forces to attack you. They don't attack for about another minute so this will give you time to prepare and max out your army. At this point all of your upgrades should be researched and you should have a decent bank of minerals and gas. Don't worry about saving your expansion at this point because all you need to do is survive for another 3 minutes.
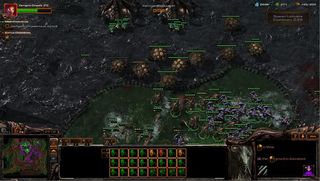
Try and stay right by the chrysalis at all times. Rally your hatcheries to the chrysalis and continually build units as they die giving you a constant stream of reinforcements.
Sign up to the 12DOVE Newsletter
Weekly digests, tales from the communities you love, and more


