The full Star Wars Jedi Survivor walkthrough
The complete guide on what to do and where to go in Star Wars Jedi Survivor
With two leads on Tanalorr in mind, I’ll take you through the first which is the Shattered Moon in Star Wars Jedi Survivor. Head inside the Mantis and choose the destination at the holotable to set off.
Research Tanalorr on the Shattered Moon
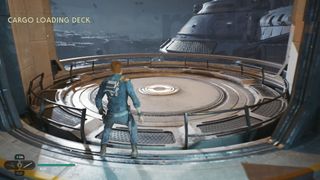
To start with, you’ll be on the Cargo Loading Deck and you need to take the large, circular lift down to the lower level. This leads to the Automated Forge area where you’ll spot a Meditation Point at the opposite end of a destroyed bridge.
You need to get around the bridge by grappling to a platform to the left, then walk along the pipe to reach some climbing grates. Climb along and watch out for the heat vents, then drop off the grate once you’ve reached the other side of the bridge. You should activate the zipline shortcut and rest at the Automated Forge Meditation Point too.
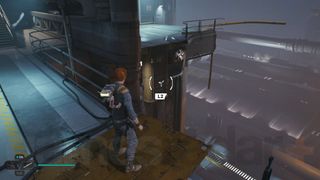
Next, head through the wide doorway near the Meditation Point to get inside the moon facility. Just keep heading straight down the main corridor but watch out for Bedlam Raiders hiding around corners.
Eventually you’ll get to room full of inactive Battle Droids. You can start destroying the droids, but eventually they’ll activate and will be reinforced by a few raiders. Destroy them all then get BD-1 to slice the door terminal at the other end. Head through and immediately go right.
Head into the next room and you’ll get into a boss fight with a Reprogrammed MagnaGuard droid. It’s quite an easy boss to beat, but you need to watch out for its unblockable jumping attacks. Moreover, if you slice off its head, it starts to attack wildly, so try to avoid that.

Once the MagnaGuard is dead, head through the doorway with heat vents blasting steam out on a timer. When you’re in the next room, Force Pull the large, red switch on the left to deactivate the vents ahead. Now, wall run to the grate and climb across the room but be mindful of the timed electricity traps along the way.
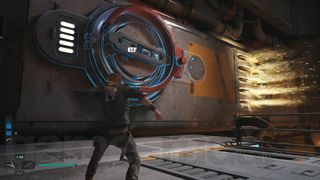
Next, wall run to the platform on the right, then set up the zipline shortcut that leads down to a platform with more ziplines attached. You can also cut a cable to set up a second short cut. Now use the ziplines to get all the way to the far side of the area. You can get BD-1 to slice the door terminal on the right, creating another shortcut back to the Meditation Point.
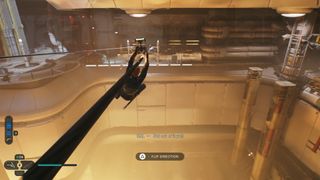
However, to progress you need to head left and start climbing up the grates with electricity moving down them. This’ll switch to a ceiling grate which, once you’ve reached the end, you can go right and drop to a small hanging platform. From here, use the ziplines, wall running, and climbing to reach the other side of the facility known as Assembly Staging. Go left once you’re up on the metal platform and activate a zipline shortcut that leads back down to the door shortcut you just opened.
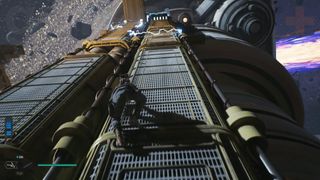
Keep going around and you’ll see a green laser barrier with a Bedlam Raider and a pair of Super Battle Droids on the other side. From here, head right and grapple to the grate. This, along with Cal, will all fall into the trash compactor-looking room below in a scripted moment.
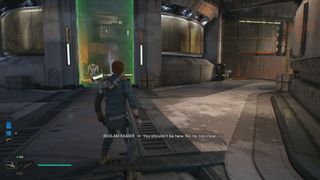
To get out you need to grapple to the hovering Lift Droids at the end of the room. There are two possible routes, and you should take both to get some useful collectibles. Either grapple the left droid, climb along the grate, get into the small room, then leap to the opposite walkway. Or grapple to the right droid, hop to the small room, then use the climbing grate to get to the same walkway. When you’re on this upper walkway, make sure you cut the cable to set up a shortcut.
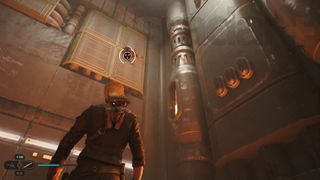
From this upper walkway, you can now drop down to the raider and droids behind the barrier and kill them. Now wall run to the upper ledge and set up the zipline short cut. Now just follow the corridor and drop down – you’ll be standing at the bottom of a long incline with various ledges on it and streaks of electricity moving down.
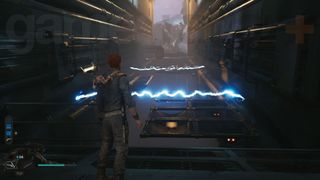
Move up the incline by hopping across the ledges, working your way up to the platform that a Battle Droid is standing on. From here, you can wall run to the top of the incline. Walk along the yellow pipes and jump across to reach the next area, which has several BX Droids to deal with.
After defeating the droids head right and swing from the rope to reach the next ledge. You’ll be at the bottom of another incline with moving electricity, although this time, you need to walk along or hang from the yellow pipes to avoid the electricity.

Eventually you can start walking up the incline, avoiding the electricity. However, it’ll all collapse and you'll have to quickly grapple to a Lift Droid. Let the droid lift you to a climbing grate on the left, allowing you to reach the walkway. From here, grapple to another Lift Droid, and then wall jump up to the next area called Superstructure Fabricators. Once, you’ve cleared out the waiting droids, head right to the Array Channel Meditation Point.
Keep heading down this walkway and you’ll notice a hanging platform that you can use the Force on. Use Force Push to make it swing then jump on. You can now jump and grapple to the climbing grate on the underside of the structure ahead. Climb around and up using the grates to get onto the next platform. Make sure you cut the cable for a shortcut up and down.
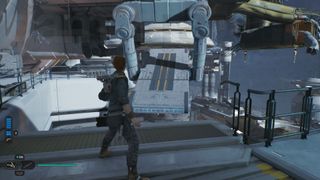
Now you can swing across using a pair of ropes to reach another building. Head inside and collect the device on the left. This triggers a boss fight with Drya Thornne, a Lightsaber-wielding bounty hunter that can become invisible. They’re not as hard to beat as they sound, and Cal’s Blaster Stance is very effective to shoot Drya even when they’re invisible. As usual, parry Lightsaber attacks to strip their block and Force Push grenades back at them to blow them up.

With Thornne defeated and the mysterious device in hand, your research on the Shattered Moon in Star War Jedi Survivor is done. You can meditate at the new Superstructure Fabricators Meditation Point, but to get back to the Mantis you need to head through the exit door and fight your way past several Bedlam Raiders and Battle Droids. At the end of this corridor, you can activate a zipline shortcut that leads right back to the loading deck where the Mantis is.
© 12DOVE. Not to be reproduced without permission.
Current page: Jedi Survivor Shattered Moon walkthrough 1, Research Tanalorr
Prev Page Jedi Survivor Jedha walkthrough 1, Meet Cere on Jedha Next Page Jedi Survivor Koboh walkthrough 4, Research TanalorrSign up to the 12DOVE Newsletter
Weekly digests, tales from the communities you love, and more

Will Sawyer is a guides writer at 12DOVE who works with the rest of the guides team to give readers great information and advice on the best items, how to complete a particular challenge, or where to go in some of the biggest video games. Will joined the GameRadar+ team in August 2021 and has written about service titles, including Fortnite, Destiny 2, and Warzone, as well as some of the biggest releases like Halo Infinite, Elden Ring, and God of War Ragnarok.
- Leon HurleyManaging editor for guides
