The full Star Wars Jedi Survivor walkthrough
The complete guide on what to do and where to go in Star Wars Jedi Survivor
For the next part of your adventure on Koboh, you need to head beyond Rambler’s Reach Outpost to open the Forest Gate, and then reach the Forest Array to help Zee.
Open the Forest Gate
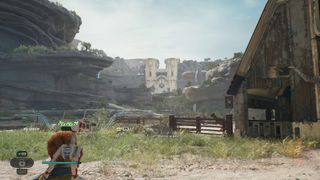
The Forest Gate is a tall, white gate easily visible from Rambler’s Reach Outpost. Using the map, head in the general direction of the gate’s objective marker and you should wander past the Swindler’s Wash Meditation Point. You’ll notice that the area is divided by a small canyon carved out by a river, with the gate up on the other side of the canyon but no obvious way to reach it.
To get across, follow the stream up to the waterfall and jump into the pool area – be aware that there is a large, red creature called a Bilemaw nearby but you can avoid it. Head over to the rock wall behind the waterfall itself and wall run to the right up to a ledge.
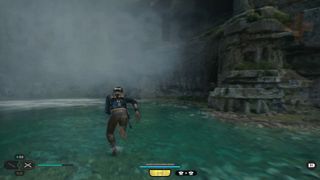
From here, run along this side of the canyon and you’ll end up right at the Forest Gate where you can set up a zipline shortcut that leads back to the Meditation Point. Interact with the gate and Cal will open it using the Koboh Tuner he got from Zee. With the gate open, follow the path to reach the Basalt Rift.
Reach the Forest Array
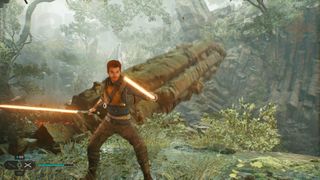
To cross the first Basalt Rift area, you need to set up a zipline, but some protruding rocks are blocking the cable’s path. Start by wall running to the left and cutting down the rock pillars in this area. One will collapse entirely, forming a bridge. Walk across and Force Push the protruding rocks to clear the path. Now you can go back and get BD-1 to activate the zipline to travel across.
Carry on through the next area with a water stream, wall running and grappling to avoid getting swept away. Go through a gap, then go down the path to the left and traverse the area to reach the Basalt Rift Meditation Point. You’ll be able to see some Bedlam Raider droids fighting Imperial Stormtroopers ahead.
Get to the droids and Stormtroopers and clear them out, then head down to the right. This path leads down into a cavern, but you need to climb across the gap using vines on the wall. There are more troopers to battle on the other side, but once you’ve fought them off, there’s a zipline shortcut you can set up that leads back up to the Meditation Point.
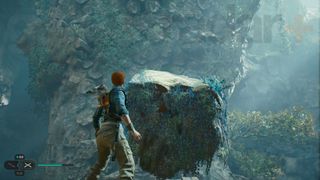
Continue into the cavern and then go down the waterslide to reach an area with a couple of troopers and a Bilemaw. Once you’ve dealt with them, head over to the cliff edge and start Force Pulling rock chunks out the opposite cliff. Jump to them to reach a wall-running wall and climbing vines that lead to the next area – another cave with a green Twi-lek woman called Toa inside.
Carry on through the cave and follow the path around to the left, but make sure you also cut down the rock pillar to create a bridge shortcut leading back to the Meditation Point. As you walk, a cliff section will collapse, crushing a couple of Imperial troopers. The obvious path appears to be to use the climbing vines to get around the debris and go uphill, but you actually need to drop off the ledge to the right of the vines, then keep heading down to get to the lower level of the jungle – heading uphill does lead to a Stim, however!
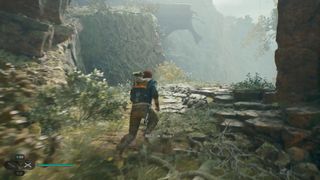
At the jungle floor, you’ll face another Bilemaw in a clearing. Once you’ve defeated it, there are more rock chunks that you can Force Pull from the cliff wall, allowing you to reach the next area.
Head down the path and you'll find spore like particles floating in the air that inhibit Cal’s abilities and suffocate him. Exposure will eventually kill you so be careful - push on through the particles and you’ll reach a large pit area littered with the stuff. To get across, head right and climb along the vines and the metal girder. This gets you to an upper area from which you can jump to a metal platform in the pit. Wall run down the chasm to reach the Forest Array area and Meditation Point.
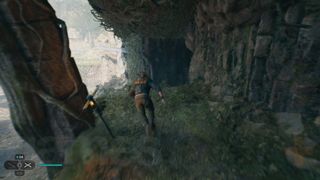
You’re now in the right area but there’s still a way to go to and indestructible barriers of web-like Koboh matter block the critical path for now. Start by heading left from the Meditation Point and Force Pushing the metal bar down. Now, get across the platforms and bars ahead, avoiding the particles below, and climb up and to the right. When you get to the top of this array building, you’ll spot a massive bird creature tangled in some Koboh matter and you can also set up a zipline shortcut from this position.
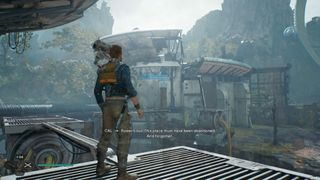
Next, head down to the lower part of the building and jump to a climbing grate on the right next to a web of Koboh matter. Keep climbing along until Cal falls off in a scripted moment. Now you need to wall run to the previous building to progress, and there’s also a door shortcut you can open here.
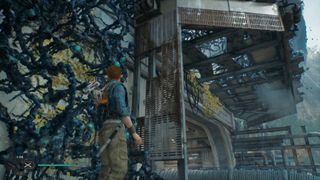
Keep going through the structure until you cross a bridge to another building. Here you’ll face a Mogu creature, so be careful. Afterwards, climb up using the grate at the end of the bridge to get to the roof.
Once there, jump down into the middle to find another orb and coupler. Move the orb into the coupler to create a beam that destroys the Koboh matter barrier ahead, leading back to the Meditation Point, and even the one on the opposite side.
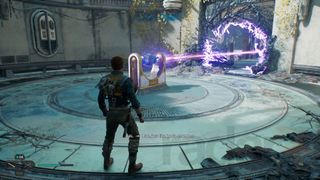
Run across the walkway and follow the beam to the opposite area and jump up to the metal platform. You can swing off a pole to reach ledges that lead you out of this building – you can also cut a cable to set up a shortcut once you reach the upper position. From the cable shortcut, drop down to the left and then head uphill to the right.
Once you’re at the top of the hill, head left and down another path leading into a squeeze gap. This takes you to the Bilemaw Den area and Meditation Point – be sure to grab the Force Essence in the little cave area that provides the Confusion: Major Fauna ability. Next, head up the hill to reach a small Imperial camp that’s under attack from the Bilemaw. You can use your new ability to ensure the Bilemaw continues attacking the Imperials.
Follow the path through the Imperial camp around to the left then climb your way around the cliffs to reach a flying creature called a Relter. After a cutscene, you can tame the Relter to unlock the ability to glide with any Relter you find. Jump to this Relter and fly it through the chasm to reach the next Forest Array building. Make sure you also open the door in the cliff wall to the right to open a shortcut to the Bilemaw Den Meditation Point.
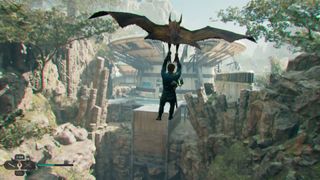
Walk around the building and battle the waiting Stormtroopers, then reach the Relter and glide to the central clearing with a big beam. Force Push the lever to rotate the beam so that it destroys the Koboh matter barrier blocking the way to the Forest Array Meditation Point. Rotate the beam again to destroy the Koboh matter trapping the big bird creature and open a new path.
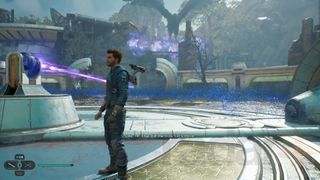
Follow the beam to the grates that you previously climbed on as, with the bird gone, you can safely climb across. Drop down into the next area and then use the Relter to glide over to the Imperial troopers at the main entrance to the Forest Array tower. After you’ve fought off the enemies, you can open a shortcut door that leads back to the central clearing with the beam.
Next, you’ll notice a coupler towards the array tower. Head back to the central clearing, grab the beam’s orb, then take it to the coupler – you can’t jump while carrying an object, so you’ll need to throw the orb across the gap first, then put it into the coupler. Walk across the formed bridge, grab the orb again, and toss it into the next coupler to get across to the Forest Array lift. Take it up to reach the Rehabilitation Wing Meditation Point.
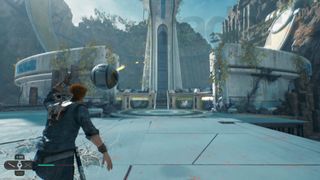
Head through the Rehabilitation Wing and get BD-1 to slice the terminal, powering up the array. Now head through the door to the right. This triggers a cutscene where Cal places his hand on a bacta tank and triggers a playable memory sequence. All you have to do is listen to the dialogue between the two Jedi, Santari Khri and Dagan Gera, then walk forward to get automatically teleported to the next area. Keep doing this until the sequence ends with another cutscene, which sees Dagan Gera freed from the bacta tank. You’ll now have to fight him...
Dagan Gera boss fight
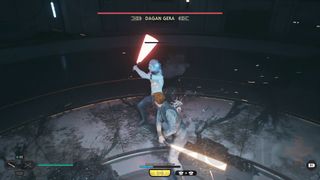
Don’t let Dagan Gera’s single arm make your underestimate him – he’s still a competent Force user and Lightsaber wielder, but is definitely on the weaker side at this point in the story. In this boss fight, he mainly uses saber combo attacks that can be relentless but are also easy to read and should be parried at any opportunity to reduce his block.
He also has a few dangerous unblockable attacks, but they have long windups that make them easy to dodge and don’t have particularly good range. Use this boss fight as an opportunity to practice your melee-to-melee combat techniques, such as parrying and perfect dodges, as you’ll be facing many more melee-focused enemies.
Leave the Forest Array
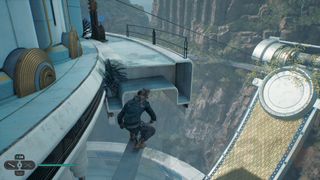
Unfortunately, before you can defeat Dagan Gera, his Bedlam Raider cronies, including Rayvis, show up to rescue him. However, you can now leave the array by walking out the window and climbing along the metal bar to the left. There's a zipline you can use to get down to a Relter. Use it to glide all the way to the Nekko Pools and the Meditation Point.
Check on the Mantis
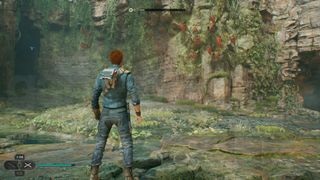
Once back on the ground, start by using the wall-running walls to the left of the Meditation Point to get through the water stream cave. Slide down into the next area and you can tame a Nekko creature, which you can also then mount. Importantly, Nekko are not affected by steep, slippery terrain, so ride one back the way you came to the Meditation Point, and then go up the wet hill ahead.
When you get to the yellow fence with the blue door, double jump on your Nekko to give Cal a boost that will get him over. Open the fence door to let your Nekko through, then carry on down the path to reach an area called the Bygone Settlement. Follow the path and you’ll notice the Bygone Settlement Meditation Point on your left, which you can reach by using the same double jump trick on your Nekko.
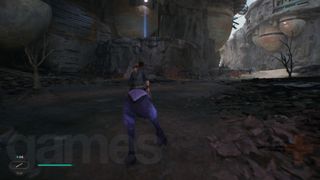
Keep going and you’ll see the Mantis fly in and land near Pyloon’s Saloon. Get over there and speak to Zee. She’ll say that she’s staying at the saloon but will open up a shop. Meanwhile Cal, Greez, and Bode are looking to find Cere somewhere on Jedha. Before you head off there, now would be a good time to visit Doma’s shop to spend any Priorite Shards you collected, perhaps on the Star Wars Jedi Survivor Mysterious Keycode.
© 12DOVE. Not to be reproduced without permission.
Current page: Jedi Survivor Koboh walkthrough 3, The Forest Array
Prev Page Jedi Survivor Koboh walkthrough 2, Find the gyro module Next Page Jedi Survivor Jedha walkthrough 1, Meet Cere on JedhaSign up to the 12DOVE Newsletter
Weekly digests, tales from the communities you love, and more

Will Sawyer is a guides writer at 12DOVE who works with the rest of the guides team to give readers great information and advice on the best items, how to complete a particular challenge, or where to go in some of the biggest video games. Will joined the GameRadar+ team in August 2021 and has written about service titles, including Fortnite, Destiny 2, and Warzone, as well as some of the biggest releases like Halo Infinite, Elden Ring, and God of War Ragnarok.
- Leon HurleyManaging editor for guides
