Full Star Wars Jedi Fallen Order walkthrough and guide
Star Wars Jedi Fallen Order is big, so let our walkthrough steer you through the system
Star Wars Jedi Fallen Order walkthrough - Kashyyyk pt2
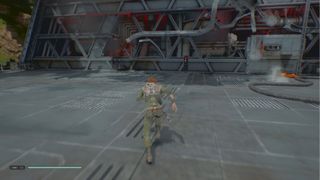
Go to the main door out of the hanger and summon the cable car lift if it’s not there. It’ll take you to the area where you had the AT-ST boss battle the last time you left Kashyyyk. Take the other lift down and head through the small door on the left, over the pipe on the right (you may need to use the Force to move it if you haven’t already) and through the narrow gap into the trees.
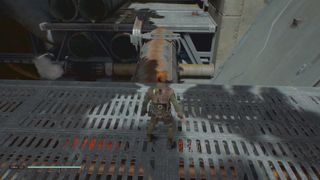
Hang a left as you come out and you’ll be back at the area you visited before with the bridge you needed Force Pull to bring down. Before you do that use Force Pull to grab the rope and swing over to the light in the alcove and find a Force Echo. Head back and Force Pull the bridge and you’ll be attacked by a new flying creature. Kill it and head over, Force Push the pipe on the right down and use the Meditation Spot.
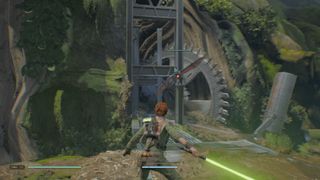
From the Meditation Spot, Force Pull the rope and swing to a second rope you’ll need to Force Pull to reach. Land and kill a bunch of Stormtroopers and Scout troopers and head down down the mudslide to find more troopers and a Purge Trooper to kill.
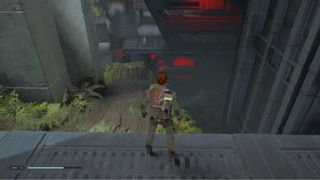
To the right where you land is shortcut back to Imperial Refinery. On the left are some platforms you can approach now, or after you’ve killed the Purge Trooper and deactivated the forcefield head via the Overcharge Panel. If you drop down now and have Jedi Leap you can jump up to reach a crate with the Lightsaber Switch Passion and Strength 2, or you can Wall Run back after turning off the forcefield. However you get the crate go through the door that was protected by the forcefield and head over the pipe to the right towards a downed AT-AT and some fighting troopers.
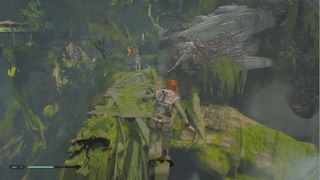
You’ll need to kill everyone (watch out for a surprise spider when you use the rope to swing over) and use the Climbable Wall to get into the building where the RPG troopers were. Inside you’ll find a zipline down to a lake.
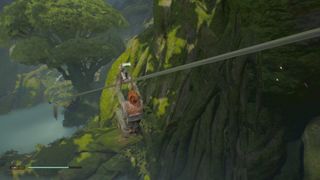
The zipline will drop you into the water and on your left you should see a crate in the distance you can swim to that contains the Lightsaber Material Croidium.
When you have the rebreather you’ll find a crate underwater with the Lightsaber Switch Peace and Justice..
Swim to the other side of the water to find a Meditation Spot. Turn back to the water and look for where you can climb up. To the left of the large Climbable Wall you’ll find a Scomp Crate with the Poncho Material Guardian. (The large Climbable Wall will take you back up to the zipline.) From the Meditation Spot head up the hill, grabbing the Force Echo as you go and enter the tunnel full of fire bugs to find Gloom Root Hollow.
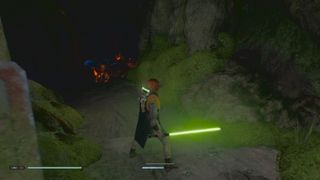
Follow the path ahead in Gloom Root Hollow, avoiding the Venus Fly Traps and creeping red tentacles. Moving forwards you'll come to a fork in the way ahead. Go straight ahead to find a Force Echo then turn around and take the other path you can access via a Fly Trap platform with a rope at the end.
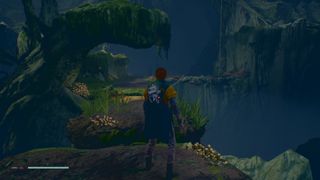
Avoid the traps, ignore the rope for now and climb up the small ledge you pass on the left to find a Terrarium Seed Milk Grass. Look behind to see a thin branch you can use to access the higher level where you’ll run a gauntlet of traps, tentacles and flame bugs to reach a Force Echo. Once you’ve got it drop down to the path you were on before and take the rope at the end you ignored a moment ago.
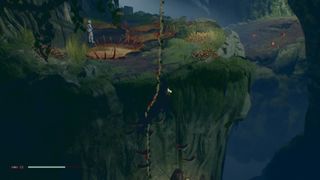
At the top you’ll find some traps, a trooper and a Purge Trooper to deal with. Deal with them all and head to the end and drop down. You’ll fall through the floor so just rush ahead and up the Climbable Wall to get out as the tentacles chase you. At the top of the Climbable Wall you’ll find a spider, slug and Force Echo. Next go up the slope to find another Force Echo and then a couple of wall runs into Origin Lake.
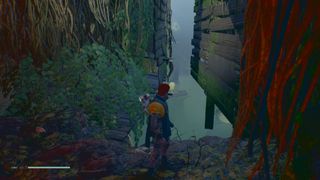
When you land in the water swim to the slope and use the Meditation Spot then look left and swim to the big green lung plant/jump pad and and use it to leap up. Kill the slug and then move up the path to use the other angled jump pad to fire yourself over the water to reach the platform above the Meditation Spot where you’ll find a crate with the Poncho Material Shyyo.
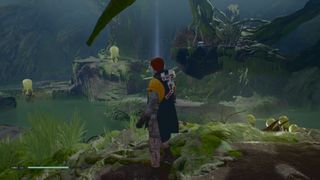
Drop down to the Meditation Spot and use the Wall Run to launch yourself into the water and swim down the channel cutting through the land until you can climb up the bank, where you’ll find two spiders and a slug to kill. There's a Force Echo in a cave on the left, as well as one on the other side of the water where the flame bugs are. The other cave leads to a jump pad you can use to reach a higher level where another jump pad will fire you up to a rope you can use to reach the wookie leader Tarfful.
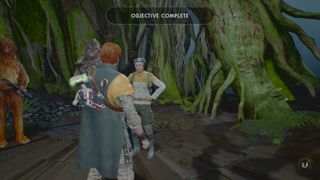
When you’ll Meet Tarfful you’ll get the rebreather which will let you swim underwater by holding square. There’s a few places to check before you move on now you have this ability.
Firstly go back to the Wall Run boards by the Meditation Spot where you came in to find an underwater cave you can swim into that leads to a Climbable Wall you can use to reach a Force Echo. Swim back out and go straight ahead to the big pillar you can see ahead to find find a crate behind with the Lightsaber Material Electrum Plated.
Now swim up the channel you swam along earlier but this time underwater where you’ll find another crate along the way with the Lightsaber Material Durilium. Once you’ve got that keep swimming on to find a lit underwater opening on the left, at the end of the channel, through a crashed ship where you can see a jump pad on the surface as you swim in.
Once you’re on the surface use the jump pad to reach the Climbable Wall where you‘ll find some stormtroopers fighting some slugs, but don’t get involved just yet. Instead turn back and you’ll be able to see a yellow crate on a platform - drop down on to the jump pad you used to get up here and the extra height will give you a bigger bounce to reach the other jump pads and get up to the crate where you’ll find a Stim Upgrade.
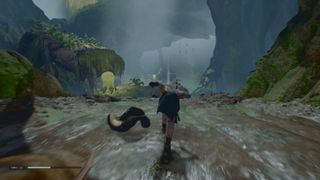
Now go back and deal with the stormtroopers and slugs and then dive into the water at the end. You’ll come out into a tunnel which leads to a mudslide. Jump to the Climbable Wall at the end and move fast to avoid the tendrils chasing you. You’ll reach a platform and see some traps you can jump across to reach a Climbable Wall. Follow that to reach another platform and another Climbable Wall that will take you to an area with some stormtroopers and a waterfall.
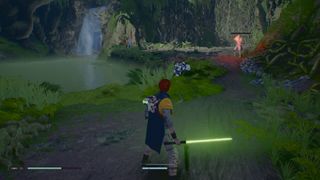
Look back to the left of where you came in and you’ll see a crate with the Lightsaber Valour and Wisdom inside. Then swim to the waterfall to find a cave with a flame bug and a path that leads around to a Force Echo. Once you’ve collected everything go up the Climbable Wall (you’ll be able to look down and see the traps you used as platforms earlier) Force Pull the rope and get a good swing to the wall to get a head start on the tentacles that will start chasing you. Climb up and jump into the next body of water, you’ll see a crate to your left as you swim through the underwater passage, with the Lightsaber Emitter Peace and Justice. Grab it and then swim to the end and the Climbable Wall you can use. Continue up the slope and climb the ledge to reach the rope that will take you up to a Meditation Point on a ledge to your left.
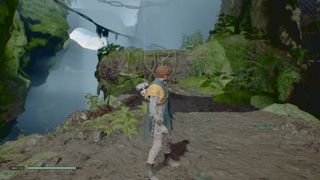
From the Meditation Spot you‘ll see some Jump Pads and Wall Runs that will take you to a higher area where you‘ll fight some troopers and a Purge Trooper. Go up the bridges and you’ll trigger a cutscene: the ground will be shot out from under you and have to slide/jump to a new area.
Until you hit the water you’ll be in a scripted set piece tunnel so follow the game via the slides to an area where you’ll have a Wall Run to some traps and a Climbable Wall and then some more sliding with some Jump Pads to hit.
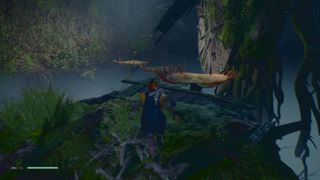
When you hit the water swim ahead and dive under to find a crate before an underwater opening with the Lightsaber Material Bronzium. Continue through the opening and surface. Head to a Meditation Spot, just before an area with a lot of creatures in, where you’ll receive a new objective to climb the Origin Tree.
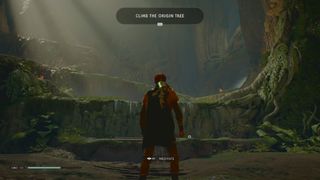
You can avoid all the monsters here but if you want the crate with Poncho Material Rover in the tree root alcove to the left, just after the arch, you’ll need to kill everything. Try Force Pulling and then throwing the flame bugs to make life easier. There’s also a Wall Run at the back you can use to reach the Jump Pad to a platform with a Force Echo and a Terrarium Seed Mushbloom under the stalk holding the lung plant up.
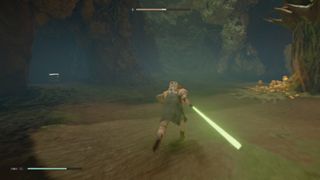
Whether you collect any of that or not run up the steps to the right to reach the lit opening at the back which will take you into an area with a slug and some fire bugs you can use to kill it.
Run around to the right to find a Climbable Wall, leading to a Wall Run to some Jump Pads to hit and reach another Climbable Wall. When you get to the top you’ll see the giant bird creature who’ll fly off.
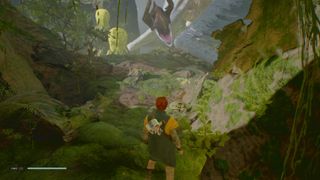
When you get to the Jump Pads use them to trigger a training memory that will teach you a double jump, known as Jedi Leap (and unlock new skills). Use it to reach the ledge ahead and a new Meditation Spot. Then head up and use the rope, Jump Pads and Wall Run to reach the next area. Continue along the beam and trigger a cutscene with the bird monster. When you get to the area at the end of the beam bats will attack so kill them, claim the Force Echo and then climb the rope
Use the rope to climb up into the branches and then use the Jump Pads to jump higher again. From there look behind you into the branches so you can reach the crate with the Poncho Material Free Kashyyk and a Force Echo at the narrow end of a long branch.
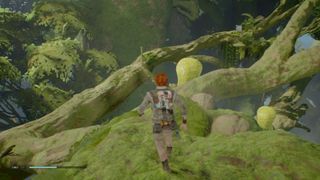
Go back up the branch and look to the right for a rope you can Force Pull to reach a massive section of hanging log covered in a Climbable Wall. Climb to the top and look behind you to the left to see a crate with the Outfit Material Pilot on a branch. Collect that and climb big trunk again to continue on along the hanging platforms to a suspended ship. Use the ropes to swing to the Climbable Wall and climb up to find another Meditation Spot.
There’s a narrow path directly ahead that leads to a Force Echo so grab that before using the Wall Runs with Jedi Leaps to reach a hollowed out trunk you can pass through. Walk through to find the giant bird. Jump down to the creature to help it then, after it’s moved, go up the back to find a crate with the Mantis Paint Job Perihelion. Then go to the bird to catch a ride.
Head along the branch you land on to find a bench with the Lightsaber Sleeve Peace and Justice. Then head up the canyon to trigger a Eno Cordova recording and find a Meditation Spot you should use before continuing on, jumping down to meet the bird again and triggering a boss fight with the Ninth Sister.
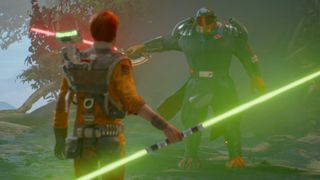
After the Ninth Sister fight you’ll end up in the area where the long zipline dropped you in the water when you left the Imperial Refinery area. Use the Meditation Spot and Climb up the ledges and use the zipline to return (now you have the rebreather you can grab the crate in the water before you go if you didn’t earlier). Your objective now is to get back to the Mantis so you can go to Dathomir.
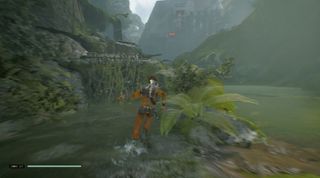
From the zipline head past the fighting troopers to the building. You can fight the Purge Trooper or dodge around to the right via the Wall Run. Either way find the small door on the left that leads to the lift up.
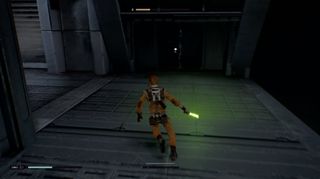
Head across the vat, using Force Slow to cross the spinning thing up the Climbable Walls and Wall Run to reach the higher ledge. Keep going straight through the shortcut door you opened earlier using the two ropes to swing around to the upgrade bench.
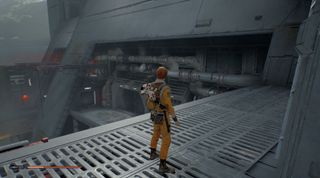
You’ll reach a rope down. Take it and Force Slow the other spinny thing to get over. Head up the Climbable Wall to find some more Stormtroopers, kill them and then head left to a door on the right that will open out to more stormtroopers and the jungle.
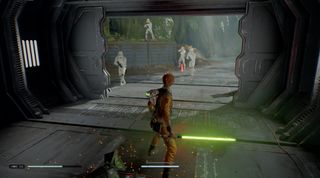
Follow the path up to the Meditation Spot and then head left, across the beam and Climbable Wall. Head through the door and turn left and you’ll find a Force Echo. Then use the rope to get across and make your way across the platforms to get back to the hanger and leave for Dathomir.
Current page: Star Wars Jedi Fallen Order walkthrough - Kashyyyk pt2
Prev Page Star Wars Jedi Fallen Order walkthrough - Tomb of Miktrull lantern puzzle, Next Page Star Wars Jedi Fallen Order walkthrough - DathomirSign up to the 12DOVE Newsletter
Weekly digests, tales from the communities you love, and more

I'm GamesRadar's Managing Editor for guides, which means I run GamesRadar's guides and tips content. I also write reviews, previews and features, largely about horror, action adventure, FPS and open world games. I previously worked on Kotaku, and the Official PlayStation Magazine and website.

