Sea of Thieves Lost Shipments Voyage guide
Find the loot, manifest, and more when you undertake a Sea of Thieves Lost Shipments Voyage
The Sea of Thieves Lost Shipments Voyage can be confusing. Whether you're still finding your sea legs or have sailed for miles in Sea of Thieves there's a lot to unpack, with clues to find, a Sea of Thieves Captains Key, and cash in the final piece of the Voyage, the Merchant Manifest. In this Sea of Thieves Lost Shipments guide, we'll show you how to do it all and succeed at this brand new Voyage type that arrived with the introduction of Seasons.
Sea of Thieves Shroudbreaker | Sea of Thieves Tall tales | Sea of Thieves tips | How to summon Sea of Thieves Shrouded Ghost megalodon | Sea of Thieves gold guide | Sea of Thieves animal locations | How to fish in Sea of Thieves | Sea of Thieves Cursed Rogue | Sea of Thieves Merchant Alliance guide | Sea of Thieves pirate legend guide
1. Buy a Lost Shipments Voyage from Larinna to start the Lost Shipments Voyage
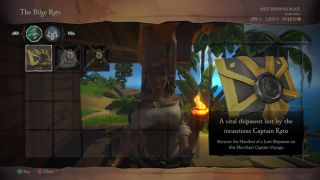
The first thing you'll need to do is buy a Lost Shipments Voyage from Larinna, the NPC idling outside any outpost at which you may spawn, and in her stock you'll find you can buy one such Voyage from her at a time. In a future update, the Merchants themselves will also sell these Voyages, but at the start of Season One, they're being given for free from Larinna.
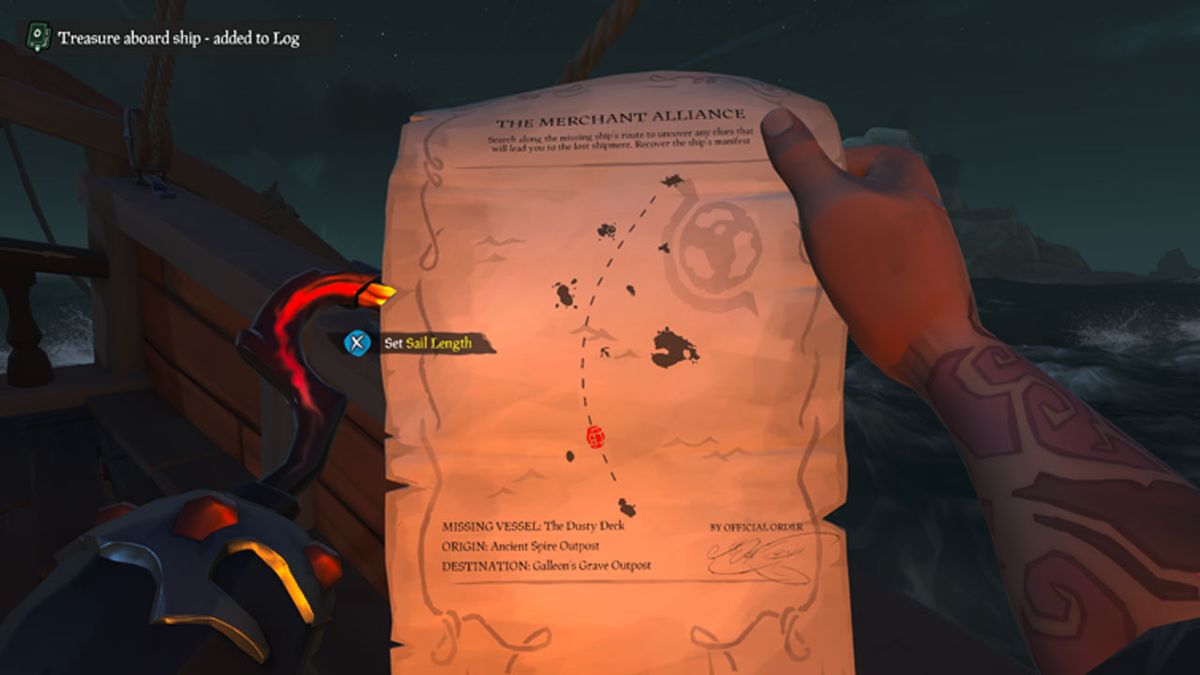
Once you have the Voyage in your log, head onto your ship and vote to begin with your crew (or solo if that's how you're playing). This will put a new Voyage item in your inventory, the Lost Shipments Map, which details the intended route of the ship you're searching for.
2. Check the Lost Shipments Voyage map to see where to go

Pay attention to the finer details on this map. At the bottom, it tells you where the ship left from and where it intended to arrive. As we already know this mission has us searching for a shipwreck, the puzzle is in solving where along the way the fateful crew sunk and left behind all that loot.
If you're lucky enough to already be standing on the island where their route began, head off in the same direction the crew did by using the map and retracing their nautical steps. If you need to instead start at a different island, do that first. Head off on the same path as the ship once you've reached its original starting point.
3. Look for birds to find your first clue as you sail
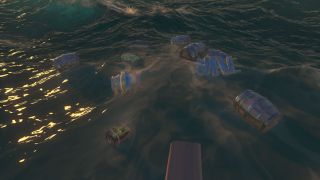
It won't be long before you see your first clue, evidenced by a small but tight flock of birds circling over some flotsam. This at-sea loot pile is unique to Lost Shipments Voyages and can be identified by their broken barrels and wood planks painted with blue stripes.
This is to differentiate it from the typical flotsam you may find in the game on or off voyages. Halt your ship beside the wreckage and search for a few key items, including perhaps a literal key. The Captain's Key can be found on every Lost Shipments Voyage without exception, but without a keen eye for the details, a sloppy pirate may also overlook it entirely.
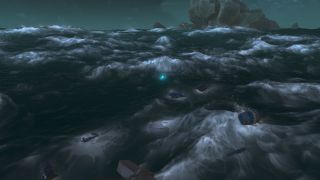
The trick to finding a Captain's Key is to look out for a unique light blue glint in the sun, which is different from any other shimmers the game uses to denote valuables at a distance.
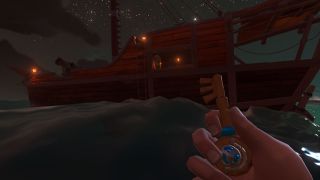
If you see a light blue glint at this location, grab that key for later. If you're sure it's not there, don't worry as it's likely further along the route.
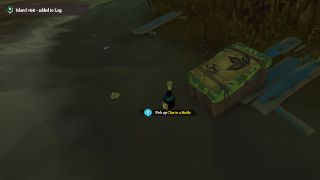
While at the wreckage location, be sure to also grab any loot and clues you may find, which can float there as either a Clue in a Bottle or inside one of the barrels as a Curious Note. It may also be found on an island if a previous clue sent you to one. Once found, you'll get the next figurative breadcrumb for your Voyage as a new quest item. Check it to find the next procedurally generated hint.
4. Check the clues for more details
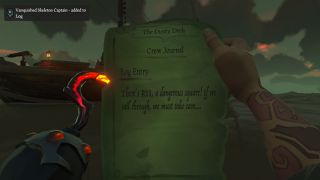
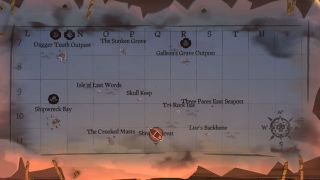
These clues come in different styles. A clue may point to a specific island by name, such as "Shark Tooth Key." A clue may instead point to a spot on the map, which you locate using the map table's grid, such as "R11." A clue may even give you merely a hint, such as keywords like "shrouded in fog." Since foggy conditions move about the map like thunderstorms, such a clue could only point to the Fort of the Damned because it's the only location always wrapped in such low-lying clouds.
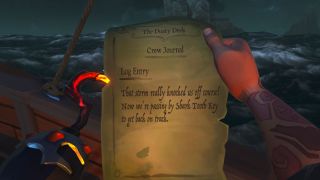
If you get such a subtle clue, it will pay to be familiar with the map, but such clues seem only to arise in the higher-level versions of Lost Shipments Voyages, so you needn't worry if you're starting out rather fresh in the game.
This process of finding clues which lead you to new clues can continue a few times based once more on the game's procedural generation and your pirate's Merchants Alliance level, and each step of the way you can see other clues on your Lost Shipments Map in hand, giving you a rough estimate of how and where they veered off course.
5. Locate the wreck
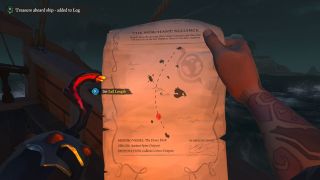
Eventually you'll correctly follow a clue to a location at sea, and it may look as though there is nothing there. That's because you have to dive under the water. If you followed the clues correctly, you'll find the shipwreck you've been searching for.
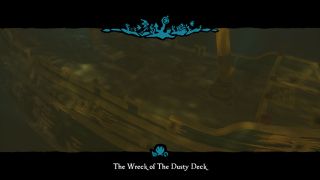
Assuming you found the Captain's Key, use it to open up the Captain's Quarters to reveal a sizeable stash of Merchants Alliance loot, more lucrative than any other mission type provided by the guild, really.
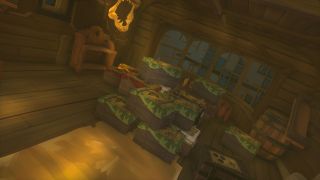
With that cache secured by you and your crewmates, you still need to find the voyage's last item. Swim under the top deck and look out for a unique skeleton NPC somewhere down in the lower decks, drowned but still clutching the Merchant Manifest.
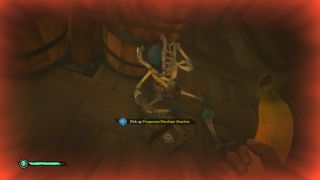
Even if you get away with all the loot in the Captain's Quarters, the voyage isn't marked as complete until you find the Manifest, so grab that, swim up, and celebrate a voyage well done. Now get to an outpost to sell that loot before you get Kraken'd.
Sign up to the 12DOVE Newsletter
Weekly digests, tales from the communities you love, and more
Mark Delaney is a prolific copywriter and journalist. Having contributed to publications like 12DOVE and Official Xbox Magazine, writing news, features, reviews, and guides, he has since turned his eye to other adventures in the industry. In 2019, Mark became OpenCritic's first in-house staff writer, and in 2021 he became the guides editor over at GameSpot.
