12 Journey to the Savage Planet tips to avoid shamefully burying your body
Explore, level up, play as a dog and more with out Savage Planet tips
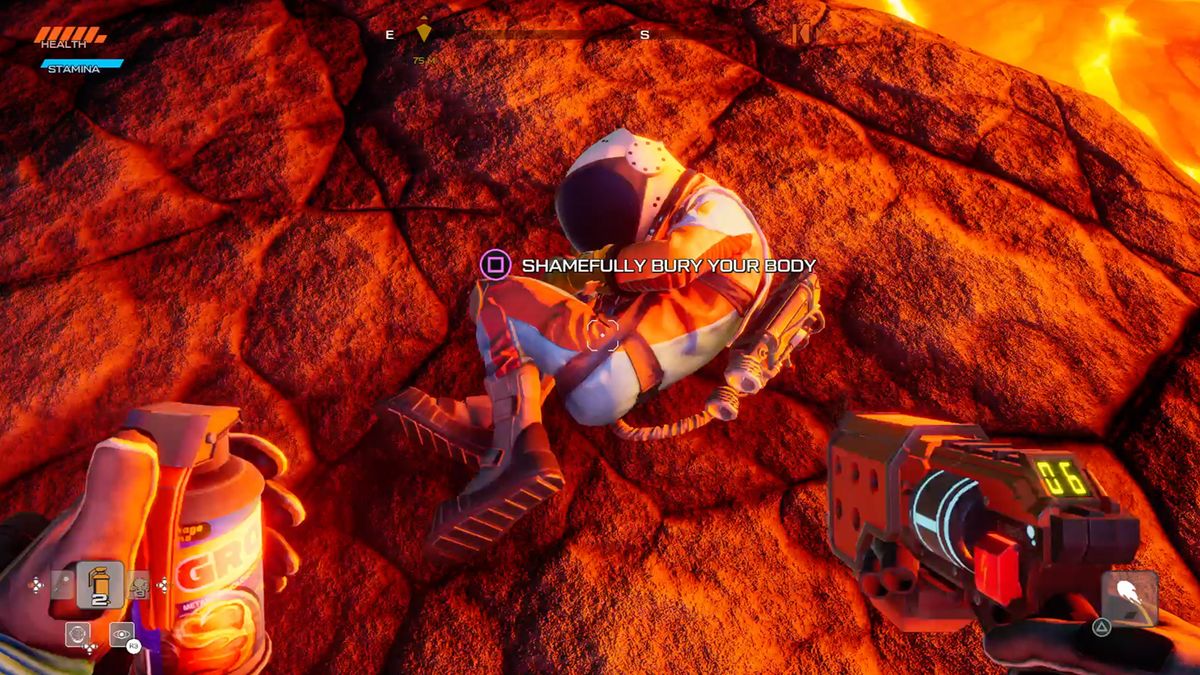
So you’ve gone to space and have regrets. Don’t worry, our Journey to the Savage Planet tips will help you. Hopefully death will be kept to a minimum but we’re not guaranteeing anything. Instead we can help you find vital crafting resources, tell you what gear to get and upgrade, and how best to investigate the various areas and places you can explore.
1. Pick the dog photo when you first login

RIght at the start of the game you'll have to pick a photo that's 'you' in game. It has no impact on your character's abilities in anyway. Apart from the your voice that is. You only really make grunts and cries of pain - no actual speaking - as you play so for that reason you really want to pick the dog. That will replace all your explanations with barks, growls and whines. It doesn't add much but it's so much fun.
2. Feeding the birds gets you more carbon than killing them

This tip only really applies really very early on, but feeding the pufferbirds you meet first, with the canned food you can throw, will net you twice as much carbon as killing them. It’s less important later on, as you uncover larger mineral deposits and creatures, but in the first few hour or so it should give you a crafting boost. You can even earn a trophy or achievement for throwing food on a pufferbird so others eat it.
3. The Orange Goos make a noise you can hear

The Orange Goos you eat to level up health and stamina make a distinctive pulsing throb you should keep an ear out for. Later in the game you can craft an upgrade that marks them clearly on your HUD, but until then listen near any ledges, or bushes for a clue there might be one hidden away.
4. Keep an eye out for rock deposits
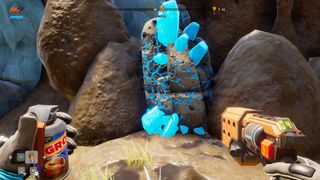
You can see large crystalline rock lumps fairly easily from a distance once you know how to look out for them. While their main purpose is to spit out 50 units of the various minerals you need for crafting, they also often indicate something else might be around. Things like Orange Goo, Alien Alloys or other secrets. Basically, always check one out just in case, even if you don't want the resources.
5. Scan ALL the things
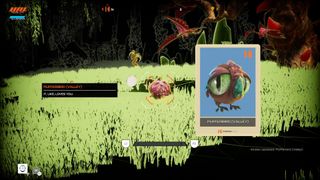
Seriously, scan everything by tapping up on the D-pad when you have a moment. While the game focuses on scanning creatures, almost everything can be scanned and there are collectables you might miss at the start before you get in the habit. Structures, objects, plants and just about anything you can see can be scanned just about once. It’s easy to forget when you first enter an area and get attacked, so just remember to fire up your scanner check whenever you think of it.
6. Follow the tentacles to open the vaults containing Alien alloys

You’ll see distinctive alien vault plants all over the Savage Planet that snap shut when you approach them. However, you’ll want the Alien Alloys they contain for crafting vital upgrades. Some require you kill all the monsters that appear before they open, which is easy. Others need you to shoot three pulsing orange pods to release the goods. It’s easy enough to find these at the start but later they can be quite hidden away so follow the tendrils that emanate away from the vaults as each will eventually lead to a pod. Be warned though, the further into the game you get the more abilities and gear you might need to reach them.
7. Don't ignore Science Experiments or the upgrades they unlock
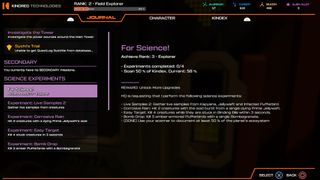
There’s a range of Science Experiments in your journal that involve things like killing certain creatures in specific ways, or other tasks. It’s easy to overlook them initially as the rewards aren’t immediately obvious. However, completing these ups your overall rank, which in turn unlocks new upgrades. Things like extra jump boosts and scanner enhancements are best earned sooner rather than later, to avoid backtracking and maximise the efficiency of your exploration. So try and tick off the experiments sooner rather than later.
8. If you can’t complete an objective but don’t have anything else to do, explore

Journey to the Savage Planet has a slightly odd mission mechanic where your objectives are occasionally unlocked by discovering and scanning new things. Obviously it’s meant to encourage exploration and investigation, but it’s also possible to miss areas or creatures completely and be left at a loose end. If you find yourself with a quest you can’t complete yet but nothing else triggers, poke around previous areas to see what you missed. Start at the last teleporter you unlocked as the story mainly moves forward, but then backtrack if that doesn’t help - it’s possible to reach other areas earlier than the game is anticipating, which can confuse things.
9. Don’t waste time trying to get to areas you can’t reach - you probably haven’t got the right upgrade yet
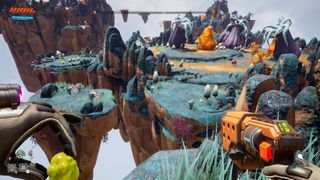
Sometimes you might think you can just reach some materials or an interesting alcove only to fall short. Or find a door slamming on you - it’s not always clear if you’re doing something wrong or just don’t have the right gear. Spoiler: it’s nearly always that you don’t have the right gear. If you can’t reach an area easily don’t waste hours trying, move on and come back when you’re better equipped.
10. Don’t forget to pop back to your ship from time to time
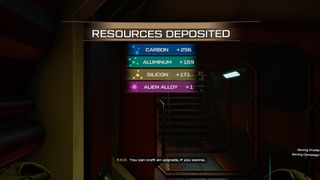
It’s easy enough to collect your dropped loot when you die but save yourself any worry and pop back to the ship occasionally to bank whatever you collect. Not only will you keep all those crafting materials and Alien Alloys safe, but you might be able to make some new gear, catch up with some emails and watch the odd advert.
11. Craft upgrades you get as soon as possible

This goes hand in hand with completing Science Experiments to unlock more options but always craft things the moment you unlock them. New gear that improves your scanning and jumping abilities will help you find more upgrades and new areas. The slight Metroidvania aspects of the game also means there are areas and things you find early on that you can’t access until later things are crafted so don’t put it off.
12. Seed bags and plants will usually have what you need in new areas, but...
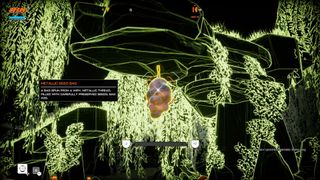
There are various seed bags and plants that provide tools you can use - things like explosive and acid grenades, or grapple seeds that let you create climbable walls. Usually when you reach a new area these will include the thing you need to proceed. So if you need to go up, look for Vines Seeds, and so on. If you think you can’t proceed, or defeat a certain creature, check what’s around you for some help.
13. ...Always stock up for other areas
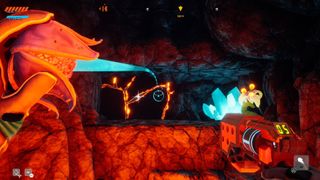
However, because you will backtrack and crisscross the map multiple times you might occasionally re-enter an area via a different route and think you don’t need whatever supplies are lying around. Pick up everything anyway. You might find a puzzle or challenge elsewhere that needs something that isn’t local, while the more offensive options - explosives, acid and electrical attacks- can make a huge difference in boss fights.
Sign up to the 12DOVE Newsletter
Weekly digests, tales from the communities you love, and more

I'm GamesRadar's Managing Editor for guides, which means I run GamesRadar's guides and tips content. I also write reviews, previews and features, largely about horror, action adventure, FPS and open world games. I previously worked on Kotaku, and the Official PlayStation Magazine and website.

Pokemon reaches settlement in lawsuit over mobile game "Pocket Monster: Remake," operators "sincerely apologize" and say they've "learned our lessons"

Life is Strange director says Don't Nod returned to its episodic roots in Lost Records because he's not "invested" in Netflix's binge model
