The Room 3 walkthrough and guide, all the puzzles solved
A The Room 3 walkthrough and complete step-by-step guide
Chapter 3: The Forge (cont.)
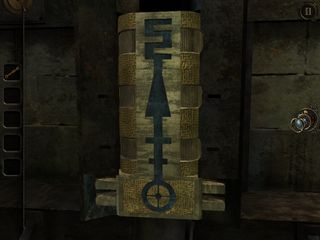
Rearrange the blocks at the forge and make the next key. Use it to open the top level of the pyramid.
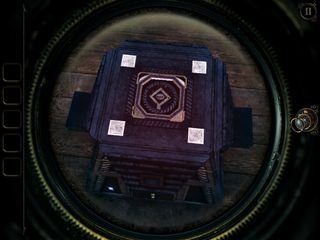
Using the eyepiece, look inside the hole.
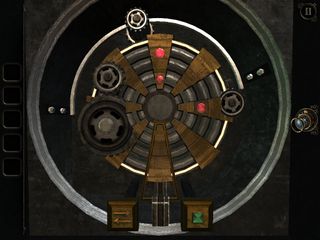
We need to align the four gemstones along the bottom panel to solve this puzzle.
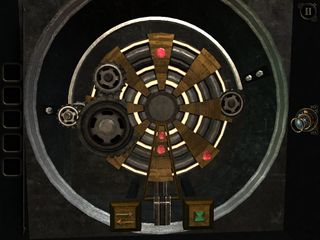
Use the arrow button to select the gear on the left, then press the green button until the two gems on the inside are in position.
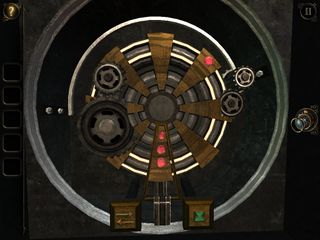
Slide over to the gear on the right and press the green button until the third gemstone is in place.
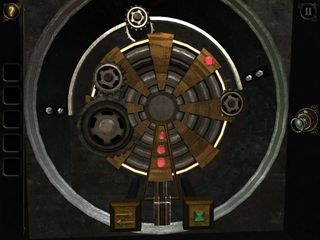
Finally, select the gear in the middle and hit the green button until the last gemstone has joined its comrades.
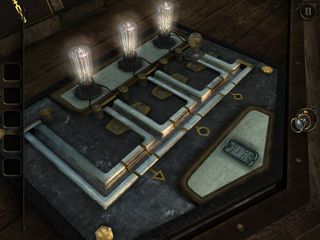
Take the metal casting from the box, slot it into the panel at the front of the table, and slide the handle over to the third light bulb.
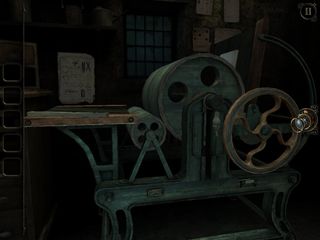
Head through the newly opened door and turn the wooden handle on the right of this machine, prompting it to break off. That's what we wanted to happen, so don't panic.
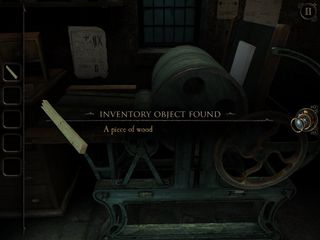
Pick up the piece of wood from the left and go back to the room with the circular saw.
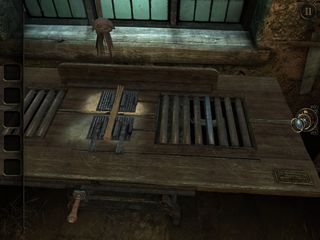
Pop the wood into the holder and slide it over to the left. Lift the handle to raise the saw blade and cut the wood in half.
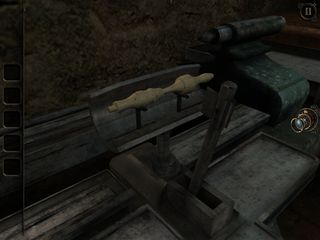
Take the small piece of wood and pop it into the milling machine on the other side of the room to get a lathed piece of wood.
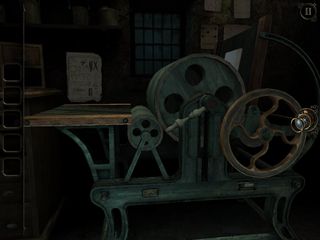
Take the lathed piece of wood to the machine you broke the handle off from and attach it in its place.
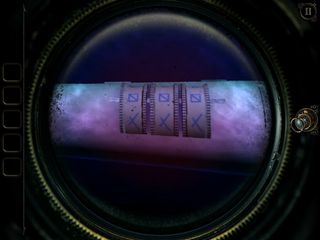
Use your eyepiece on the piece of paper that's churned out to see three dials.
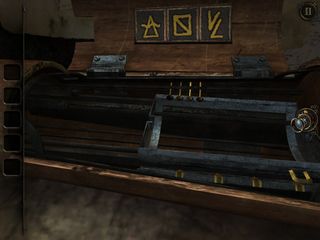
Turn the dials so that the symbols match those above - from the wooden arm in the main room. You'll be rewarded with a camshaft.
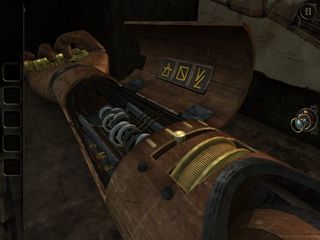
Take the camshaft to the wooden arm and plop it into place. Move the pin to the position above and rotate the dial until the hand relinquishes the key it's grasping.
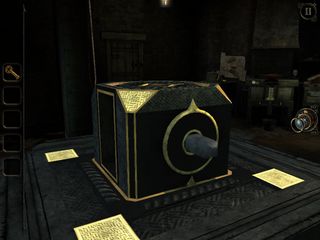
Use the key on the square peg on the side of the box at the top of the pyramid.
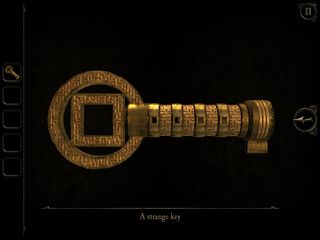
Examine the key in your inventory and align the holes along the side.
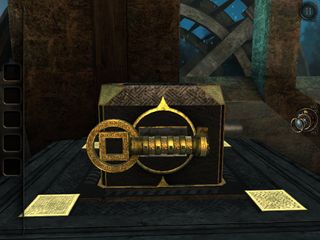
Use it to unlock the face decorated withfour prongs.
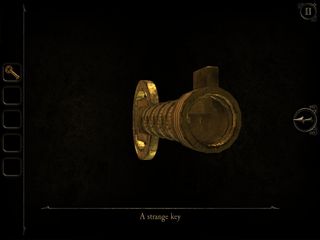
Examine the key once more and rotate the end to match the position above.
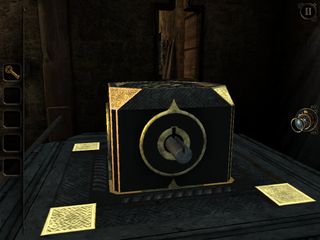
Use it on the bar with the groove running down the middle.
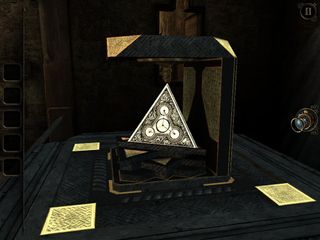
Claim your prize to finish the chapter.
Chapter 4: The Observatory
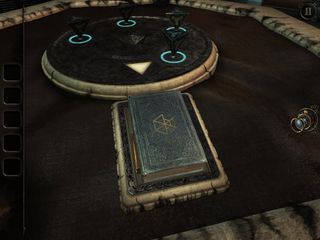
Add the pyramid to the collection on the table and pick up the book.
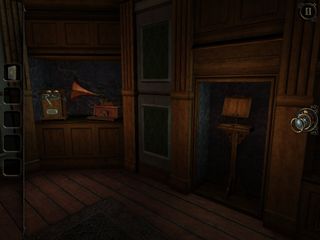
Go up the stairs to the library and place the book on the stand to reveal a hidden lift.
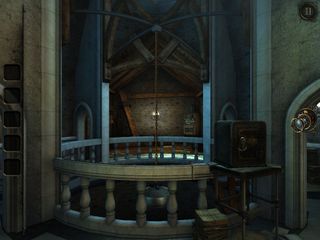
Ride the elevator up to the next floor and head across to the other side of balcony to get the power started.
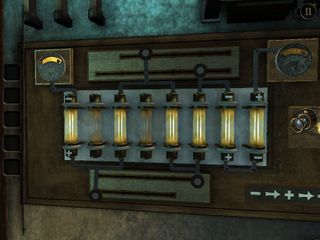
Arrange the sliders like so, flip the lever, and do the usual at the box.
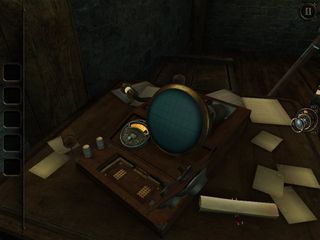
You can't complete the next step because the panel is broken. Grab the screwdriver from the left.
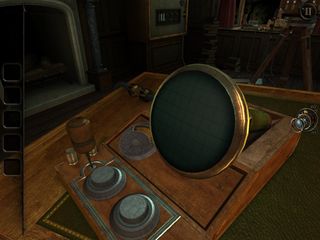
Take the lift back down and leave the library. Make your way back to the study, via the doorway with the red curtain, and use the screwdriver on the panel here.
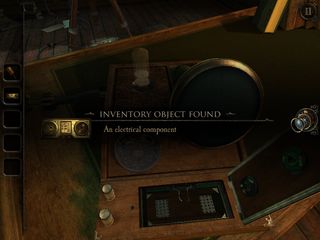
Remove the electrical component and retrace your steps to the broken panel.
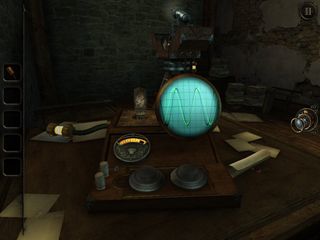
Insert the electrical component into the broken panel and close the compartment. Use the dial on the left to make the light switch on, and the dial on the right to line up the waveforms.
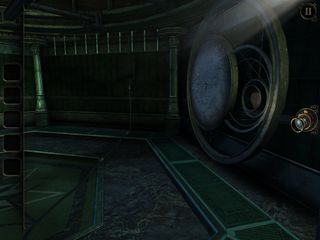
Head through the doorway and into the observatory.
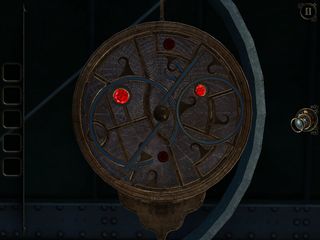
Examine the circular panel to the right and spin the blue pieces around until all four lights are lit up.
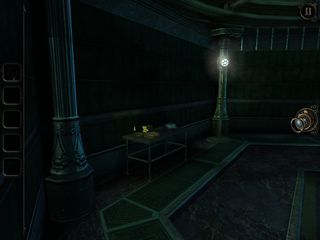
Remove the etched disc and go over to the table on the other side of the room.
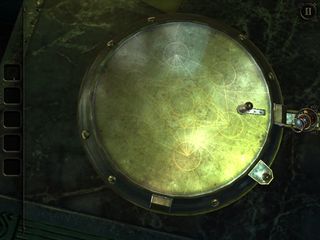
Turn the handle on the gold dome to open it up and drop the etched disc inside.
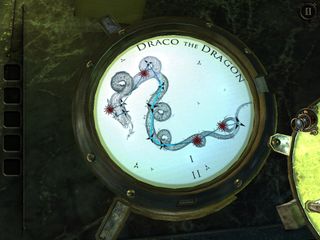
Rotate the discs to complete the image and take the crystal star.
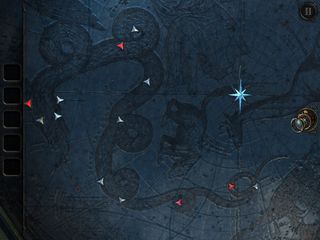
Insert the star on the large star map opposite, then poke the gems along the dragon's body pictured above, to mirror the Draco the Dragon image from the etched discs.
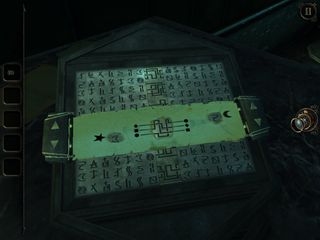
Take the telescope lens and parchment and return to the desk. Place the parchment over the tablet and scooch it down to the position above. Make a note of the symbols in the holes.
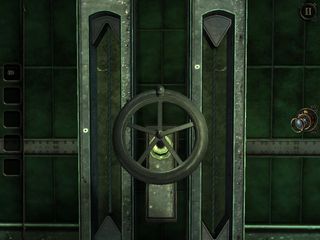
Turn the wheel at the back of the room to bring the telescope down.
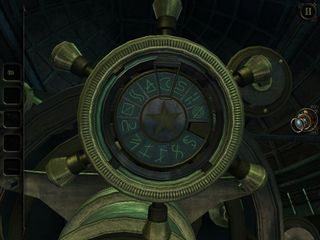
Zoom in on the star dial and turn the display until the image from the tablet is highlighted.
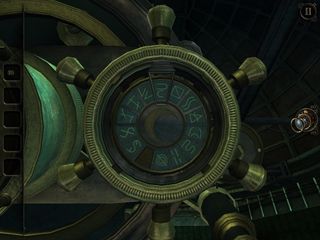
Do the same with the moon dial.
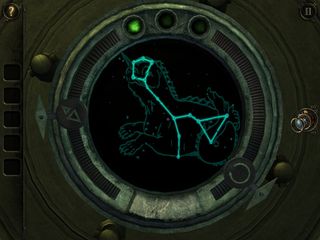
Replace the broken telescope lens and twirl the knobs around to complete the constellation. Pick up the metal plate.
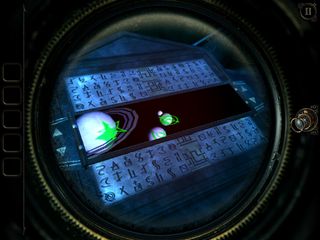
Pop the metal plate onto the tablet. Use your eyepiece and make a note of the next symbol for the star dial.
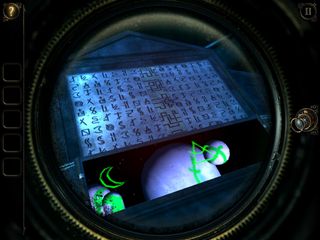
Slide it down and you'll see the symbol for the moon dial.
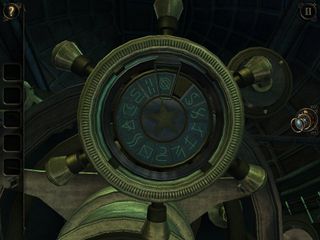
Back at the telescope, zoom in on the star dial and line up the display as shown.
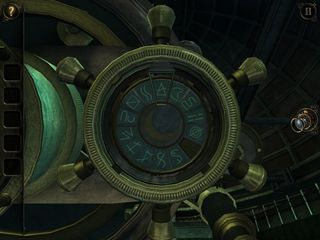
Do the moon dial next.
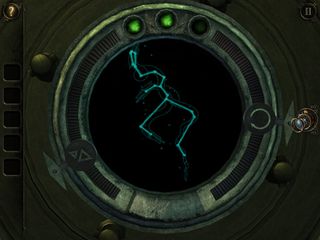
Use the knobs to line up the next constellation and take the iron handle.
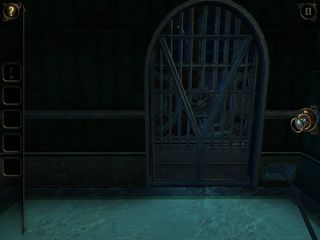
Go into the hallway outside of the room with the telescope and use the iron handle to unlock this door.
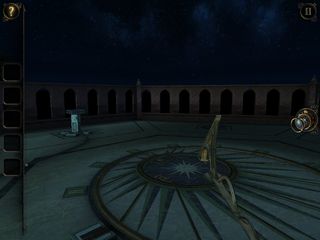
Head over to the stand on the left.
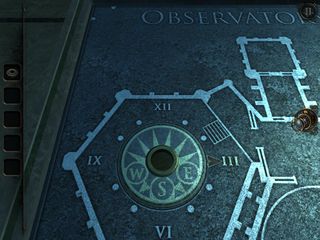
Examine the left side and rotate the dial around to line the compass points up correctly and take the round gear.
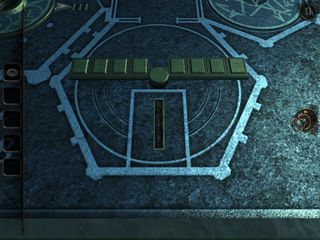
Slide open the gold bars in the middle of the table to find a square gear.
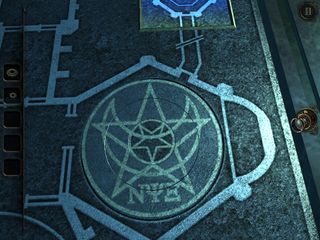
Turn the dial on the right to unscramble the image and turn the power on.
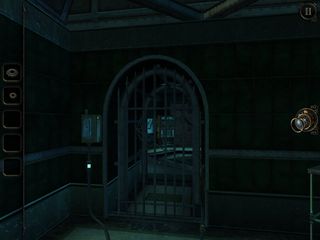
Back in the corridor, pull this lever to open the door.
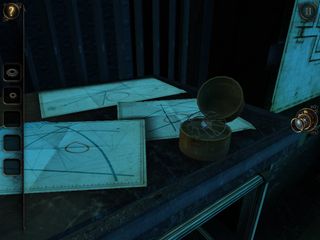
Grab the sundial from the table and go back outside to the stand we were just fiddling with.
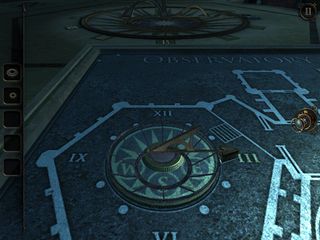
Pop the sundial into the hole on the left and twirl the arm around to the three.
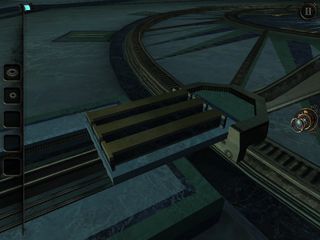
Head to the three on the big sundial and pull on numerals to pop it open.
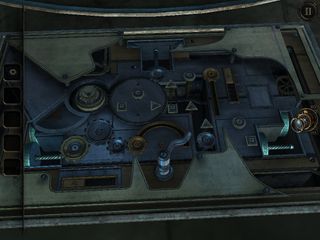
Slot the round gear into the bottom left corner and turn the handle until the metal plate moves to the left side. Pick up the round gear and the new triangular gear.
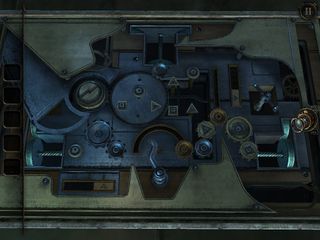
Slide the bottom metal plate to the right, and slide the metal plate on the upper right downwards. Pop in the three gears at the bottom right, as shown above, then turn the crank until a handle springs out. Pick it up along with your gears.
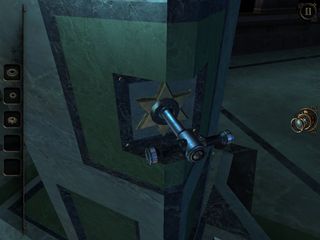
Slide the handle into the base of the stand and pick up the intricate orb.
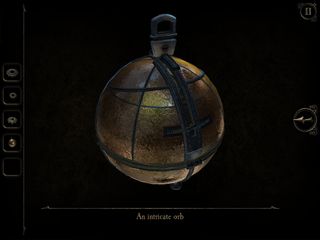
Open your inventory to examine the orb. Pull the small handle down and out to receive a brass handle.
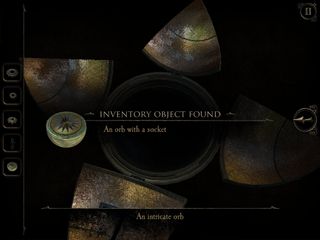
Open up the intricate orb to find an orb with a socket.
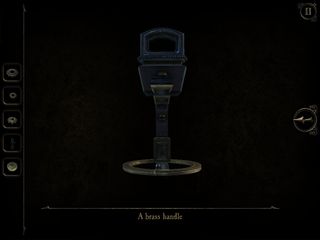
Examine the brass handle and use the rectangular slider at the bottom to rotate the circle on the end.
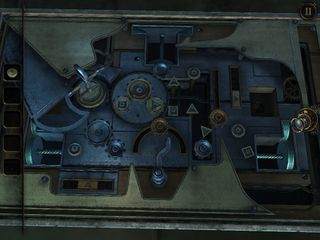
Return to the board beneath the sundial. Insert the gears onto the circular panel and stick the brass handle into the hole on the left.
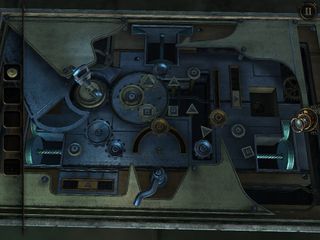
Turn the brass handle to rotate the set of gears to the position shown, then turn the crank at the bottom to move the metal plate at the top to the outer edge of the board.
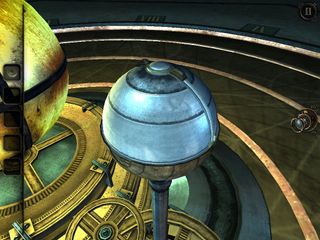
Once the scenery has changed slightly, examine the orb closest to the sun. Slide the switches at the top down and then push the button at the top.
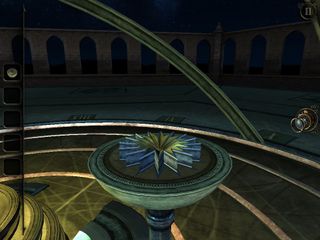
Move along to the second planet and use the orb with a socket, then press the top button.
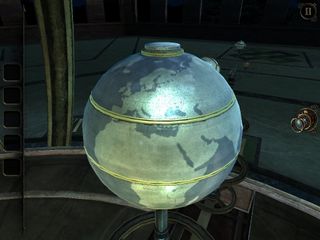
Spin the four sections to complete the map of earth on the third globe, and push the top button.
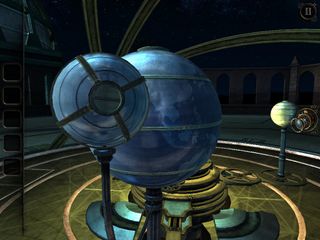
Examine the moon and rotate the wire frame to line up with the hole. Grab the metal casting from in here.
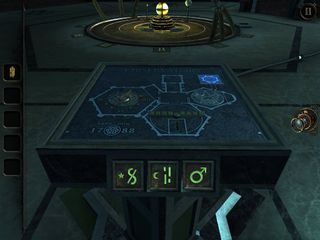
Go back to the stand, make a note of these symbols, and grab the lens cover.
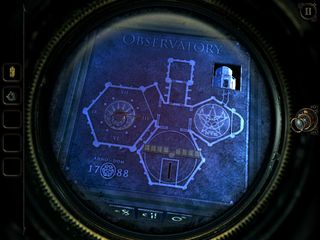
Use your eyepiece and zoom in on the miniature building now visible in the top corner.
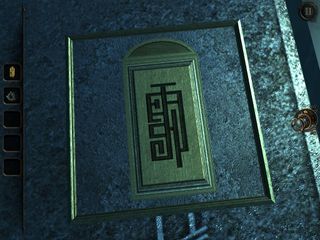
Arrange the dials to form this pattern and place your casting into the small plaque that appears.
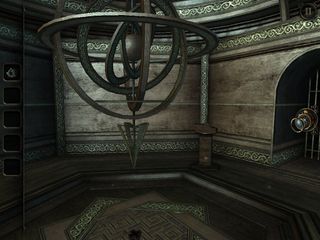
Whip out your eyepiece to look inside and investigate the podium to the right.
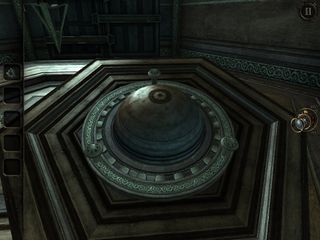
Turn the dial on the outside to open up the globe and pick up the stone carving.
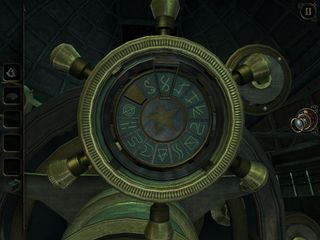
Head back to the telescope and enter the symbols from the stand by the sundial.
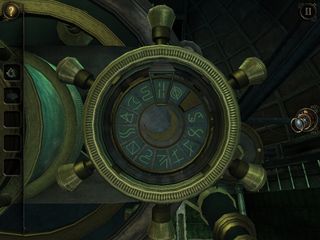
Do this for the both the star and moon dials.
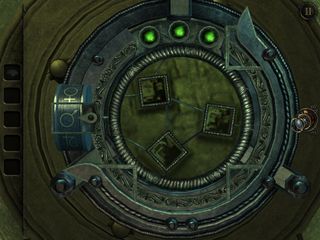
Place the lens cover onto the telescope and turn the dial on the left to the symbol shown. Spin the squares around until they fit over the pyramids.
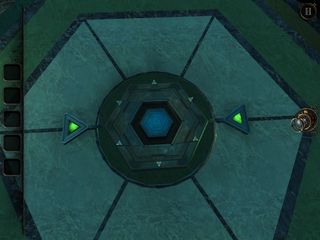
You'll automatically be taken to a new room. pop the stone carving onto the podium in here, turn the outer handles to the position above, and push the button.
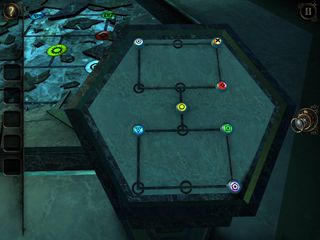
The next task is to match the coloured nodes with their counterparts on the floor in this room.
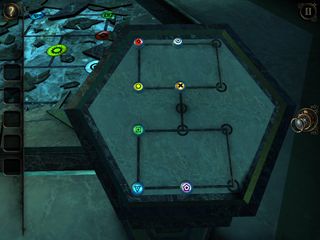
For the first step, rearrange the nodes like so.
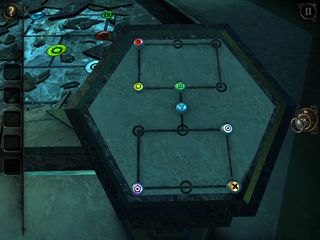
Now for step two.
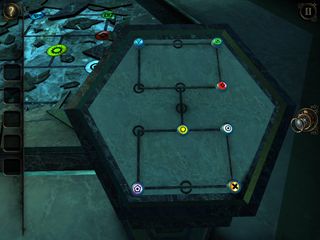
Jiggle everything around like this, then pop the yellow node into its proper place in the centre.
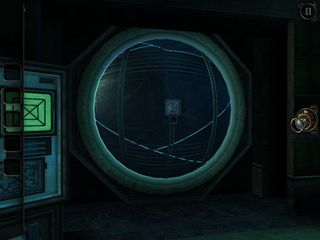
Head over to the large blue globe.
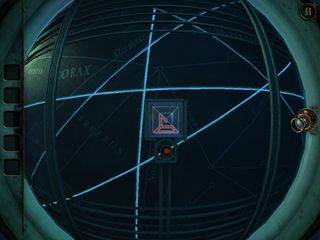
Spin the globe around using the segmented red light to guide you to the symbols.
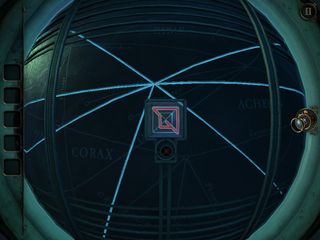
There are a total of three symbols to find.
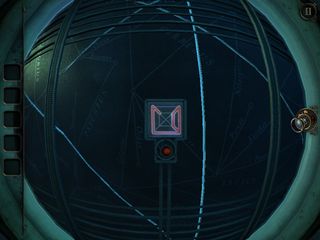
Once you've found them all, turn your attention to the screen to the left.
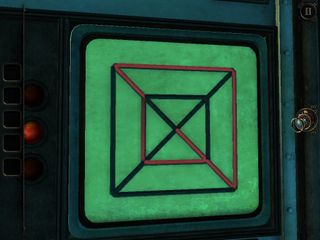
Etch each shape onto the grid without breaking contact with the surface of your device.
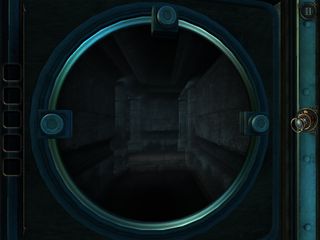
Once you've entered all three and lit up the red lights, the circular screen will come to life.
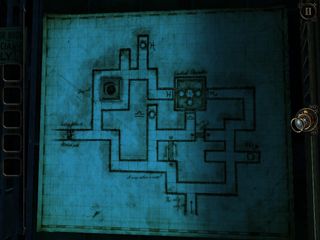
The POV is from inside this maze. You need to reach the pressure plates (marked by circles on the map), then navigate the central room, entering via the door with the matching symbol.
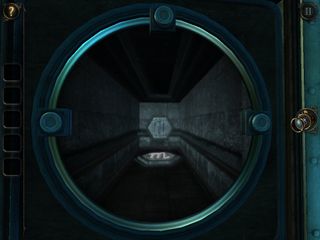
So after stepping on this plate, for example, use the map to make your way to the central room via the door on the right. Just use the map and you can't go wrong.
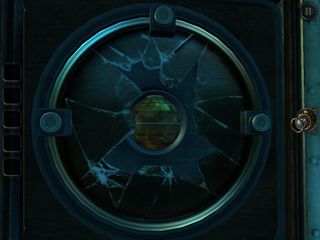
Once you've successfully completed this task, take the orb from the shattered screen.
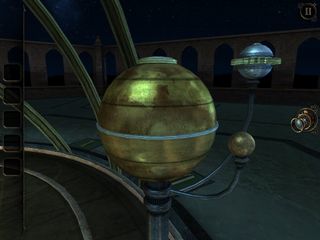
Go back outside and slot the orb onto the vacant spot at the outer edge of the solar system model. Press the button on top and use your eyepiece to look inside.
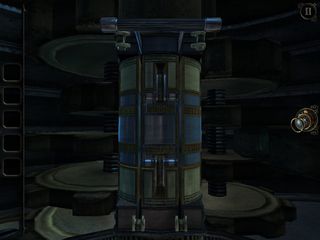
There are two small arms on the cylinder inside. You can lock the segments into place using the handles. Arrange the cylinder so that there are two vertical grooves beneath the large handle so that you can pull it down.
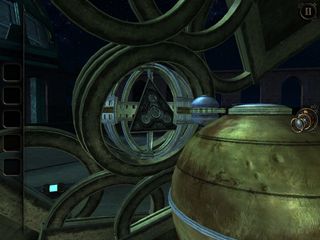
Back outside, push the button on the orb and pick up the pyramid to end the chapter.
Ending 1: Imprisoned
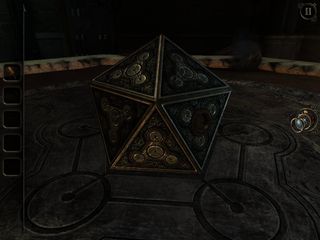
After collecting the last of the pyramids at the table, take the Craftman's key and go through the portal.
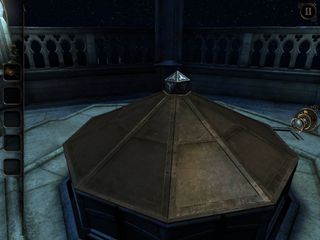
Insert the key at the top of this mechanism to open it up.
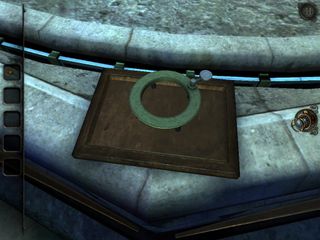
Zoom in on the edge of the table and pick up the metal ring.
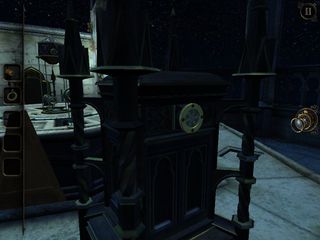
Slot it onto the circular plate at the front of the box.
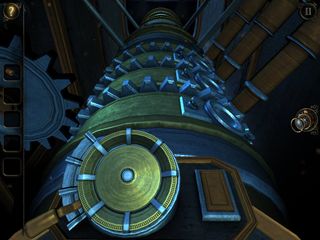
Use the eyepiece to look inside and line up the holes beneath the pistons. Use the lever on the left to switch between the three sections, and rotate the gears with the dial. Press the button once they're aligned.
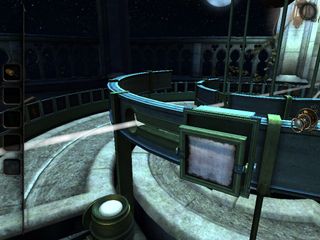
Back outside, slide the mirror over to the left to redirect the light beam.
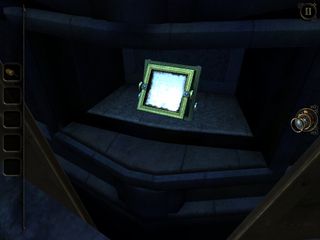
Take the second mirror from the compartment beneath the table.
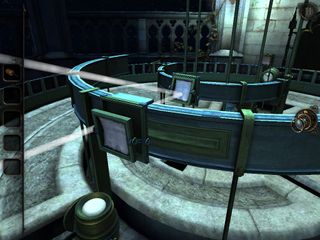
Place it on the inner ring and move the first mirror back to where it was, and out of the way of the beam.
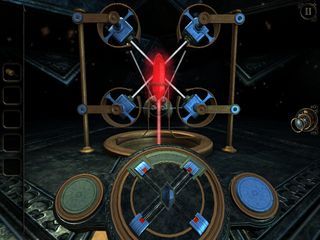
Use the eyepiece to look inside of the Craftman's key. All four beams in here need to point at the crystal. One button rotates the lasers while the other locks one pair at a time in place. Have a tinker - it's a simple enough puzzle to solve.
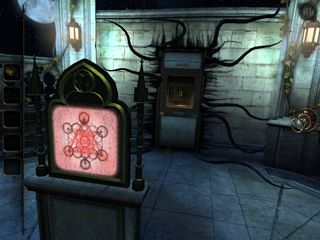
Enter the train door to finish the game with the Imprisoned ending.
Ending 2: Escape
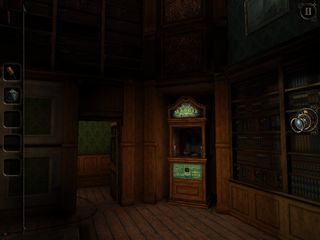
Take the Craftman's key, but ignore the portal. Head up the stairs to the library.
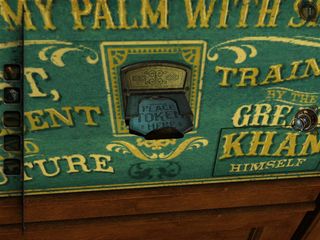
Pull open the token drawer on the Mystical Maggie machine and take the small mechanism.
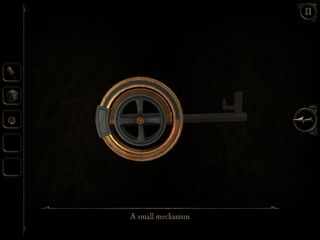
Inspect the small mechanism in your inventory and rotate the outer circle to turn it into a key.
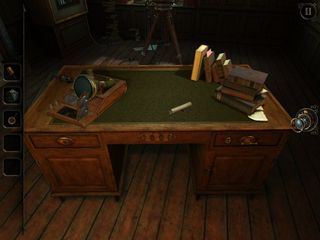
Head down to the office and use the key on the desk drawer on the right.
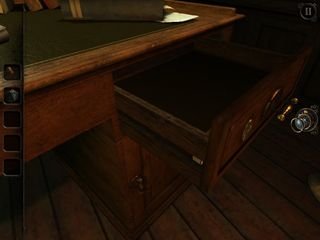
Open it up and slide the latch on the side,
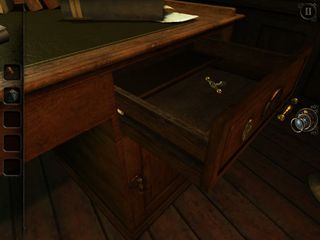
Pick up the handle and use it on the desk drawer on the left.
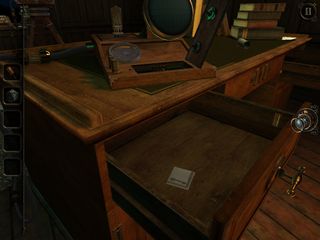
Flip the latch on the inside of this drawer to unlock the metal disks on the middle drawer.
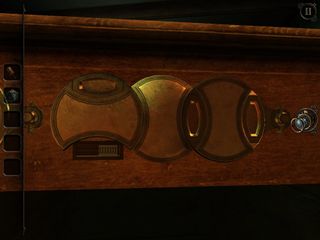
Rotate the disc on the left to expose a switch. Slide it over to unlock a cupboard on the right. Look inside.
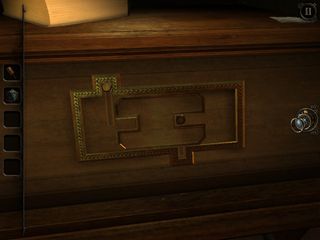
Slide the plate to the right and push the left switch up.
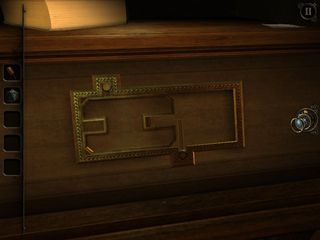
Slide the plate to the left and push the right switch down.
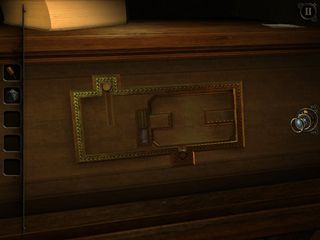
Slide the plate all the way over to the right and flip the last switch.
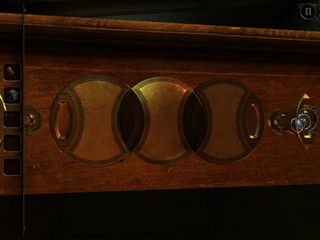
Back at the middle drawer, rotate the discs so they're arranged like so. The drawer will open. Take the token out of it.
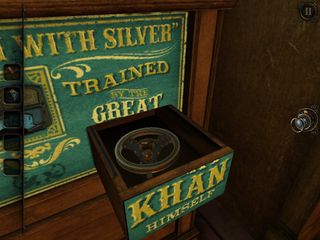
Use the token at the Mystical Maggie machine in the library to receive a crank wheel.
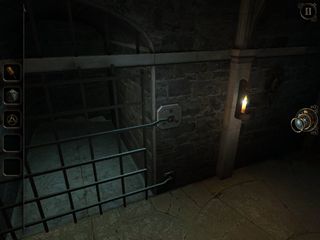
Make your way back to the room that you began the game in and use the crank wheel to open the gate.
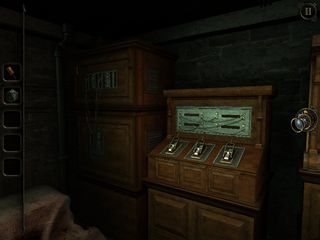
Pull all three levers to extend the drawers.
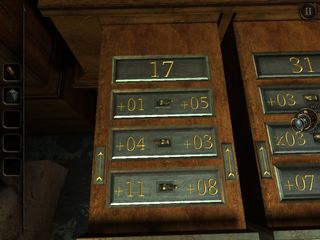
Use the switches to indicate one number on each row. The total must equal the number at the top. Here's the solution for the first drawer.
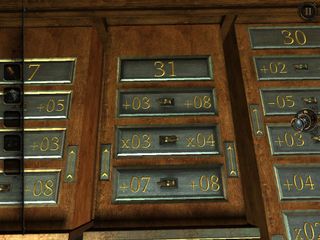
And the second.
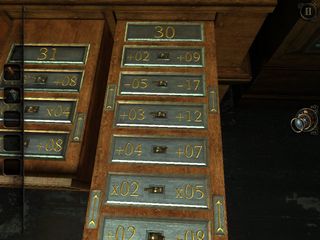
And the third.
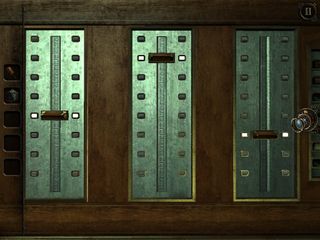
You'll be deposited in front of this board. Line up the switches with the illuminated notches. You'll be directed back to the library.
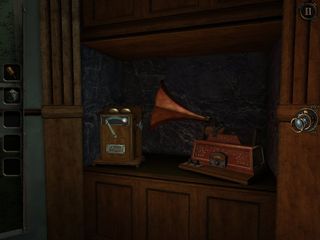
When you get there, the phone will be ringing. Pull the lever over to the right to answer it and pick up the key.
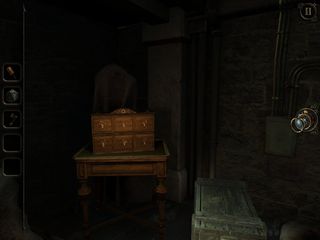
Retrace your steps back to the room with the maths drawers and use the key on the box on the table.
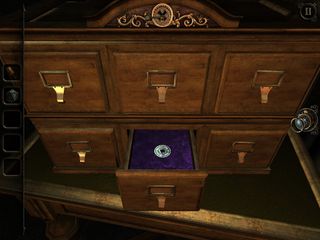
Four drawers will light up in a random sequence. Open them in the same order and if you did it correctly, you'll get another token.
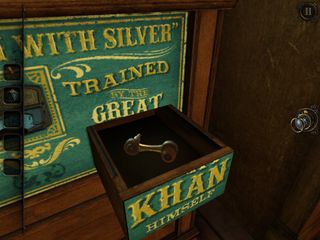
Insert the token into the Mystical Maggie machine to get the crank handle.
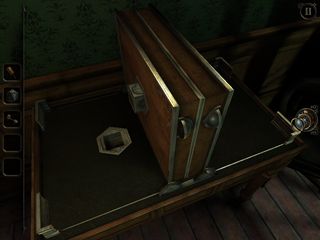
Pop over to the upper level of the library and close the poster book. Take the metal cube from the outer cover.
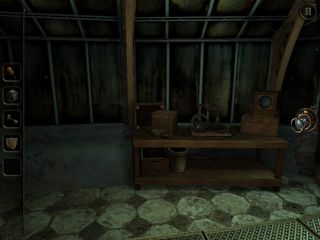
Leave the library and head to the greenhouse.
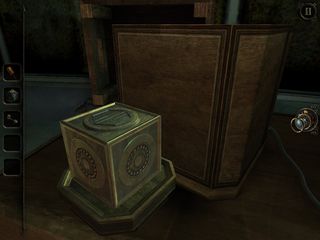
Place the cube onto the dish on the left and it'll recede inside.
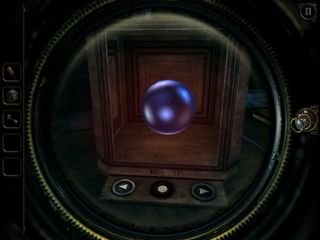
Look trough the panel with your eyepiece and cycle through the alternate shapes with the arrow keys until you get a sphere. Press the middle button to eject it.
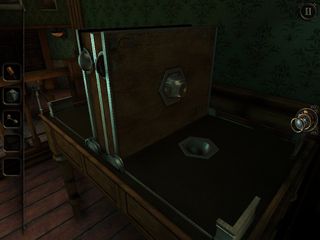
Get back to the poster book in the library and insert the sphere into the indentation on the right side. Open the book and use the eyepiece to look inside the pop-up theatre.
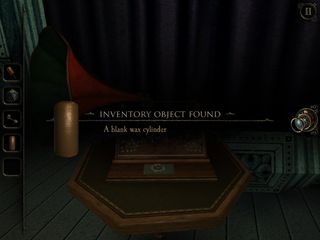
Press the button on the gramophone to retrieve the blank wax cylinder.
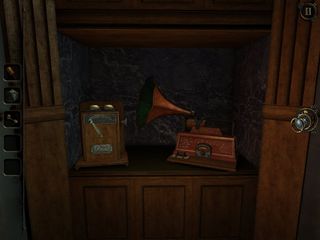
Insert it into the gramophone in the library.
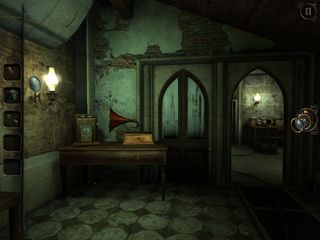
Head to the greenhouse and turn the handle on the gramophone here, then dial the phone in the library. The number is 1795 - from the front of the phone box.
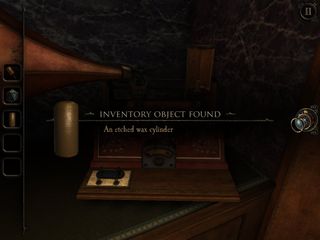
Return to the library and answer the phone. This will kick the gramophone into action. Take the etched wax cylinder.
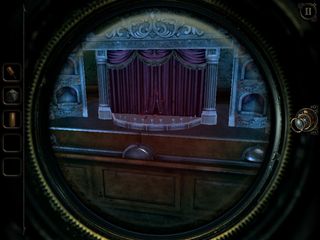
Head back into the pop-up theatre and use the etched wax cylinder on the gramophone. Press the button on the front and take the token from the drawer.
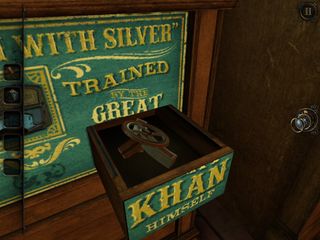
Use the token on the Mystical Maggie machine once again and take the metal device from the drawer.
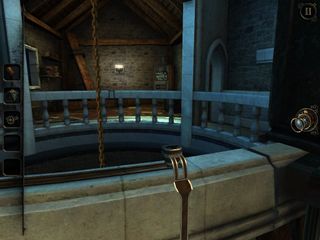
Take the elevator up to the top floor and attach the metal device to the fixture on the balcony.
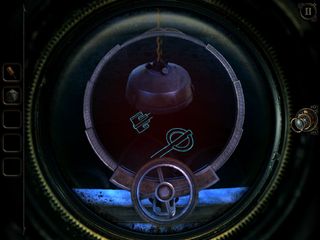
Use your eyepiece and rotate the wheel to line up the top two segments of the key. Move the camera to align the bottom part. Pick up the key that appears.
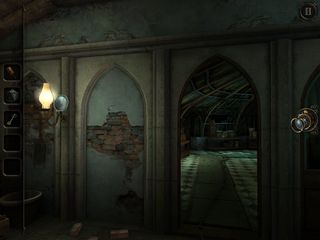
Go back to the greenhouse and poke these loose bricks out of the wall. Use your eyepiece to peek inside.
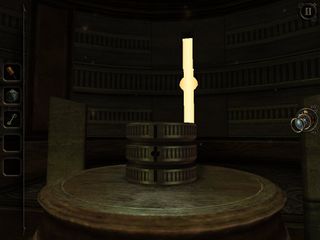
Line up the discs to create the shape of a keyhole.
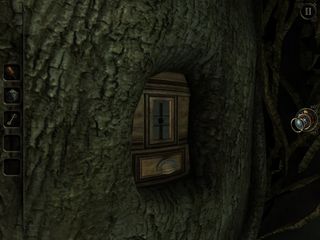
Zoom out and enter the main part of the greenhouse. Inspect the other side of the wall with the loose bricks. There's now a keyhole here. Pop the key in but don't turn it. Go back around to look inside the hole on the other side.
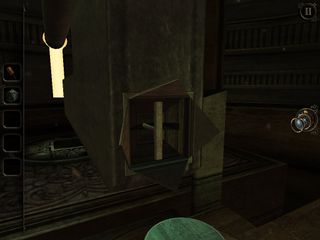
Examine the end of the key - it's on a slightly larger scale in here. Turn the handle and zoom out again. Turn the key around 180 degrees, then come back to the hole and turn the handle again.
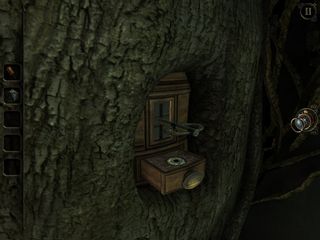
The drawer beneath the key will have popped open. Grab the token and head to Mystical Maggie again.
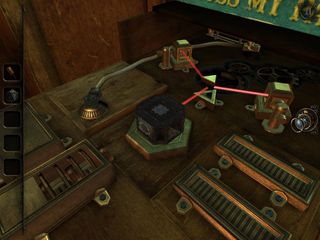
Take the mysterious artifact and head through the portal at last.
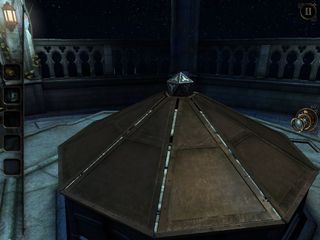
Put Craftman's key into this mechanism to open it.
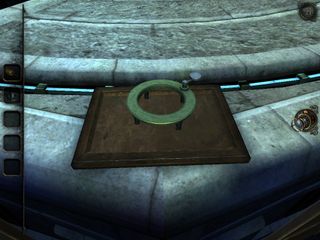
Take the ring from the edge of the plinth. Pop it onto the circular section on the front of the nearby box and use the eyepiece to look inside.

Line up the holes beneath the pistons and push the button.
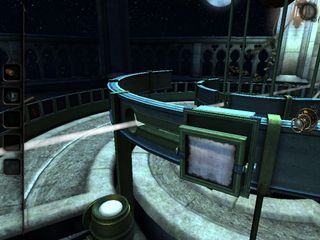
Move the mirror to the left to divert the light beam.
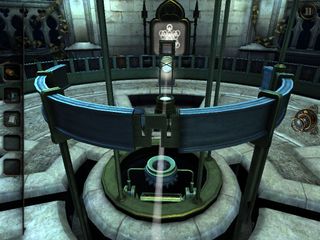
Take the mirror from the compartment underneath the table and position it in the middle of the inner ring. Return the first mirror to its original position.
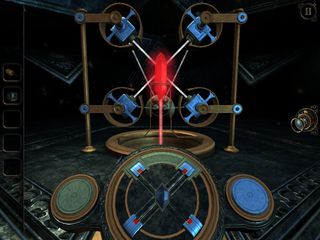
Look inside Craftman's key and solve the laser puzzle as before.
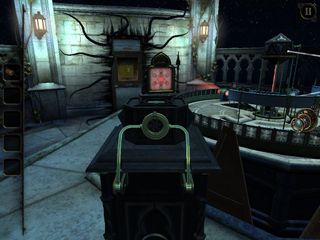
The train door will appear in the wall opposite. Ignore it and place the mysterious artifact onto the podium on the left. Spin the dial and look inside using your eyepiece.
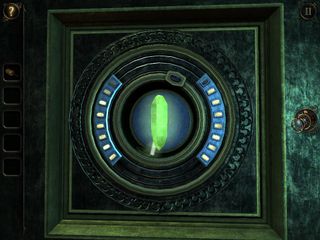
Turn the dial around so that the small window is opposite the beam. Rotate it in sync until the the outer lights are lit up.
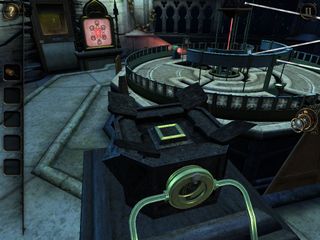
Ending 3: Release
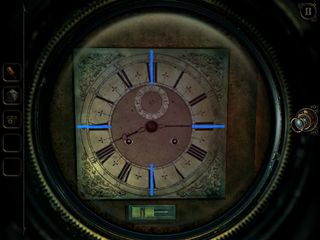
Pick up Craftman's key, ignore the portal, and head into the office. Use your eyepiece to look at the grandfather clock. This is synced to the clock on your device. At 15 minute intervals, when the hand reaches the blue lines, the body of the clock will open.
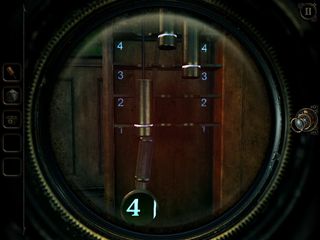
Once the clock is open, take note of the pendulum. As it swings, you'll spot some magnified numbers. Set the weights to the corresponding numbers. They are 4, 1, and 2.
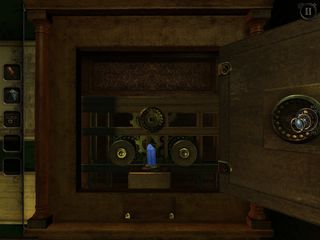
Pick up the crystal and take the lift from the library to the top floor.
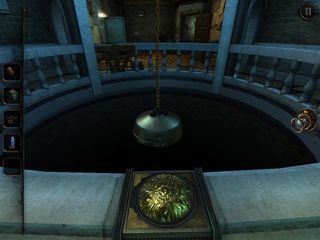
Use this sphere to control the momentum of the hanging weight and direct it into the safe.
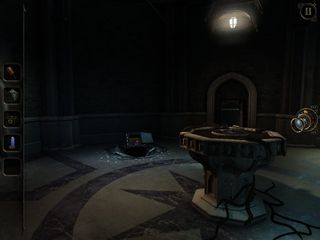
The safe will land in the central room where the portal opens up. Take the crystal and go to the greenhouse
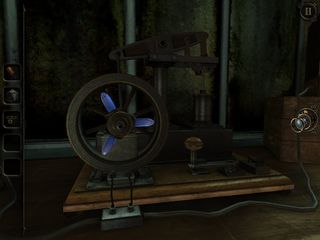
Pop the crystals into the machine on the desk and turn the crank to the right.
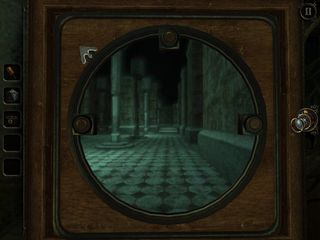
You'll find yourself having to navigate another maze. Follow the pointer at the edge of the screen to reach the goal.
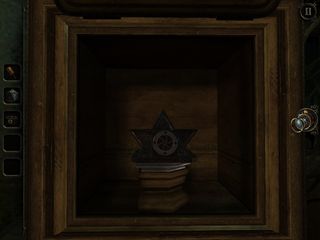
Take the mysterious artifact and head through the portal.
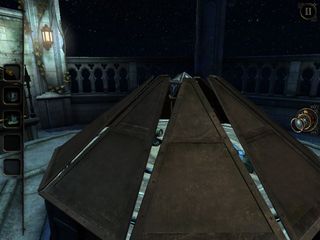
Once again, insert the key at the top of this mechanism and pick up the metal ring from the edge of the table.
Use the ring on the front of this box and look inside with the eyepiece.
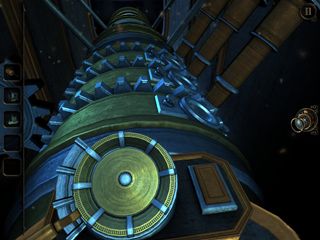
Line up the holes underneath the pistons and push the button.
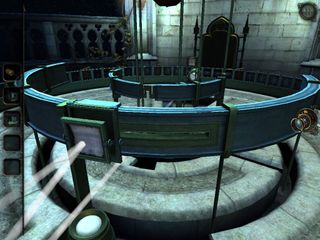
Move the outer mirror into the path of the beam, then grab the second mirror from the compartment beneath the table.
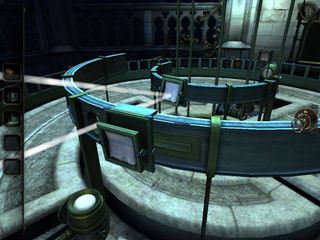
Place the second mirror into the centre of the smaller ring, and move the first mirror back to its original position.
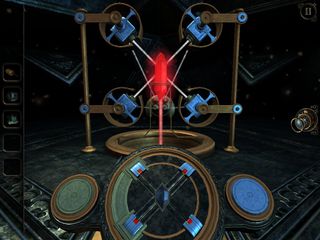
Solve the simple laser puzzle inside of the key.
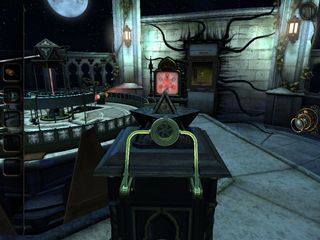
Ignore the train door and place the mysterious artifact onto the podium on the right.
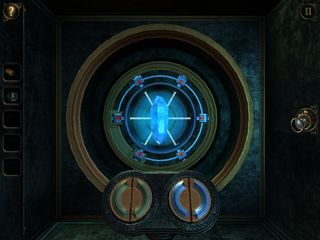
This is a slightly more complex version of the other laser puzzle. Focus on getting four lasers in sync as they rotate. Hold two in place then rotate the four other lasers to aim beams at the crystal.
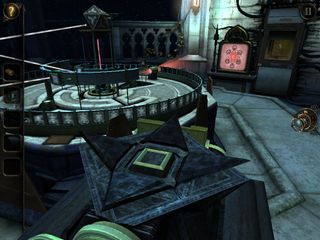
Push the button on top and go through the wooden door for the Release ending.
Ending 4: Lost
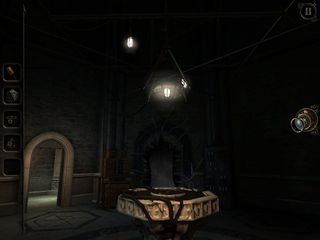
Pick up the Craftman's key from the table. You should have two mysterious artifacts in your possession after running through the release endingand the escape ending. With these three things in your inventory - and the screwdriver - head through the portal.
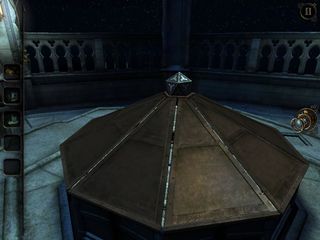
Put the Craftman's key onto this mechanism to open it.
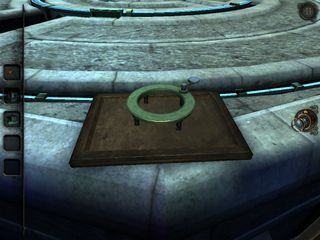
Take the metal ring from the edge of the table.
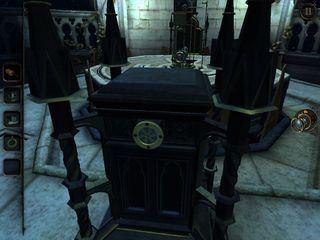
Use the metal ring on the box and use the eyepiece to look inside.
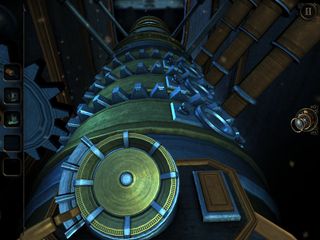
Line up the holes again as we did with the other endings so that they're underneath the pistons.
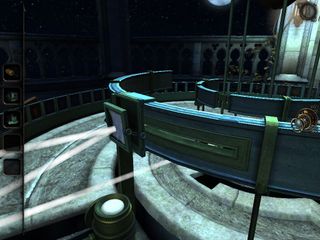
Move the mirror over to the left to divert the beam and grab the second mirror from the usual compartment under the table.
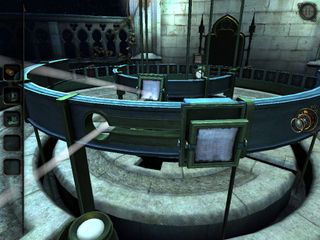
Pop it onto the inner ring and return the first mirror to its original position.
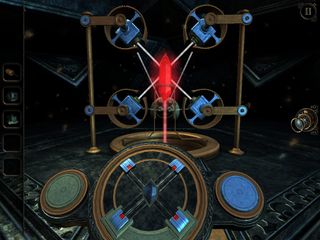
Use the eyepiece to look inside the Craftman's key and solve the laser puzzle.
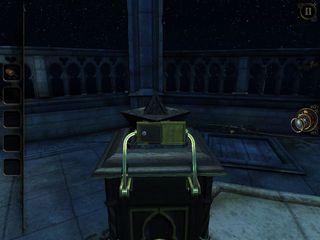
Ignore the train door. Place the artifacts on the podiums. Look at the rear of the one on the right and use the screwdriver on the metal plate.
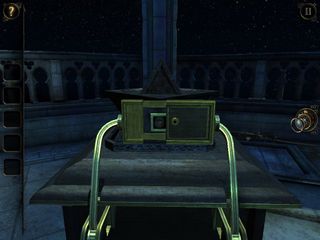
Pull the plate back to reveal a lens, then turn the dial on the front and use the eyepiece to look inside.
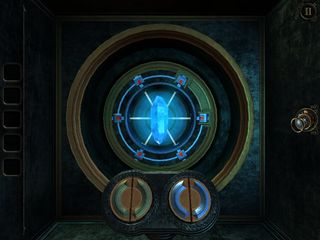
Figure out the laser problem once more, zoom out of the box and press the button on the top. Ignore the wooden door and head over to theotherartifact.
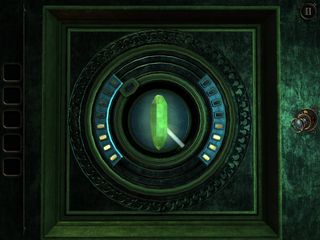
Use the eyepiece to look inside and solve this puzzle again. Zoom out and press the button on the top.
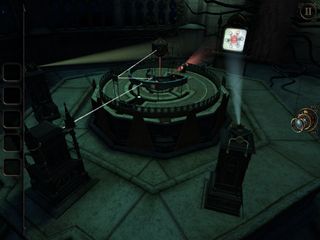
There should be three projector lights shining on the screen, and instead of a door, you'll just see a hole. Step through for the last ending.
And that's it. You've solved all of the needlessly elaborate puzzles apart from the one that really matters: What is the Null and what's at the end of all of those tentacles?
Ready for more? Check out our list of the very best puzzle games...
Sign up to the 12DOVE Newsletter
Weekly digests, tales from the communities you love, and more
