Rise of the Tomb Raider Soviet Installation guide: How to complete everything in the open area
Clear every challenge and find all the collectibles in the Rise of the Tomb Raider Soviet Installation
Soviet Installation Challenge Tombs
Soviet Installation - Ancient Cistern
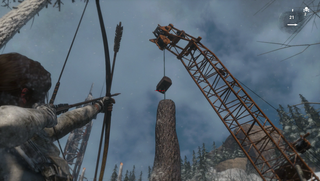
South of the Communications Tower camp, there's a large log suspended above a blocked cave. Fire an arrow at the anchor point and it'll drop, breaking through the barrier beneath it, revealing a ladder you can climb down. Look at the crumbling wall once you reach the bottom to spot a Mural.
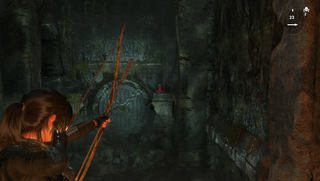
Progress along the cave and follow the left route at the fork to collect a Relic, then continue to descend. Once you've slide down a wet slope immediately look left to pick up another Relic, before going up the stairs nearby and jumping onto the counterweight to expose a pool and spinning blades underneath. Watch for a gap then drop through them to safety, before shooting the oil cask in the following chamber to open the route forward and reach a new camp. Keep going down the patch and you'll arrive at the tomb itself.
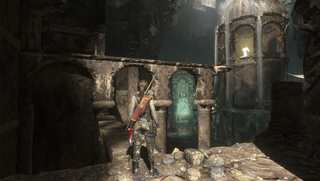
If you go across the archways then try to jump for the treasure, you're not going to make it, so instead drop down to the water and swim to the back of the area. Blow up the oil cask there to open a door and release water, which will open up a new tunnel you can follow back to the main room which now has a raised water level.

Swim over to the new platform when there's another oil flask, which you should throw onto the raft in the corner. Head up the stairs to locate a counterweight, then jump on it to unleash more water and raise the raft. Use a well-timed shot to detonate the flask when it's by the floodgate on the wall.
Soviet Installation - Voice of God
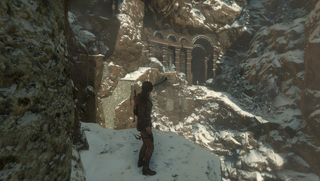
After you've collected Rope Arrows, make your way into the cave south of Sheltered Ride camp. You'll see a rope-bound board inside that you can yank clear, which then allows you to force through the door beyond to reach a new area. Continue down the path to find the Frozen Gorge camp, then after a further shimmy and jump you'll reach the tomb itself.

Don't miss the Relic sat on the nearby ledge before you head inside, and there's also a second Relic out here – though that one you can get on the way back. First, use arrows to run a line back over the path you came down, then create a second line following from the end of the first. The collectible is at the end of the second line, on the cliff face.

Once inside the actual tomb, check the table to the left of the entrance to pick up a Document, before you start trying to raise the large door. Crank the entrance door shut, which will lower a counterweight. You can now climb the planks on the door and reach the ledge nearby, dropping into a new room.
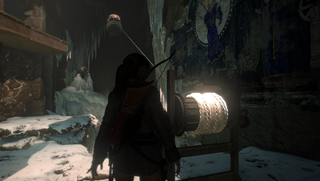
Along the wall you'll find another Document, so collect that then lodge a rope arrow between the counterweight and the crank seen earlier, making sure it's cranked up to maximum height. There's a wind blowing over the chasm, and you have to release the counterweight using the switch on the side of the crank just as it starts to blow, so It will then crash into some ice and release a second weight. Now go back to the main chamber using the breakable wall close by, crank the second door, then scoop up the treasures.
Soviet Installation - The Red Mine
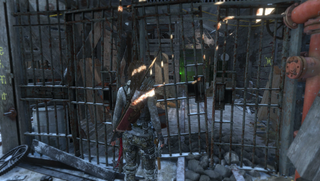
After you first learn to make Molotov Cocktails, have a look in the corners to spot an odd green passageway beyond some iron bars. Close to that is a red panel, which you can climb to drop into that area. Make your way to the green glow, then activate the controls to open up the path ahead. Follow it then use the zipline, before taking the right hand path at the split. A flammable barrier will block the way, so look for the nearby Molotovs to burn through it.
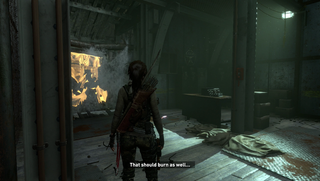
Following some sliding you'll continue to descend through the tunnels, until you arrive in a room with a burst pipe. Scoop up the Relic from the table here, then pick up a bottle and light it. If you've moved far enough back, you can toss the Molotov across the water and torch the barrier to reach the tomb itself.
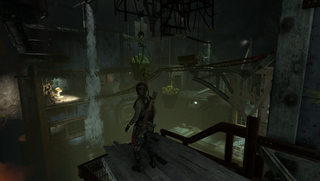
Once you're inside, head through the tunnel on your left. At the fork follow another left, where a desk presents a Document for your collection. Progress down to arrive at a camp, before jumping across to the pillar in the middle of the chasm, then hopping to the deck on the far side and moving upstairs.
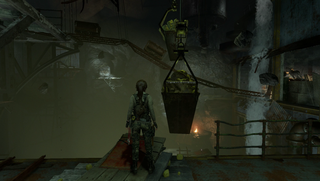
At the top of the stairs is a Relic to pick up, then head into the small room to also locate a Document on the table. Moving back outside, jump to the excavation tool hanging over the chasm, which will drop a pair of mine carts into the water below, but we still have work to do.
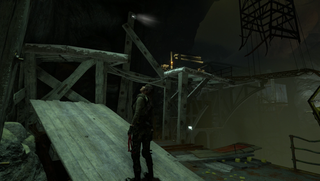
Go back upstairs and climb the series of platforms, where you'll see a third mine cart parked on tracks beyond a gate. Pull it forward with a rope arrow, but don't jump straight back to the excavation tool. Instead, look behind you and you'll see a pole you can utilise to swing onto the roof above the room you just collected the document from, where you'll spot a Mural on the wall.
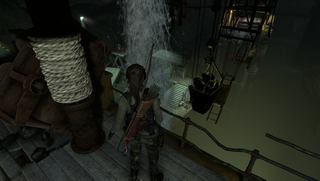
Keep going up the rooftops until you get to a tether pole, where you can fire a rope arrow at the cart you freed and anchor it to this pole. Make your way back to the excavation tool and release the cart, which will swing to the wall and block the water. Pick up one of the bottles here, then use the Molotov to clear the barrier over the gap. Jump across and gather the treasure inside the well-guarded office.
Jump to Section:
- Soviet Installation Collectibles (1/3)
- Soviet Installation Collectibles (2/3)
- Soviet Installation Collectibles (3/3)
- Soviet Installation Challenge Tombs
- Soviet Installation Challenges
Current page: Soviet Installation - Challenge Tombs
Prev Page Soviet Installation - Collectibles (3/3) Next Page Soviet Installation - ChallengesSign up to the 12DOVE Newsletter
Weekly digests, tales from the communities you love, and more

Iain originally joined Future in 2012 to write guides for CVG, PSM3, and Xbox World, before moving on to join GamesRadar in 2013 as Guides Editor. His words have also appeared in OPM, OXM, PC Gamer, GamesMaster, and SFX. He is better known to many as ‘Mr Trophy’, due to his slightly unhealthy obsession with amassing intangible PlayStation silverware, and he now has over 750 Platinum pots weighing down the shelves of his virtual award cabinet. He does not care for Xbox Achievements.

5 years after Avengers, 2 years after its last layoffs, and who knows how long before Perfect Dark and Tomb Raider return, Crystal Dynamics announces another round of layoffs

Fortnite has had Tomb Raider's Lara Croft locked away in battle pass exclusivity jail for almost 4 years, but she's reportedly getting a new skin very soon
