Ratchet and Clank Rift Apart walkthrough
This complete Ratchet and Clank Rift Apart walkthrough is all you need to beat the game
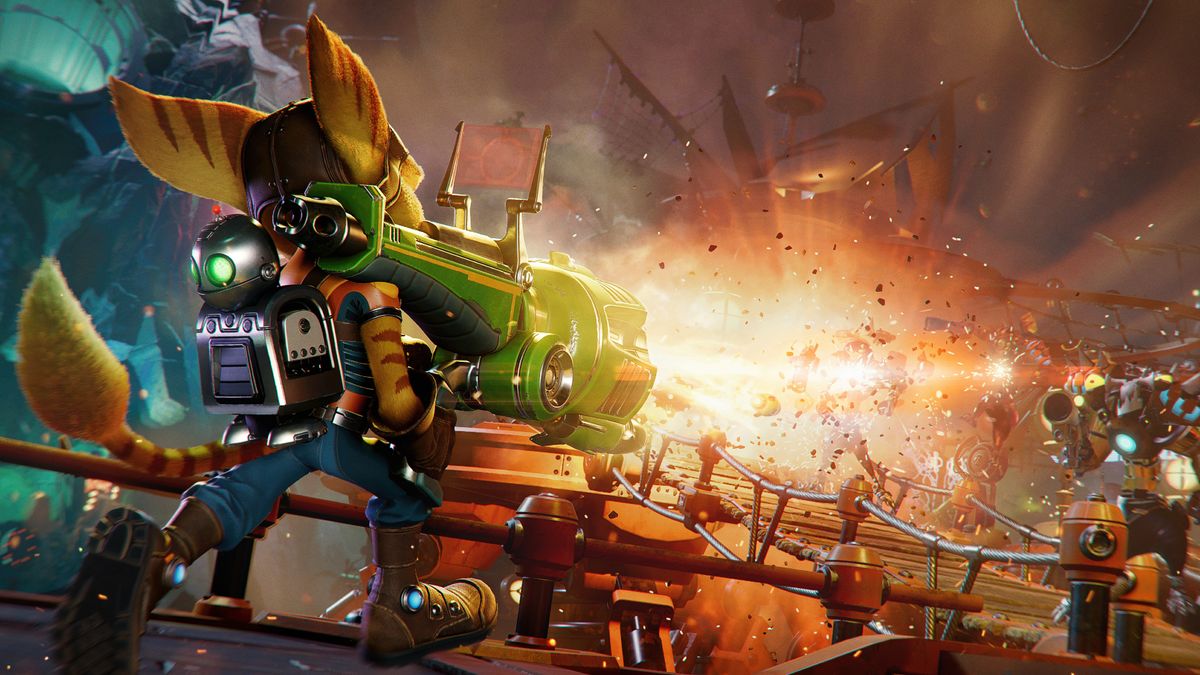
Ratchet and Clank Rift Apart starts after a short cutscene showing Rivet, with Ratchet and Clank taking part in a parade. This is essentially the intro/tutorial mission and is all fairly straightforward. Grab your wrench, smash the crates, and head from one parade float to the next.
Before long though, Dr. Nefarious shows up and all hell breaks loose. This section is all entirely linear, so once you've grabbed the Burst Pistol and killed the Goons-4-Less, take part in the rail grind tutorial. From here, continue forward with the shootin' and the blastin' until you have to take down the Goon Dropship. If you're struggling here, make sure to keep your distance – the dropship is a much bigger target than you so you can shoot it from afar – and make a mental note of where the ammo and health crates are.
Surprise surprise, Dr. Nefarious steals the Dimensionator and all hell breaks loose. Follow along with the grind rails until another cutscene sees you land next to the first Mrs. Zurkon, the weapons vendor.
Megalopolis Train Station
The next section of Megalopolis takes place in and around the train station and this is where it starts to open up a little. Don't worry about collectibles here though, the only important things to find are standard crates and some raritanium. Speak to Mrs. Zurkon to buy the Shatterbomb, a glove that throws insta-detonation grenades.
Defeat the Goons-4-Less in the area next to Mrs. Zurkon, then progress up the stairs on your right-hand side. The train will zoom off and you can cross into a circular room with a tree. Ratchet will shoot at Dr. Nefarious in a cutscene, hitting the Dimensionator and opening rifts, but now you can use rift tethers by pressing L1. Jump to the first one then before you go left, look right; there's a rift tether to jump to by your first few crates of raritanium.
Head back over and jump to the rift tether on the left, then clear all the Goons-4-Less from this area. Plenty more crates and bolts to obtain here if you look around, then go inside the building and deal with the Sandsharks that come through a portal. Keep going and head through the next door on your left to find a stack of crates, then continue the way you were for another cutscene to happen.
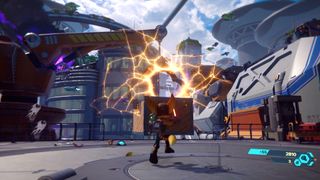
In this next area, smash the stack of crates against the far wall, then head up the rift tether on the moving crane. When this reaches the top and you jump to the next one, turn to the left and glide over to the platform, where you can then rift tether up to a small cranny with more raritanium inside. Head back to the rift tether on the crane and jump to the next one through the descending crates to continue.
Outside the next building you have more Goons-4-Less to kill, but before you jump on the taxi, make sure you head through the corridor to your left to find a bunch more crates to smash. Then hang on to the taxi with L1 and you'll be dropped off by another Mrs. Zurkon, where you can buy The Enforcer. This is essentially a shotgun with some serious upgrade potential.
Clear the Goons-4-Less from the next area – there's a lot of them in this bit – and you'll have the first fight against Dr. Nefarious. Your Shatterbomb will come in handy here, along with the Blast PIstol. The fight isn't too difficult but make sure you're constantly strafing to avoid the missiles, jumping over the laser beam, and when he moves away, smaller enemies are going to spawn through portals so be ready for them. Once Dr. Nefarious is "defeated", this is the end of Megalopolis.
Exploring Nefarious City
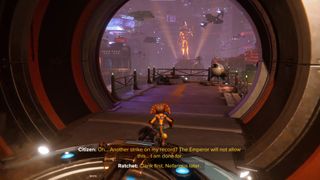
When you start exploring this dark and dingy city, Ratchet is without Clank, but there's nothing except crates to find until you reach the Nefarious City Bazaar. Turn the boltcrank, go through the tunnel, and you may notice an obvious path on your left. You can't do anything with this route yet, so come back later.
Glide down to the bazaar, run to the middle, and Ms. Zurkon will begin a cutscene. After this, you can buy Mr. Fungi, and you have options of where to go. Run around the bazaar a little and open the map to see raritanium highlighted, some of which you can grab now. Otherwise, follow both the spybot and gold bolt guides above to explore the optional objective which leads you to one of each through the Nefarious Business Factory.
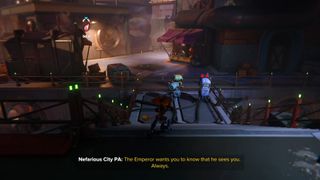
To continue with the main story, head to the east of the bazaar. When you reach the doorway you can't get through, turning right is the correct way to go, but head down the stairs to your left first. There's a CraiggerBear in the area so use our dedicated guide to find that, along with the very first Pocket Dimension where you can obtain the Robot Disguise Helmet.
Chasing Phantom
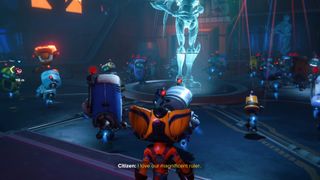
Head back up the stairs and down the other side to find the nightclub. Stroll towards the bar and a cutscene will happen, revealing Phantom's identity, and it's up to you to chase him down. Deal with the enemies, leave the nightclub (some raritanium on your left as you exit), then keep pursuing him through the streets. Keep an eye out for stacks of crates and more raritanium along the way.
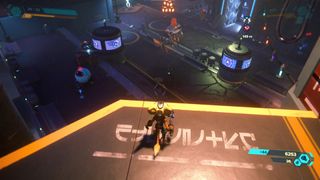
When Phantom jumps off a ledge into a more open area, with the light blue glowing tree in the opposite corner, clear all the enemies here then take another look at the gold bolts guide because there's one in the vicinity if you take a right-hand turn.
Walljump to the top and use the boltcrank to raise a bouncy platform, then walljump again and keep following Phantom. More enemies to kill next, but when you reach Phantom at the other side, he gives you the Phantom Dash – now you can pass by those forcefields. Keep following him and you'll learn how to wallrun as well. After Phantom points out the blimp to you, keep heading down the straightforward path and after lots of wallrunning, you'll find another Ms. Zurkon who introduces weapon upgrades and the Negatron Collider.
Head up the elevator and you'll be in the Nefarious Day Spa, where you'll have myriad enemies to take out again. There are a lot of foes here so stay on the move, keep dodging, and use rift tethers to your advantage. Mr. Fungi is a lot of help too. When all the foes have been defeated, grind the rail back to the bazaar.
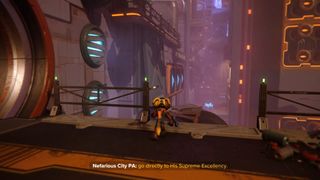
Remember that route to the side when you first found the bazaar that you couldn't get through? Along with now being able to grab the chests and raritanium behind the forcefield door inside the bazaar, you can also head back to where you entered the bazaar and use the wallrun to jump over to the other side. Round here you'll find a gold bolt and some more raritanium - check the dedicated gold bolts guide for more details.
Next, you need to go back to the bazaar and cross the raised wallrun platforms to the Nefarious Statue. This begins your first fight against a Nefarious Juggernaut. Keep moving at all times, phantom dash or jump through the beam attack, and don't be afraid to take cover behind the satellite dishes if you need to.
Afterwards, you've got the first Glitch console. This is a short minigame which sees you control a drone inside a computer. It's fairly straightforward; progress through the arena in a linear fashion, shooting the small bugs with your R2 attack and hitting the big virus nests with L2.
Completing this begins another cutscene and signals the end of Corson V. Onto Sargasso!
Finding Rivet's hideout
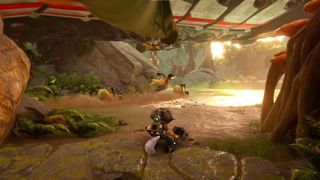
For the first time, you get to play as Rivet, with Clank in tow. You're on Sargasso which is Rivet's home planet and as such, your objective is to find Rivet's hideout. Have a look around the area you start in because there's some chests and raritanium to find, along with the scaly purple frog-dinosaur enemies that jump out of the swamp.
Jump across the only path forward and a Seekerpede will fly overhead, with some Speetles dashing about. Ms. Zurkon is to your left, at which point you can buy the Topiary Sprinkler, which turns enemies literally into temporary topiaries. Deal with more enemies in the next clearing, along with the wasps near the big yellow platform, then head into the cave tunnel on the other side. Inside here you'll find another Pocket Dimension which rewards you with the Galactic Ranger Helmet.
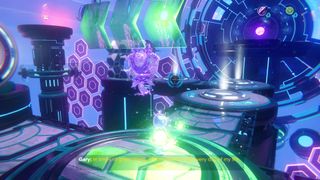
Ride the Speetle out of the rift and follow the bot until you reach the Morts, under attack from Goons-4-Less. Deal with the enemies and speak to the Morts to learn about some of them stuck inside a Dimensional Anomaly. Before solving that, speak to Ms. Zurkon to buy Ricochet.
Interact with the Dimensional Anomaly to begin a Lemmings-esque minigame which sees you guide Clank clones to the end of an obstacle course. It's fairly simple stuff at this stage; break the crates, grab the lift sphere, onto the next one. When you've solved all three courses, the bridge will be lowered and you can fight all the enemies in the next clearing, including one very angry Grunthor.
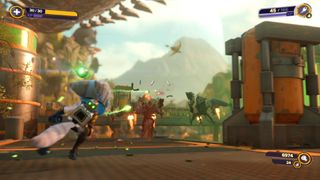
Grunthors aren't too difficult to deal with, just make sure you're avoiding any rocks they fling at you and getting the heck outta dodge when they charge. Prime opportunity here to use the Topiary Sprinkler, because it freezes the entire Grunthor in place.
Once dealth with, activate the three switches on the floor, hop on the platform, then rift tether to the area with a bunch more Goons-4-Less. There are a lot of enemies here but use the big green cylinder in the middle for cover and hide beneath the upper bridge for a breather. Turn the hammercrank after taking down the enemies and the bridge will... collapse.
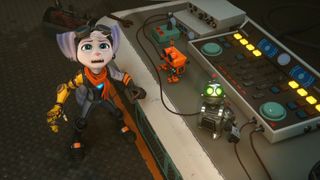
Go back to the main bit of land where you defeated the Grunthor and melee attack the Speetle nest to spawn one you can ride. Hop on its back then hold R1 to boost over the bridge, landing in a clearing with... another Grunthor. Follow the same plan as last time to get rid of it. There's also a gold bolt in this area so when you're done with the Grunthor, check our dedicated gold bolts guide.
Hit all three floor switches consecutively to raise a hookshot you can swing on, which leads you into the cave entrance to Rivet's hideout. First though, check the lower path in the cave to find a Pocket Dimension with Robot Disguise Boots. Turn the hammercrank to enter Rivet's hideout and there's another long cutscene.
Rescuing Clank
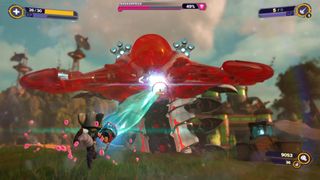
After Clank is vacuumed up by the Seekerpede, you need to give chase on a Speetle. This is pretty simple – hold R1 permanently to get a speed boost then aim for the ramps conveniently placed around the swamp. Land on the back of the Seekerpede then hit the button behind its head. You'll get knocked off and need to fight it one-on-one.
The main attack to watch out for here is the sweeping pincer. It's obvious when it's coming because it has a lot of build-up, and you can phantom dash left or right through it, but be wary. There's also the laser beam which is slightly harder to dodge, but again, the phantom dash is key. Constant firing here is essential though, because the Seekerpede will always be a target. When you get the Seekerpede to 50% health, you'll have to ride the Speetle again, then fight it one-on-one again.
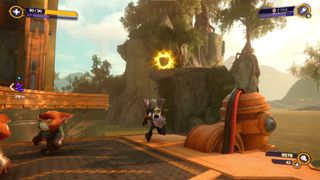
When you're done with the Seekerpede fight and have recovered Clank, take the rift tethers back to the Gelatonium Factory, where the Morts have kindly recovered your ship. There's another gold bolt near here too, so have a look at the dedicated guide for that. Go back to Rivet's hideout for a CraiggerBear as well.
You're now free to explore Sargasso however you like, though it's worth knowing that you will come back here later on in the story so you're not missing out on too much by hopping in your ship straight away.
Onwards to Scarstu Debris Field! Note that after Scarstu Debris Field, you can return to Sargasso for an optional objective, and our dedicated Ratchet and Clank Rift Apart zurpstones guide is all about that.
Current page: Ratchet and Clank Rift Apart Walkthrough 1
Next Page Ratchet and Clank Rift Apart walkthrough: Scarstu Debris FieldSign up to the 12DOVE Newsletter
Weekly digests, tales from the communities you love, and more
Give me a game and I will write every "how to" I possibly can or die trying. When I'm not knee-deep in a game to write guides on, you'll find me hurtling round the track in F1, flinging balls on my phone in Pokemon Go, pretending to know what I'm doing in Football Manager, or clicking on heads in Valorant.


