The best Rainbow Six Siege operators for beginners
Just getting started? Here are the attackers and defenders to know
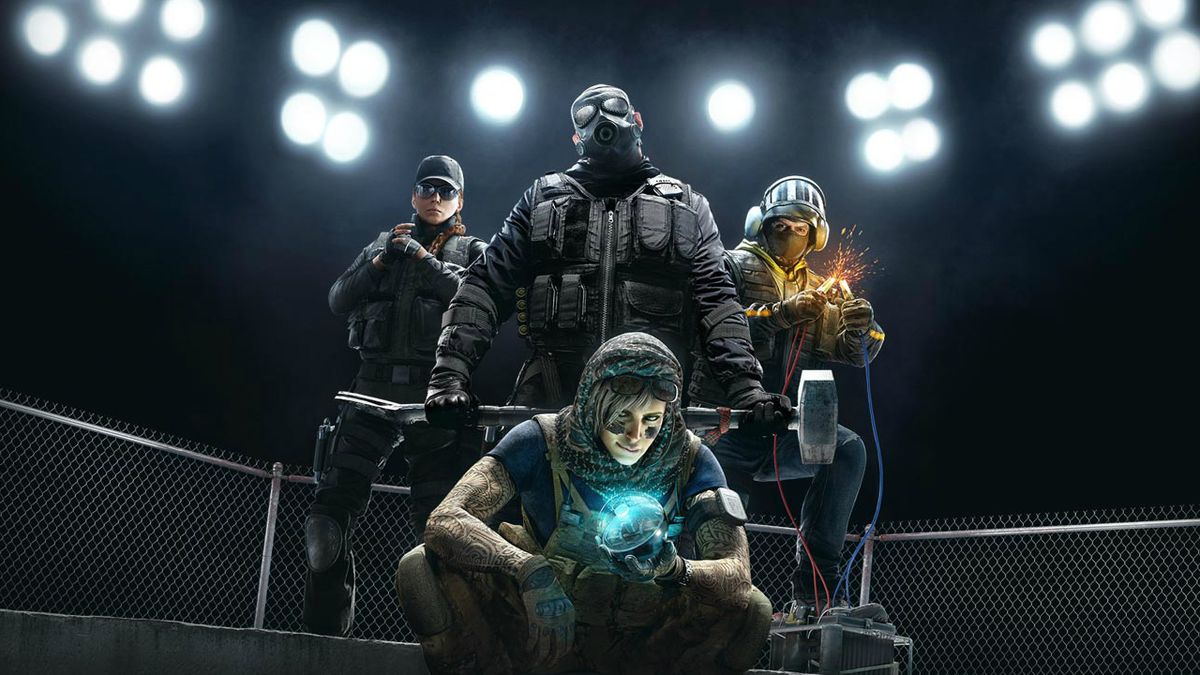
Knowing the best Rainbow Six Siege Operators to pick, out of the 52 available, can be a little tricky. Especially if you’re a new recruit getting used to the action. However, just like every competitive game, there are a few characters who are easier to master than others in Rainbow Six Siege.
While it can be beneficial to learn Operators that have a higher skill ceiling, you’ll want to ease yourself into the Attacking and Defending rolls. After all, there’s no point spending all your hard-earned Renown on any units that will make the learning process ten times harder. Siege is known for its blisteringly fast kill times, tactical gameplay and high skill ceiling, making it one of the most daunting and rewarding FPS games to play. Fortunately, we’ve put together a handy feature that outlines 10 best beginner-friendly Operators you should be using in Rainbow Six Siege.
DEFENDERS:
Rook (GIGN)
Recommended Primary weapon: MP5 submachine gun (ACOG sight, vertical grip, flash hider)
Recommended Secondary weapon: P9
Recommended gadget: Barbed wire
Rook's unique gadget is as straightforward as they come, making him perfect for anyone still learning the ropes. At the beginning of the round, quickly plunk his armour pack onto the ground (ideally near the objective you're defending) and suit up yourself before running off to deploy reinforced walls. Your teammates will know to grab their own piece of body armour before the round starts, and you'll net some free points in the process. The body armour is extremely beneficial for your entire team, providing damage reduction and ensuring that otherwise fatal wounds will only down you for a potential revive (unless it's a headshot, because there's no walking away from that).
Though Rook's ability is essentially fire-and-forget, try not to drop the satchel of armour near a window, in case your opponents rush the point and manage to pick off a straggler who's equipping their armour a little too late. And because Rook has the slowest movespeed in exchange for his high base armour (even before the extra body armour), you're best off hunkering down and defending the point rather than roaming around the map
Doc (GIGN)
Recommended Primary weapon: MP5 submachine gun (ACOG sight, flash hider, vertical grip)
Recommended Secondary weapon: P9
Recommended gadget: Barbed wire
If you like the idea of providing your team with heals and giving yourself extra survivability, then Doc is an operator you’ll want on your roster. Doc’s Stim Pistol fires hypodermic shots that can revive himself or teammates from a distance, while also boosting any unit’s health above their usual 100 capacity. Each stim shot fired heals/overheals a player for 40 health and decays every second it’s active, giving you plenty of opportunities to set up some game-winning plays. For example, if you get caught in a 2v1 situation and want to try and clutch a win for your team, then simply use Doc’s Stim Pistol to give yourself a whopping 140 health. Not only will this give you the survivability to sponge incoming damage, it will also allow you to aggressively defend as opposed to waiting for your enemies to make a move. While Doc’s Stim Pistol may be incredibly useful, it does only have four bullets, so make sure you use them wisely.
Even better, Doc is one of six Defenders who has access to the ACOG sight attachment, making him incredibly deadly at both medium-to-long-range distances. This allows Doc to hold angles and peek spawn locations with added precision, forcing Attackers to take extra care when pushing onto the objective. While Doc’s Bulletproof Camera may provide your team with added vision, his Barbed Wire bundles provide a lot more information. Not only does Barbed Wire slow your enemies down, it also creates a lot of noise when being trodden over. Simply put the Barbed Wire behind a non-reinforced wall and let the bullets fly when you hear any suspect rustling. The supportive nature of Doc’s kit may lend itself to the anchor playstyle, but his Stim Pistol does allow for some equally aggressive plays, giving you the choice between defending or roaming.
Kapkan (Spetsnaz)
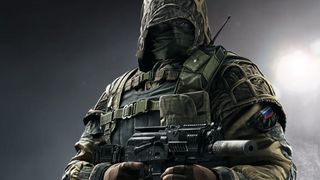
Recommended Primary weapon: 9x19VSN submachine gun (Reflex sight, compensator vertical grip)
Recommended Secondary weapon: PMM
Recommended gadget: Nitro Cell
Kapkan's entry denial devices are a nasty surprise for any Attacker who foolishly forgets to watch where they're stepping; getting a kill with one is oh so sweet. You can quickly drill these into any entrance with a door frame, so don't waste time trying to affix them to a concrete wall - you've got five of these things to set up before the onslaught starts. Avoid planting them on windows; Frost does a better job of setting up traps in those areas anyway. You'll want to crouch down and affix the devices to the base of doorways to make them as inconspicuous as possible, lest the Attackers simply spot them and destroy them with a single pistol shot before moving forward.
With five devices at your disposal, you can get a little creative with how you place them around the objective. Try to cover every possible entryway leading to the main capture point, but remember that once someone triggers a trap, they're going to be extremely wary of walking into more - so placing them in sequential doorways probably won't be that effective. Your traps also work as great alarms for incoming enemies, tipping you off to where you should point that shotgun (which works surprisingly well at medium range) for an easy follow-up kill.
Jager (GSG9)
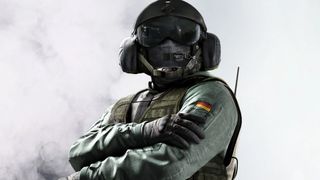
Recommended Primary weapon: 416-C Carbine assault rifle (Holographic sight, vertical grip, compensator)
Recommended Secondary weapon: P12
Recommended gadget: Barbed wire
Like Rook and Kapkan, Jager doesn't have to look after his unique gadgets for them to be highly effective - once Jager's ADS-MK4s (read: anti-grenade turrets) are in place, he's essentially done his main job for the rest of the round. Grenades are often a big part of the Attackers' approach, so being able to negate one of their main tools makes Jager hugely useful in any situation. When placing his turrets, favor spots in the middle of the floor; this should give the turret maximum visibility to pluck grenades out of the air as they sail overhead. Just be wary: if a Fuse charge is sending a volley of grenades into the room, one turret will only counteract two of the six total explosives headed your way.
It's also smart to place one of your three total turrets along a wall behind an environmental object, so Attackers won't immediately see it and pick it off. Just make sure you don't choose a spot that needs to be reinforced; any ally who goes to reinforce the wall will automatically destroy the turret in the process. Jager's quite nimble with three points of movespeed, so feel free to roam around the outskirts of the objective, looking for quick pickoffs while your turrets help secure the central room you're protecting.
Frost (JTF2)
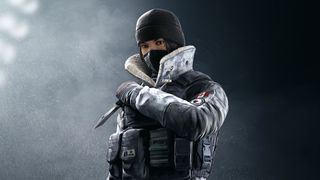
Recommended Primary weapon: 9mm C1 submachine gun (Red dot sight, extended barrel, angled grip)
Recommended Secondary weapon: MK1 9mm
Recommended gadget: Bulletproof camera
Canada is famous for its deliciously sweet maple syrup and terrifying bears, so it makes sense that Frost’s is a master grizzly trapper. Frost can place up to three Welcome Mats around the map, forcing her opponents to tread carefully if they wish to keep both their legs. These lethal traps can be hidden under barbed wire, placed behind doorways, tucked under windows, and mounted near any obstacles that can be vaulted over. The possibilities are pretty much endless and the more experimental you’re willing to get, the greater the chances are of snagging yourself a game-winning catch. Try to always place your traps in positions where they are concealed, laying them in areas that have high volumes of player traffic or commonly used routes. Once you’ve carefully set your Welcome Mats, simply sit back and watch the cams for any player movements.
Fortunately, your team’s cameras and Frost’s own bulletproof camera will give you a decent view of your surroundings, so you’ll know exactly when an enemy is about to step into a bear trap. You’ll get notified when one of your mats gets set off, so make sure you’re not too far away from the trap’s location. When you’ve successfully caught an enemy, try to lure in other foes by leaving them in the downed state and patiently wait for another player to revive their fallen squadmate. As soon as they begin the revive animation, simply let the bullets fly to reel in a disgustingly easy double kill. Not only will this reward you with more kills, it will also tilt your opposition, making it easier to win subsequent rounds.
ATTACKERS:
Thermite (SWAT)
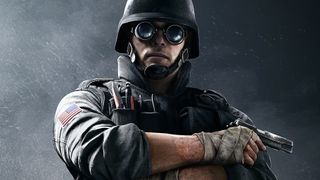
Recommended Primary weapon: 556xi assault rifle (ACOG sight, vertical grip, flash hider)
Recommended Secondary weapon: 5.7 USG
Recommended gadget: Claymore
Thermite will always be a boon for the Attackers thanks to his unique gadget that completely changes how you approach your target. As with Hibana, Thermite's almost always picked for his ability to breach fortified walls (anything will metal plating, denoted by plus-shaped spikes on the opposite side) - but unlike Hibana and her Year 2 Operator prices, Thermite's totally affordable. Simply set up Thermite's souped-up breaching charge onto any fortified wall, and you'll be able to bust through, creating multiple avenues of offence against whoever's waiting on the other side. You might even get a kill on a camper who's hugging that same, soon-to-be-exploded wall if they don't react in time.
Be wary that some Defenders can effectively shut down your ability when played correctly. Mute's jammer will render your breaching charges useless, and Bandit's shock wire will destroy it (so be on the lookout for the telltale crackle of electricity on any walls). If your breaching charge doesn't work, don't try again in the same spot - look for a different position to blow a hole open in the enemy defences instead. Oh, and make sure your teammates are clear of the charge before you activate it so they aren't accidentally killed in the blast.
Sledge (SAS)
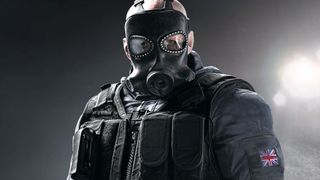
Recommended Primary weapon: L85A2 assault rifle (ACOG sight, vertical grip, flash hider)
Recommended Secondary weapon: SMG-11
Recommended gadget: Frag grenades
Sledge and the big ol' hammer he carries can fit into just about any Attacker team and do well. For newer Siege players, learning the intricate layouts and myriad pathways of the many maps can be tricky - so it's fortunate that Sledge's signature hammer effectively acts as nigh-unlimited breaching charges, letting you brute-force your way through what might otherwise be a dead end. With a single button, you can bash giant holes in a wall to lay down fire from odd angles, or smash the wooden planks of a makeshift barricade in one swipe. It also makes for a supremely satisfying melee kill (though bullets are usually the better option).
Remember not to get too carried away with demolishing the terrain; it's always better to stick with your teammates rather than roaming solo and breaking down doors and walls willy-nilly. This is where Sledge's fantastic L85A2 assault rifle comes in: it's a rock-solid weapon for picking off enemies at any range, especially with the ACOG sight. Don't disappoint your team by rushing the point and getting killed immediately with hammer in hand. Instead, bust up some terrain, then pick off any opponents waiting on the other side.
Twitch (GIGN)
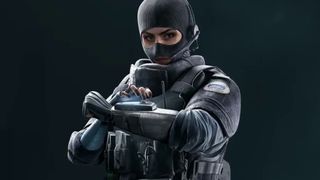
Recommended Primary weapon: F2 assault rifle (ACOG sight, vertical grip, flash hider)
Recommended Secondary weapon: P9
Recommended gadget: Breach charge
Making smart use of your scouting drone during the preparation phase is a key component of being an effective Attacker, and playing Twitch is a great way to implement all those best droning practices. For instance, don't just scan enemies when your drone is in plain sight, ensuring that they take notice and shoot it almost immediately; instead, sneak around like a stealthy mouse, peeking around corners to mark your target before darting back into the shadows. The fact that Twitch's drone can shock enemies for a little bit of damage can be quite a thorn in the side of the opposing team, which works great as a pesky distraction while your teammate moves in for a full-on kill or objective capture.
But the biggest contribution Twitch can make to her team is rolling her shock drone through a heavily fortified position, taking out ceiling-mounted cameras and any enemy gadgets in sight. You can effectively ruin the day of Kapkan, Jager, and Mute players by sniping their precious gadgets one by one with some steady shock drone shots, cackling all the while. And because Twitch's focus is on her two drones - one at the start of the round, and one during - her style encourages good play across all Attackers. Having the wherewithal to take things slower than you might in any other FPS, using your drones to scout ahead rather than charging in and hoping you don't die instantly, is crucial. Playing Twitch will reinforce those good fundamentals, and should improve your Siege skills across the board.
Blackbeard (NAVY SEAL)
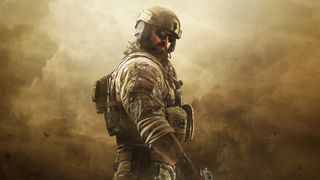
Recommended Primary weapon: SR-25 semi-automatic rifle (ACOG sight, muzzle brake, vertical grip)
Recommended Secondary weapon: D50
Recommended gadget: Breach charge
Are you tired of always dying to headshots? Do you want an attacker that doesn’t rely heavily on his teammates? If the answer is yes to both of those questions, then Blackbeard should be a top pick for any player looking to add an extra pinch of survivability. In a game where headshots kill in just one hit, having an operator that can completely counter this is absolutely huge. Despite numerous nerfs to his Rifle-Shield’s health and overall speed, Blackbeard is still an absolute monster when played effectively. The SR-25 may lack the high fire rate of the game’s meta assault rifles and SMGs, but the single tap nature of the gun does allow for some fantastic precision across every range, especially when paired with the ACOG sight.
However, before you go breaching or peeking, you’ll want to equip one of your Rifle-Shields. Once equipped, Blackbeard’s head will be completely covered from the front, but his movement and ADS speed will be drastically reduced. Of course, the reduction in speed is a small price to pay for the added survivability the shield gives you. The two shields can block 50 points of damage, allowing you to stave off multiple headshots before eventually breaking. When playing as Blackbeard, try to always position yourself in a way that the only thing your enemies can shoot at is your shield. Peeking corners is usually a risky move that often results in instant death, but Blackbeard excels in this area, so don’t be afraid to aggressively peek your opponents.
Ash (SWAT)
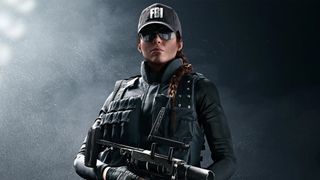
Recommended Primary weapon: R4-C (holographic sight, flash hider, vertical grip)
Recommended Secondary weapon: 5.7 USG
Recommended gadget: Stun grenade
Sometimes you want a little speed when attacking, especially when there is very little time left on the clock. Ash is a fast-paced attacker that can rush down defenders and provide destructive openings with her modified M120 CREM. Creating openings on soft structures is incredibly easy, while the ranged nature of her grenade launcher makes the process of destroying walls much safer when compared to the standard Breach Charge. Your job as Ash is to get onto the objective as quickly as possible, causing as much mayhem and destruction as you can. Once you’ve breached a soft wall, throw in your stun grenades and start mopping up any enemy players that are anchoring on the objective. The sheer speed and quickness of your breach will usually make it hard for your opponents to react, especially if you launch your attack when your teammates are busy sieging from the opposite side of the map.
Unlike other attackers, Ash has the ability to breach from a variety of different positions. If you want to surprise your foes, consider launching an attack from above or below the objective, as this will create a lot of openings that force your enemies into constantly checking numerous locations. If that wasn’t enough, the M120 CREM can even destroy any traps or obstacles that might inhibit your ability to reach the objective, so don’t be afraid to clear the way before you begin your attack – after all, the more mobile you are, the harder it is for your enemy to hit you. Ash’s kit may be incredibly simple, but that doesn’t stop her from being one of the most lethal Attackers in the game.
Sign up to the 12DOVE Newsletter
Weekly digests, tales from the communities you love, and more
Lucas Sullivan is the former US Managing Editor of 12DOVE. Lucas spent seven years working for GR, starting as an Associate Editor in 2012 before climbing the ranks. He left us in 2019 to pursue a career path on the other side of the fence, joining 2K Games as a Global Content Manager. Lucas doesn't get to write about games like Borderlands and Mafia anymore, but he does get to help make and market them.

14 years after the game was released, the cast of A Minecraft Movie think now is the perfect time for the adaptation to hit screens: "There's so many reasons"
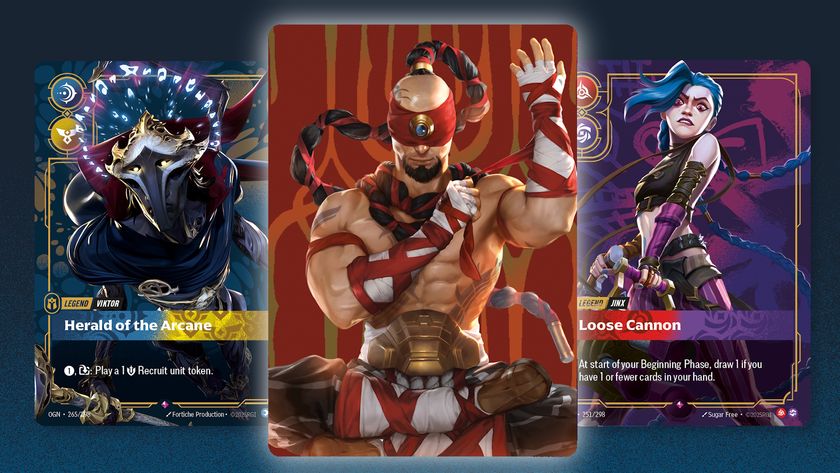
Riot Games Executive Producer "humbled" by response to League of Legends TCG, taking heed of fans' calls for better UI and original art
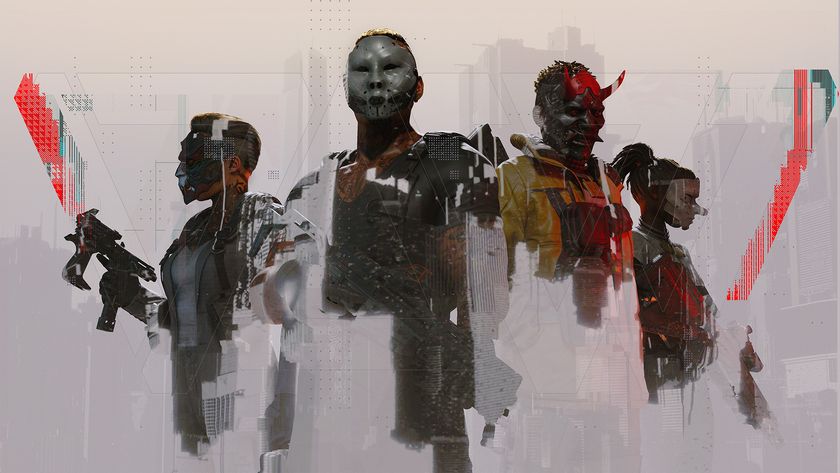
My first Den of Wolves heist, from Payday's creators, has me dropping plasma shields and brain-diving with teammates to steal minds: "We've been refining this formula for over 20 years now"

