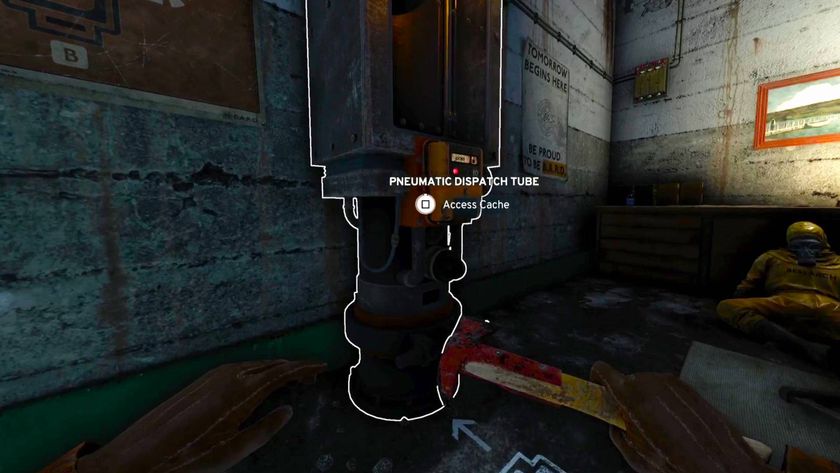
Outlast Document and Note location guide
Survive the horror and find every collectible.
Chapter 4 – Male Ward
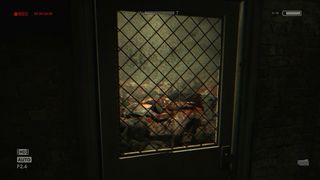
Note 11: A Feast For Flies
After making your way through the blood-filled sewers you’ll squeeze through a gap and see stairs to your right leading up to the Male Ward. Instead of going up, continue forwards and use your camera to look at the bodies in the room on the left.
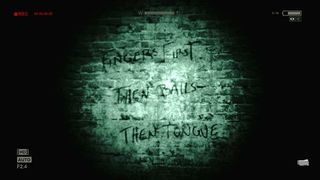
Note 12: Organized Torture
After pushing aside the unit and crawling through the vent into the room with an inmate restrained in a chair, exit and go left to enter another dark room and film the writing on the wall in night vision mode.
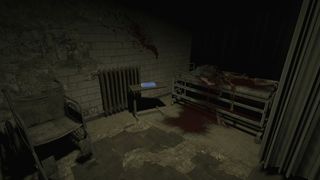
Document 13: Project Walrider Cost Report
When you discover the hospital ward, go to the far end and look in the last cubicle on the right.
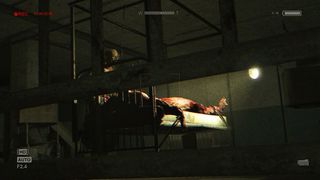
Note 13: Dr. Rick Trager
After you escape from the wheelchair Trager puts you in, exit the room and move on to find a torture victim strapped to a bed. Hide under a nearby bed, then use your camera to film Trager killing them.
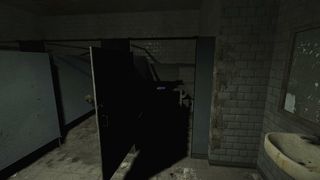
Document 14: Request for Reassignment
When looking for the key to the elevator, you’ll need to push aside a unit at the end of a corridor then climb through a vent at the end of the next corridor. After dropping out of the vent, go into the bathroom in front of you and check the cubicle on the right.
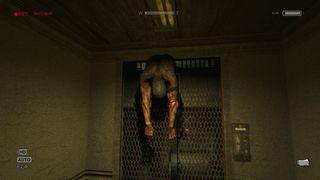
Note 14: Death Of Trager
Once you’ve crushed Trager in the lift, point your camera at his body.
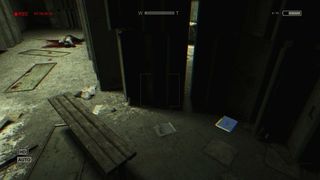
Document 15: Persecutorial Delusions
After speaking to Father Martin, go down the dark corridor on your left then take the first right. Through the door at the end you’ll find a locker room, and the document is at the far end near a bench.
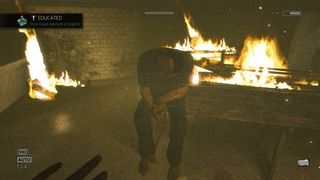
Note 15: Let It Burn
After climbing through the window into the burning cafeteria, use your camera to film the inmate sat on a table.
You will unlock the ‘EDUCATED’ silver Trophy at this point--if you don’t, check your records as you’ve missed a collectible.
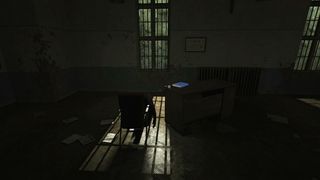
Document 16: Psychopathological Proximity Stress Disorder Pamphlet
When you exit the cafeteria, before squeezing through the gap ahead go down the corridor to your right, then in the room at the far end look on the desk in the corner by the window.
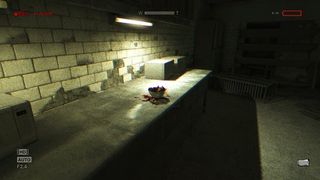
Note 16: Fingers
After turning on the sprinklers and going back through the cafeteria, you’ll be knocked down by an inmate when entering the kitchen. Look around the counter to your left to find a side room, then film the bowl of fingers on the side.
Next: Chapter 5 – Courtyard
Sign up to the 12DOVE Newsletter
Weekly digests, tales from the communities you love, and more

Iain originally joined Future in 2012 to write guides for CVG, PSM3, and Xbox World, before moving on to join GamesRadar in 2013 as Guides Editor. His words have also appeared in OPM, OXM, PC Gamer, GamesMaster, and SFX. He is better known to many as ‘Mr Trophy’, due to his slightly unhealthy obsession with amassing intangible PlayStation silverware, and he now has over 750 Platinum pots weighing down the shelves of his virtual award cabinet. He does not care for Xbox Achievements.
