Luigi's Mansion: Dark Moon gem and boo locations guide
How to find every gem and boo
SECRET MINE D-3
Welcome to Secret Mine D-3, Across the Chasm. If you've been following our guide, there will be 3 Gem Stones that we recommend grabbing here that you haven't already found, as well as one Boo to track down.
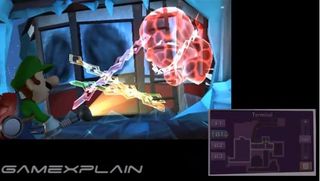
The main elevator you need to take is frozen, so for now, interact with the fireplace to find a secret lift to the upstairs. Once there, first use the blow function of your vacuum to shut the window, otherwise it'll blow out the fire you need in the next step. Now use your vacuum on the nearby rotor to raise the chandelier, causing it to catch fire. Once it has, lower the lit chandelier onto the main elevator to melt the ice, allowing it to be used. Head back downstairs via the fireplace and clear the snow blocking access to the elevator, then hop aboard and ride it down to the Airway. After stepping off, head left and flash the light sensor up high to activate the Wire transportation system. Catch a ride on it over to the door on the right, leading into the Terminal. Inside, use your strobe light to flash the robot enemy embedded in the mirror to shatter part of it, revealing another. Flash him too, then one other that's revealed afterward. Now after all three, you might notice part of the mirror is still left. Well, suck up the snow pile on the left to reveal another robot you can flash, then one more after he explodes, to clear the mirror completely revealing a door. But when you attempt to go through, three ghosts will appear and lock it behind by a trio of chains. So as you may have guessed, you'll have to hunt down all three ghosts hiding around the mansion in order to remove the chains.
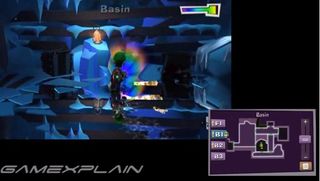
The first one is hiding in the Basin. To get there, head out the southern door, cross the Prospector's Crossing, into the Drift Hall, and take the door. Inside, cast your Dark Light just right of the lantern along the northern wall to reveal a robot. Flash him with your strobe light to reveal some ghosts. After you take down the first trio, back away from the center of the room to avoid being landed on by the large one who controls one of the chains. Take him down to remove chain #1.
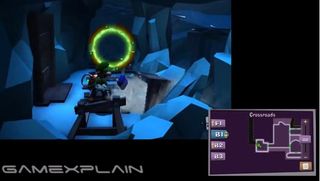
The second ghost is lurking in the Smugglers Hideout. To get there, start off by exiting out the left door and crossing the Airway into the Crossroads. Now there's a gem here you can collect. After taking the teleporter, cast your Dark Light just right of the tracks to reveal a Mine Cart. Now the spirit balls here are a little tricky, so make sure to take the teleporter back to actually get them. Return to the Mine Cart and suck up the snow pile inside it to find the mansion's 11th gem.
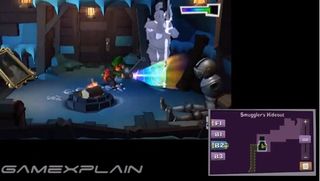
Continue through the door and down the Skip Slope. At the base of the slide, use your Dark Light along the right wall to reveal the entrance into the Smuggler's Hideout. Inside, shine your Dark Light on the northeastern corner to reveal a knight, who'll then proceed to decapitate the one in the corner, revealing the ghost you're looking for when you approach. But before you can get to him, you'll have to take down a few of his friends first. Once you have, the star attraction will make his appearance. Capture him to remove the second chain.
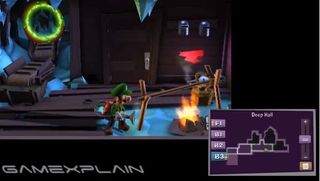
The third and final ghost is creeping around in the Chalet. To get there, exit via the northern door, ride the lift down the Shaft, then cross the Coward's Chasm into the Deep Hall. Now let's pause for a moment, since there's a Boo here. Cast your Dark Light just left of the fire to reveal a kettle. Now position yourself just left of it and use your vacuum's blow function to push it up just over the fire, then hold it there until it boils, exposing the Mission's Boo.
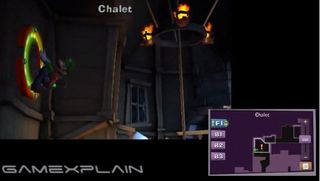
Afterward, exit out the door just right of the conveyor belt into the Crystal Quarry. Now use your strobe light to activate the teleporter ahead, then hop through to arrive right back in the chalet. And as a bonus, you'll land right on a couch exposing the mansion's 12th gem.
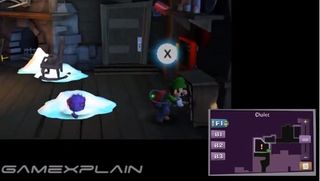
Check the drawers in the southeastern corner to reveal the third and final ghost you're looking for, but he'll hightail it into the chimney and you'll have to take on a few of his friends first. After taking them down, approach the fireplace to take on the Slammer himself. Once captured, the final chain will be removed.
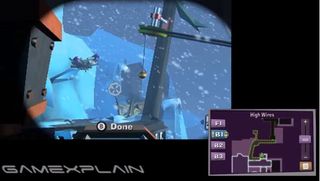
Now it's time to return to the Terminal. In case you forgot, take the main elevator down to the Airway, then catch a ride on the wires over to the door on the right. Once there, head on through the door that was chained into the Gondola. Take control of the launcher in the middle of the room, which can fire hot coals to thaw frozen objects . First aim it at the base of the personal transport devices riding along the wire. It's easiest if you aim for them at the turnaround point on the left. And while you only need to unthaw one, you might as well do all three. After that, target the ice on the tree to the left, which will cause it to fall, creating a bridge which is crucial for the next gem.
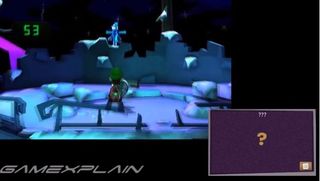
Once you're done melting things, exit back into the Terminal, then take the first door on the left into the High Wires area. Catch a ride on the wire over to the far side, then cross the fallen trunk into the outhouse to find a bonus room. In this game, you'll have to dodge the enemy's snowballs while trying to hit three of them with your own. Oh, and you only have a minute to do it in too. The key is to wait until an enemy appears, then quickly face toward them and fire only once the crosshair has appeared over the them. If you take a hit, it's best to not even try to target the next ghost as you won't have time, and instead prepare for the one after. If you manage to hit all 3 within the time limit, the mansion's 13th gem will be yours.
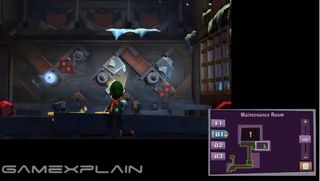
Afterward, cross back over the tree and now take ride the wire on the right that you melted over to a balcony with a door that leads to the Workshop Landing. Cross the tightrope here over to the far side. Because the door on the left is without power and blocked off, head through the one on the right into the Maintenance Room. Here you'll be able to restore power to the door, but it involves a bit of a puzzle. You'll need to clear all the ice and debris from the generator along the back wall by launching robot bombs into the three chutes along the top. And fortunately, there's an endless supply of bombs thanks to the nearby conveyor belt. Start off by launching one into the left chute, then user your strobe light to activate and detonate it. This will swing an arm inside into the required position. Now launch another into the middle and detonate it too to clear some debris, and swing the arm again. Launch another bomb into the left shaft to swing the arm back toward the center. Now fire a bomb into the shaft on the right to clear some debris. Launch another into the right one to swing a second arm toward the center. Now that everything's in place, launch one final bomb down the center to destroy the ice, allowing power to flow to the door, and a nearby camera. Afterward, try exiting out the door to the left to complete your mission
Sign up to the 12DOVE Newsletter
Weekly digests, tales from the communities you love, and more
