Little Nightmares Nome, Statue, and Flotsam collectibles walkthrough guide (including DLC)
Beat every puzzle and find all the Little Nightmares collectibles (including DLC) with our complete walkthrough guide
The Residence DLC
5 Flotsam

From the start, go left and climb up the rafters on the wall.
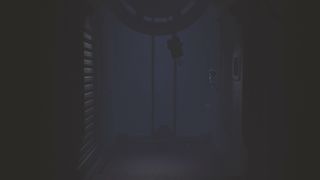
Swing on the hook to reach the hole in the wall opposite.

Head down then go through the crack in the wall to the right.
After dropping into the next room, go right then up the right hand of the two rear corridors.
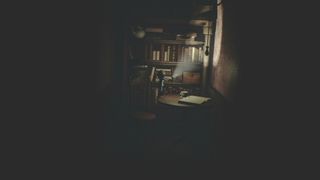
Climb onto the chair then the table, and jump to pull the cord and turn on a light.

Now climb up the bookshelf behind to find Flotsam (1/5).
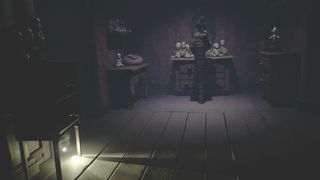
Go back to the main room and right, then sneak through the next room behind The Lady.
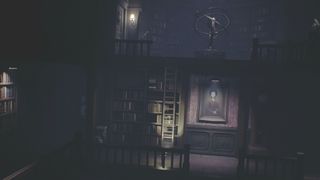
In the main library, head up the stairs to the first floor then go left and drag the ladder right.
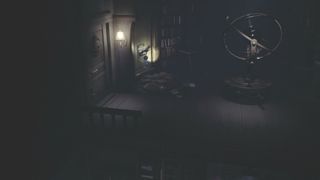
Climb the ladder, then pull the lever to the back left to activate the globe lamp.
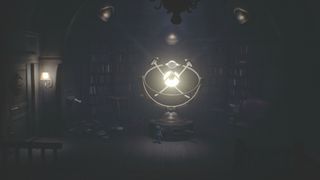
Use the lever on the right of the lamp to switch between different spotlight tracks, then press the button on the left to rotate them, until they shine into the three eyes on the wall. The fastest solution from starting position is: lever right - 3 presses; lever centre - 1 press; lever left - 3 presses.

You can then go right and shine your torch in the eye on the door to open it.
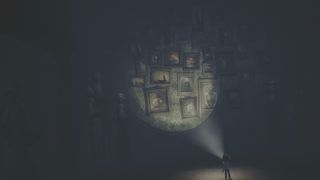
Pass through the room full of sculptures, then take a look at the paintings on the back wall.
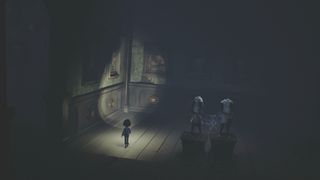
In the next room, you need to press the button under each portrait that appears on the previous wall to light them up. The buttons you need to press are: second, third, fourth, sixth, and eighth.
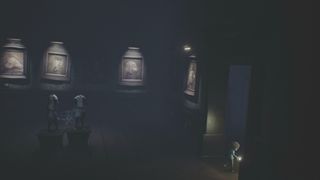
This will open a door on the right to the next room.
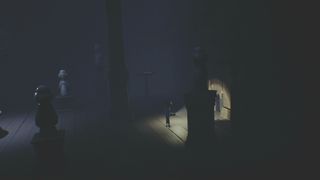
Head to the right hand side and go through the hole in the wall.
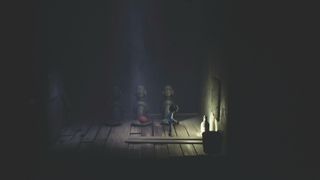
Inside you'll find Flotsam (2/5).
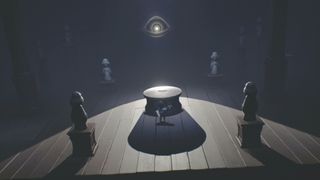
Back in the previous room, climb onto the pedestal and grab the sculpture, then immediately drop behind the stand to avoid the glare of the eye.

Sprint your way left, using the shadows of the pillars to stop the eye turning you to stone, then throw the statue at the button to open the door.
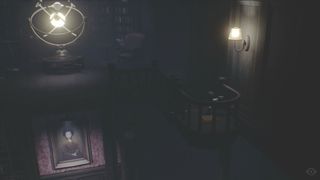
Pick up the sculpture and carry it back to the main library room, then walk down to the lift and ride it to the lower level.
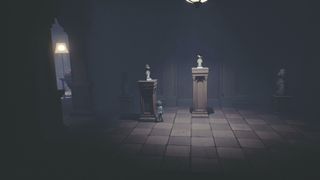
Go down the stairs and right, into the next room then place the statue on the triangle floor slot to the left, which will raise it up on a plinth.
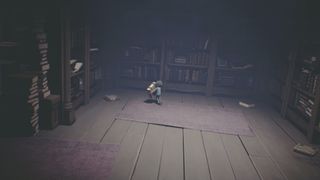
Return to the main library room and go up the stairs to the first floor, then into the room on the right. Here you need to return three books into the correct slots on the shelves. The book in the middle of the room goes in the slot on the left.
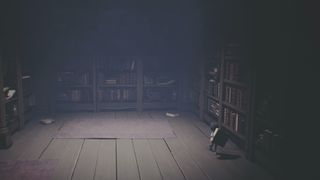
The book on the right goes in the slot on the right.

To reach the third book, go left and move the ladder to the left so you can climb onto the top of the shelves.

Work your way along until you reach the book, then pick it up and walk off - you will survive the fall.
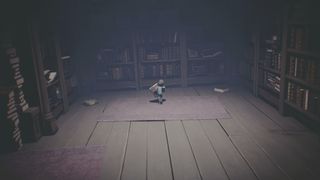
Grab the book and put it in the centre slot to open a secret door on the right.
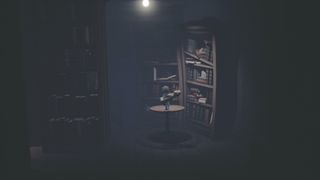
Push it open, then pick up the wooden statue on the table inside.
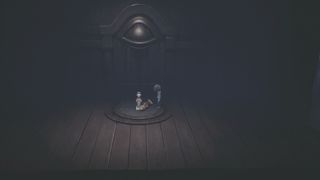
Carry it all the way left to the room on the other side of the first floor, then drop it next to the real statue.
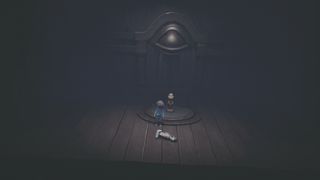
Quickly swap the two statues, before the ceiling comes down and crushes you!
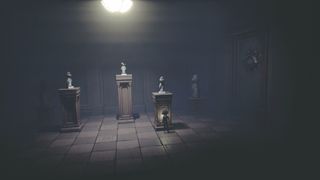
Carry the real statue downstairs and right, then place it on the square floor slot to the right, which will put it on another plinth.

Head left to the room where you originally saw The Lady, and you'll encounter three enemies you need to shine your torch on to destroy.
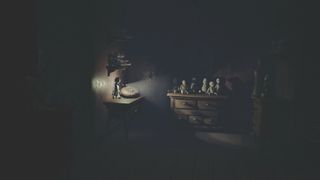
Deal with them, then climb on the side table to the left and pick up the key.
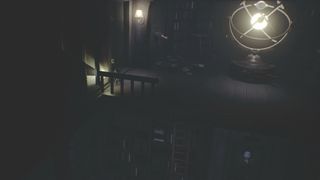
Carry it back to the main library room, then ride the lift up to the top floor and unlock the door to the left.
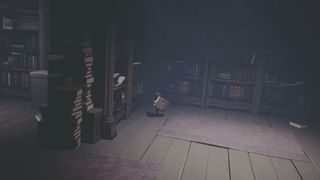
Go back down the lift and into the first floor room on the right, then grab the book on the floor with half a geisha face on the spine.

Go downstairs and carry it all the way left, past the room with the fireplace and chairs, and slot it into the bookshelf to open a secret door.
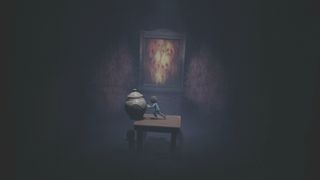
Inside, push the urn off the table to smash it and earn the Ashes to Ashes Trophy or Achievement.
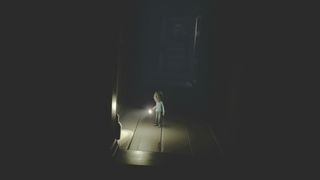
Return to the door you unlocked upstairs and go through it, then head down the corridor you immediately enter to find Flotsam (3/5) at the bottom.

Go back up the corridor and left into the next room, where you need to fight off enemies by using your torch. Make your way left and keep destroying them until you hear a clock chime and they stop respawning.
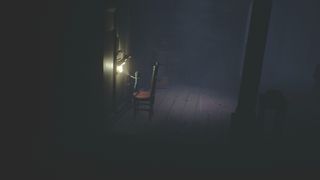
Drag the chair to below the door on the left, then use it to jump and pull the switch.
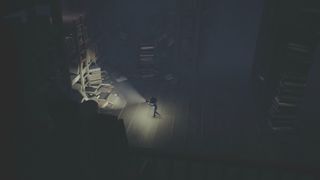
In the next room are more enemies to fight off, as you make your way left to reach a ladder to climb. Watch out for holes in the floor!
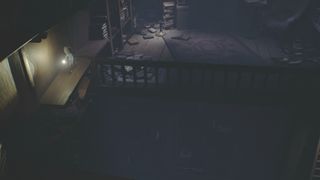
Once you've passed through the bookshelf into the next area, go to the bottom left and climb on the shelf to reach a plank over a drop.
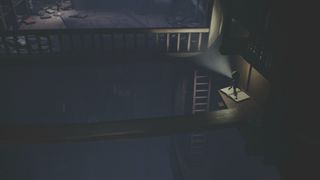
Walk over the plank, then jump back from the shelf on the other side to reach the ladder and climb down.
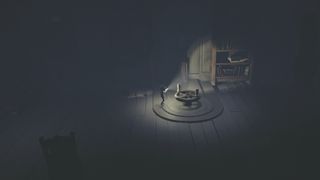
In the next big room, alternate between fighting off enemies with your torch and turning the wheel crank to lower the painting on the right hand side.
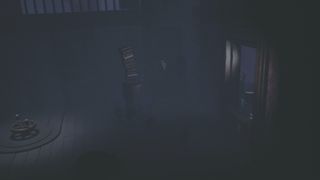
When it's low enough, sprint right and climb over the rising painting to exit the room.
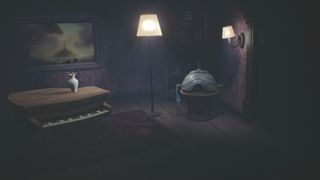
Grab then let go of the handle on the side of the ornate table to raise the lid and reveal a statue.
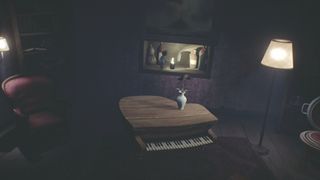
Run back and forth on the piano keys until the painting behind rises up, then run and jump from the top of the piano to reach the shelf and collect Flotsam (4/5).

From the ornate table, jump and grab the lamp on the wall to open the door on the right.
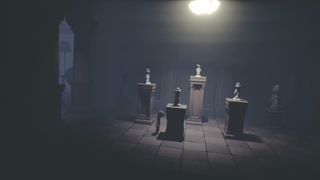
Grab the statue, then head right and down the stairs to the statue room. Place the statue on the round floor slot in the middle, which will raise it on a plinth and open the door to the right.
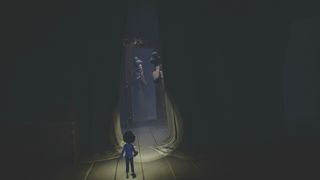
Head right, where you'll find The Lady unmasked.

Keep moving right, past the corridor you can go down, until you reach the far end then look in the bottom right corner to find the final Flotsam (5/5) and unlock the I'm Losing You Trophy or Achievement.
Now go left back to the corridor, then all the way down and into the room on the left at the bottom.
Turn around and return to the corridor, where the door on the right should now be open.
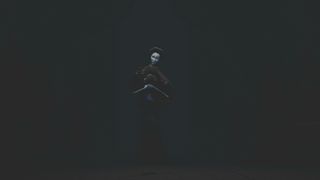
Head inside, for one final meeting with The Lady.
When you take control of the Nome, go right and squeeze through the gap in the wall.
Head right, dropping down onto the walkway below, then on to the hanging basket.
Go left on the walkway below, and through the doorway at the end.
Continue left until the room with the sleeping monsters, then drop through the hole in the floor.
Squeeze through the gap in the wall to the bottom left - it's hard to see in the dark but it is there.
And that's it, the conclusion to the third DLC and the whole Secrets of the Maw suite. Congratulations!
Jump to Section:
- The Prison
- The Lair
- The Kitchen
- The Guest Area
- The Lady's Quarters
- The Depths DLC
- The Hideaway DLC
- The Residence DLC
Current page: Little Nightmares: The Residence DLC
Prev Page Little Nightmares: The Hideaway DLCSign up to the 12DOVE Newsletter
Weekly digests, tales from the communities you love, and more

Iain originally joined Future in 2012 to write guides for CVG, PSM3, and Xbox World, before moving on to join GamesRadar in 2013 as Guides Editor. His words have also appeared in OPM, OXM, PC Gamer, GamesMaster, and SFX. He is better known to many as ‘Mr Trophy’, due to his slightly unhealthy obsession with amassing intangible PlayStation silverware, and he now has over 750 Platinum pots weighing down the shelves of his virtual award cabinet. He does not care for Xbox Achievements.

Ahead of GTA 6, Take-Two CEO says he’s “not worried about AI creating hits” because it’s built on recycled data: “Big hits […] need to be created out of thin air”
Getting Over It creator Bennett Foddy threatens the world once again: If you want Baby Steps to be a brutal rage game, "you can inflict that on yourself"

A Simpsons Hit and Run Remake will probably never happen – and I don't want it to
