Little Nightmares Nome, Statue, and Flotsam collectibles walkthrough guide (including DLC)
Beat every puzzle and find all the Little Nightmares collectibles (including DLC) with our complete walkthrough guide
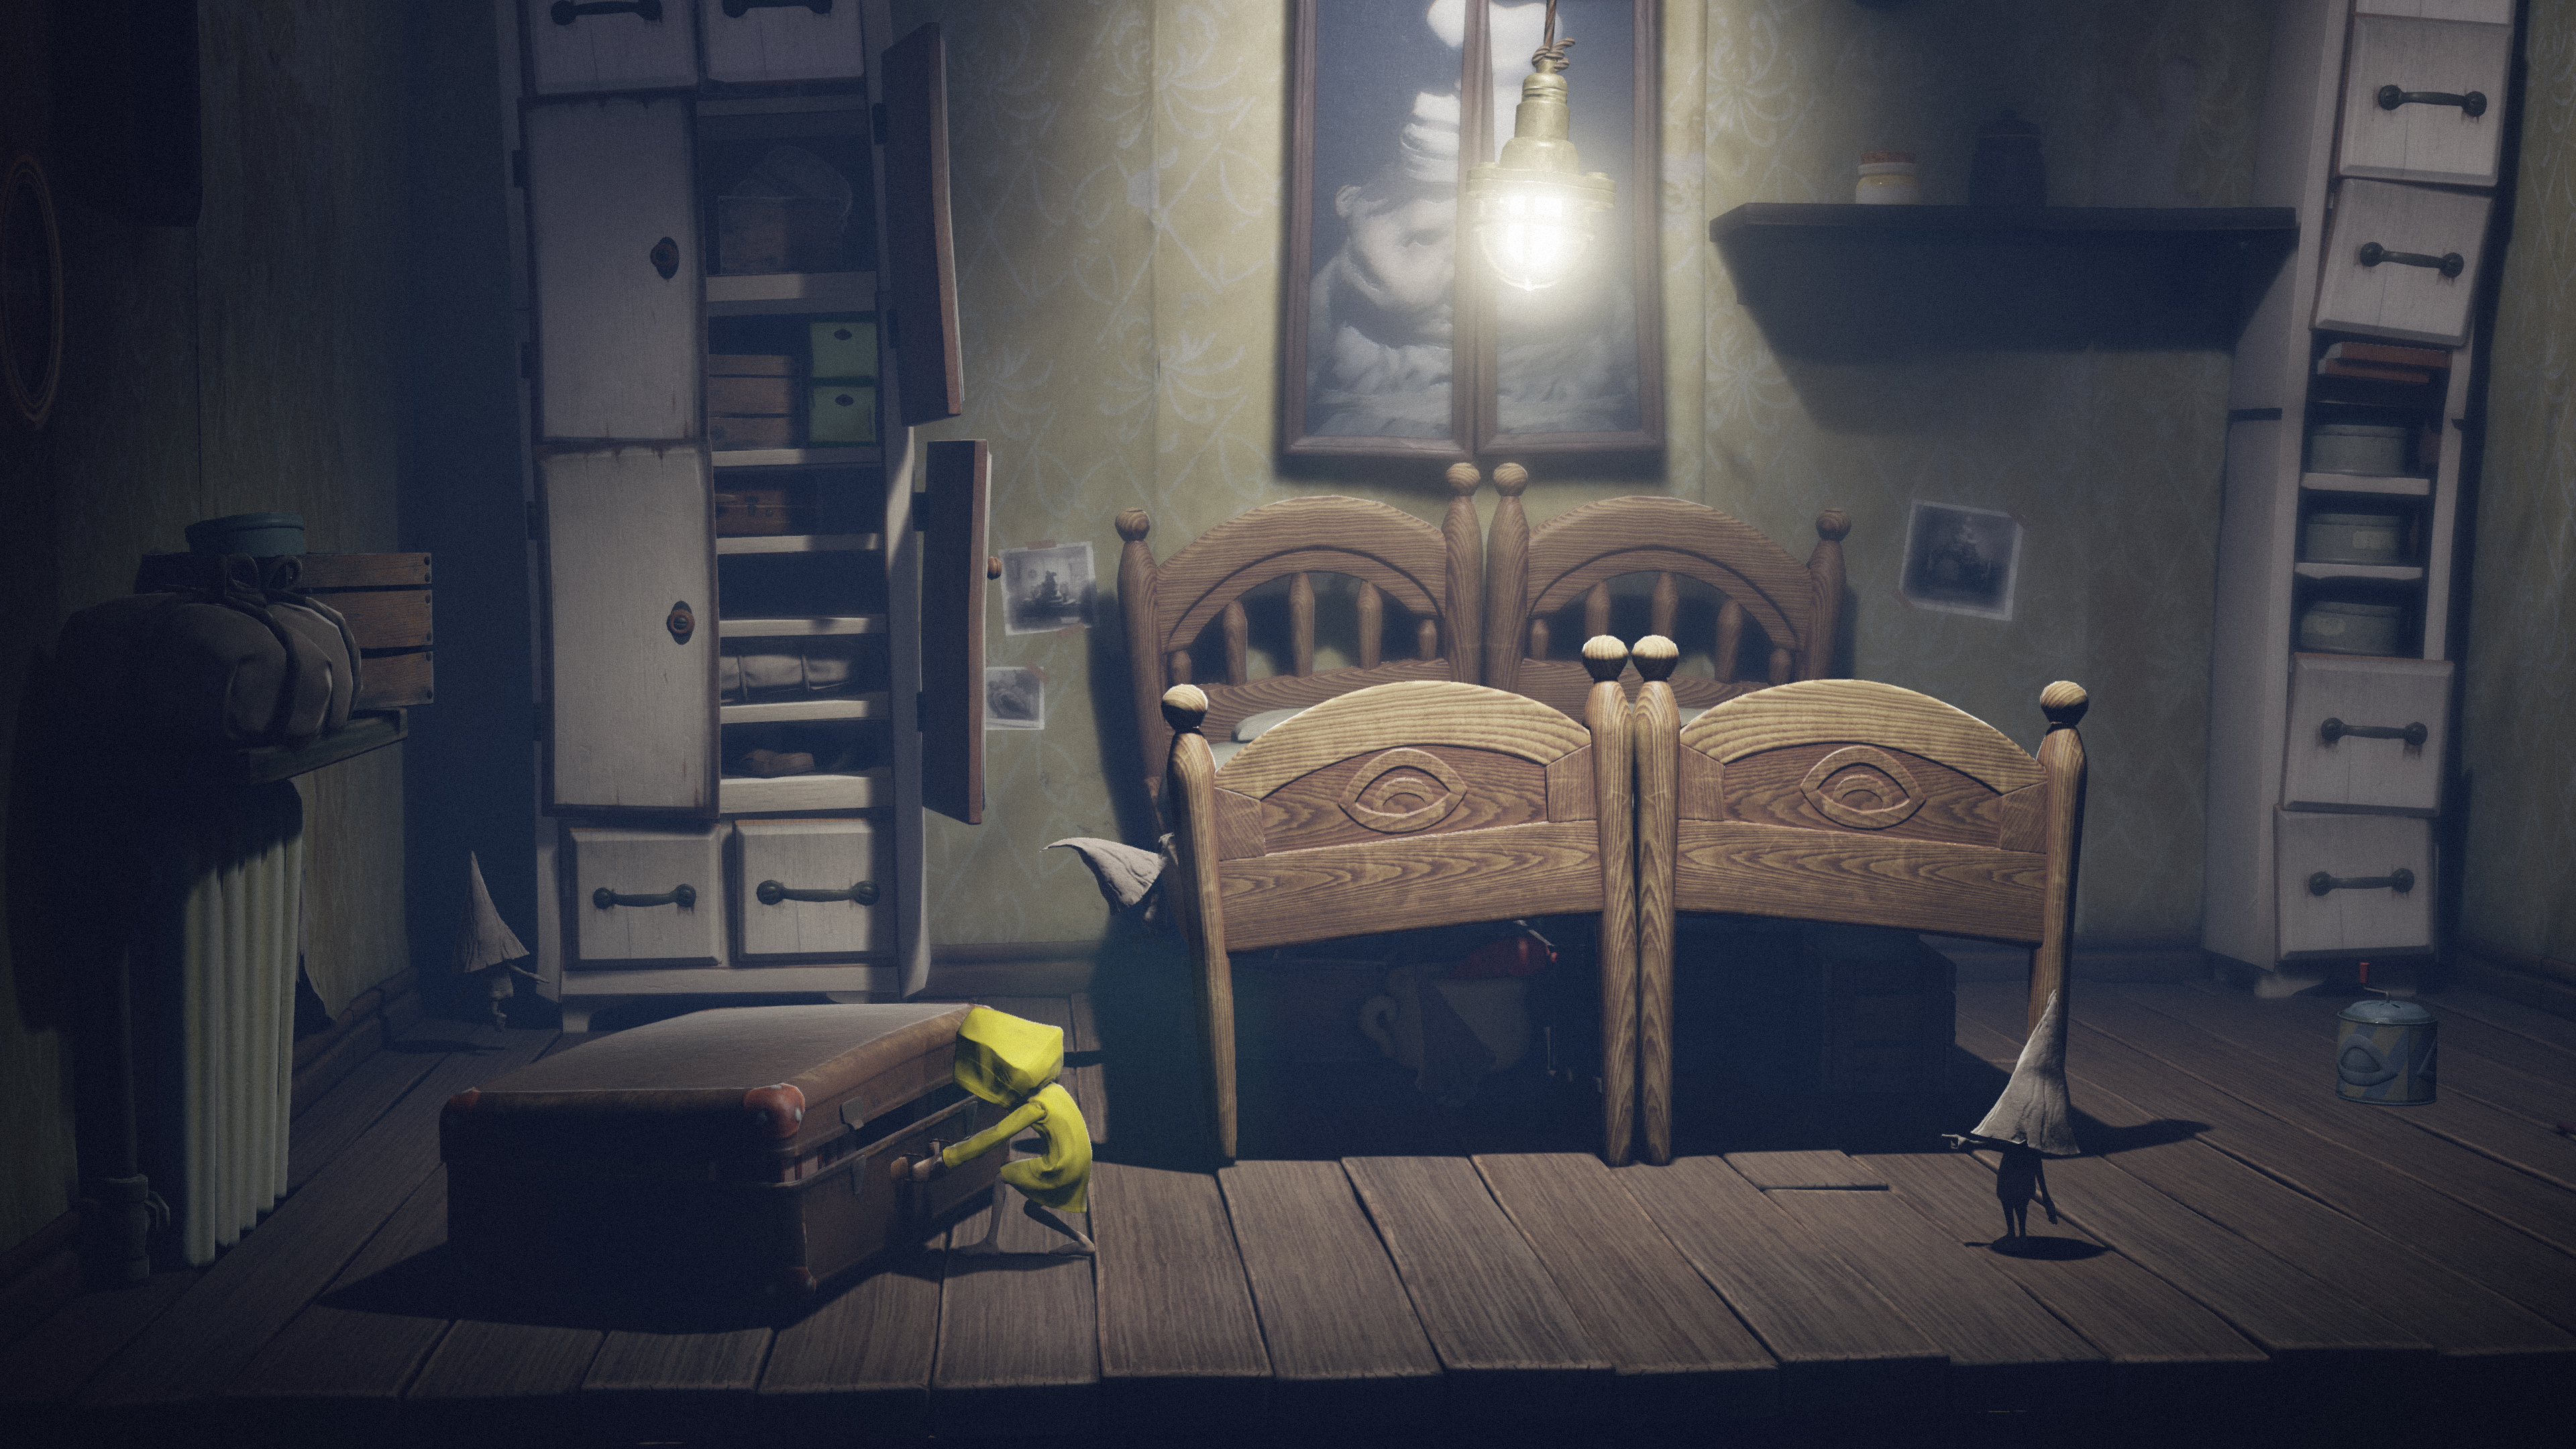
Finding all of the Little Nightmares collectibles can be a tricky task, while you also try to navigate the various puzzles and use your stealth skills to avoid meeting a horrific and untimely end. There's a chilling tale to uncover through the main story and DLC episodes of Little Nightmares, and you'll need to keep your wits about you while you traverse the grim interior of The Maw. This Little Nightmares walkthrough will help guide you through each area, as well as pointing out where to find the sneaky collectibles - these appear in the form of mushroom-like Nomes to hug (by holding grab next to them), Statues to smash (by grabbing and throwing them), and (in the DLC episodes) Flotsam bottles to uncork (by grabbing them).
This guide will lead you step by step through all of the Little Nightmares puzzles, as well as highlighting all of the collectible locations and any other Trophies or Achievements you can earn on your journey. Note: we've highlighted the locations of many lamps and candles which can be lit with your lighter - once you've ignited 20 of these you'll receive the Light Up Your Life Trophy or Achievement meaning you don't need to activate all of them, and you should unlock it before the end of The Kitchen chapter if you follow our guidance.
For the Elusive Trophy or Achievement you need to escape from chasing enemies three times - run away from an enemy and slide out of their reach, you'll know if you've done this successfully as the game saving icon will appear in the corner of the screen. The hardest challenge is Hard to the Core, which requires you to beat the whole game in under an hour with zero deaths. By quitting the game after completing each chapter and backing up your save, you can give yourself a restart point to return to if you meet your demise, and if you're familiar with this walkthrough then the time limit shouldn't be a problem. Let's get started with the first area...
The Prison
3 Nomes, 2 Statues
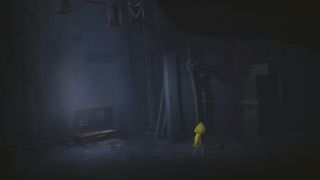
Once you wake up, make your way to the right.
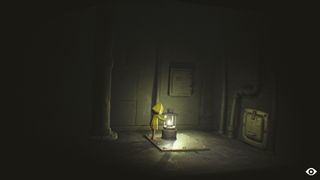
Use your lighter to turn on the lamp.
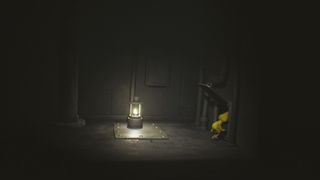
Pull open the hatch then crawl through.
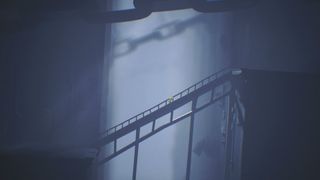
Make your way up the long staircase.
Enter the alcove at the back by the broom and grab the Statue (1/2). Throw it to smash it.
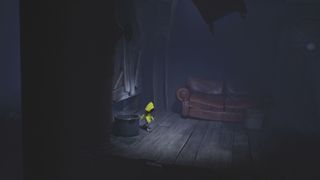
Crawl through the gap into the next room.
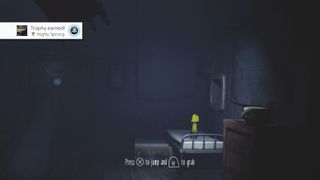
Climb onto the bed on the right, then keep jumping until you unlock the Highly Sprung Trophy / Achievement.
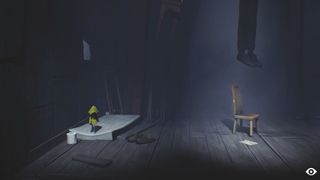
Now jump and grab the ledge to reach the next room.
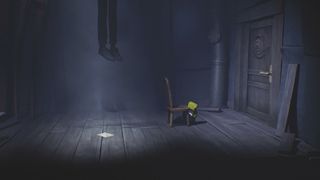
Pull the chair over to the door on the right then jump to grab the handle and open the door.
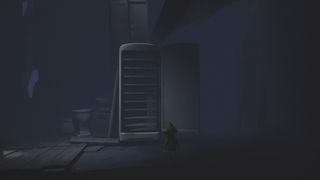
In the next room, grab the fridge door and pull it open.
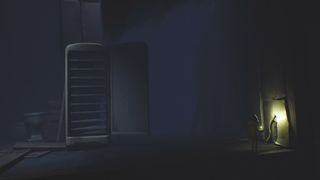
Now go right and crawl through the gap at the end of the room.
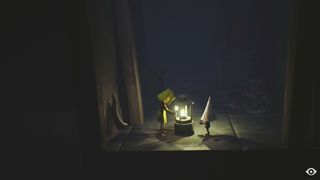
This takes you to a small side room with another lamp to light and a Nome (1/3) to hug.
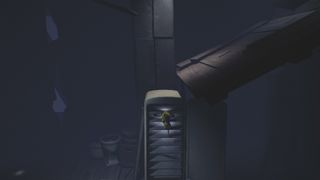
Back in the main room, climb up the shelves in the fridge to reach the upper platform.
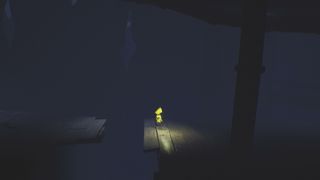
Jump over the gaps in the platforms, avoiding the leeches that appear.
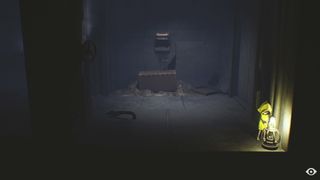
In the room at the end, there's another lamp at the front of the screen.
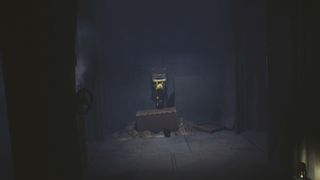
Climb on the box then grab the handle to open the door.
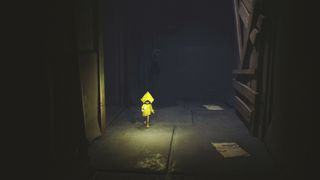
Jump the gap on the next platform to reach another room.
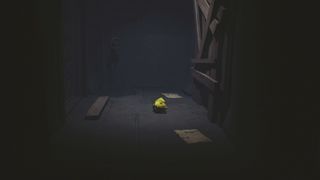
Grab the board nailed over the gap and pull it off to open an exit. Crawl through.

In the next room you'll fall through the floor. Sprint right, moving slightly up near the end to avoid the leeches, and through the door.
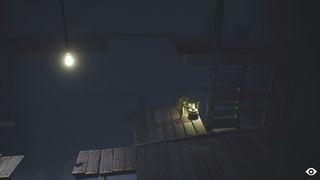
At the bottom of the ladder is the next lamp.
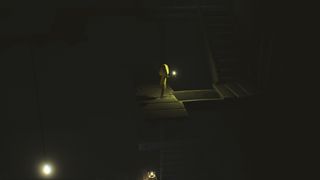
Work your way up the platforms, jumping the gap to the right where needed.
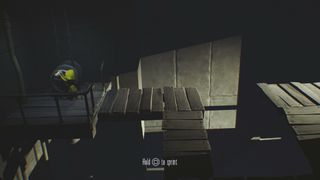
At the end of the walkway, grab the crank and turn it fully.
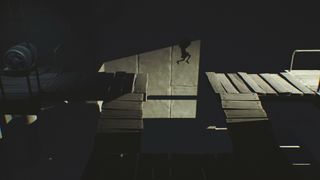
Now release and sprint right, jumping the gap in the walkway so you get through the door before it closes.
Go through the hole in the wall to the right of the room, then climb the knotted sheets in the next area.

Inside the cell, there's a lamp to light at the back by the sink.
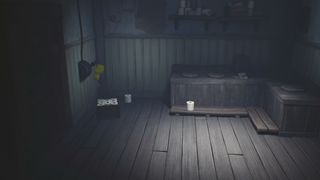
Push through the door into the bathroom, then shut the door and drag the crate of toilet rolls to the lever so you can jump up and grab it.
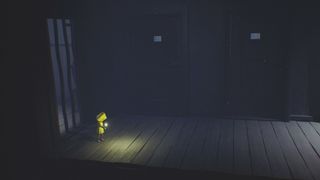
As soon as the power shuts off, sprint right and go through the bars, then through the playroom and the next set of bars before the electricity comes back on.
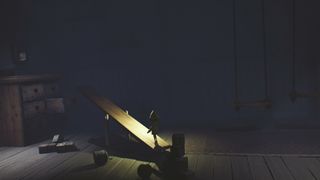
If you don't make it in time or want to explore the playroom first, walk along the seesaw to weigh down the right side, before sprinting up it and jumping to the set of drawers. A hole in the wall leads back to the bathroom where you can pull the power switch again.
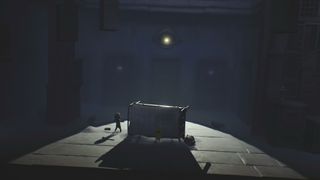
Head past the row of doors into the next area, then use the upturned bed to sneak past the searchlight.
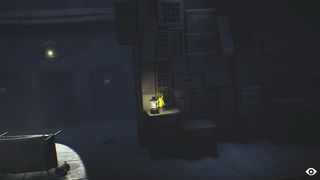
Climb the crates on the other side then light another lamp.
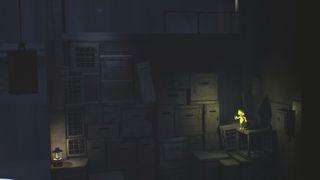
Climb up the grid on the rear wall, then walk right along the boxes to drop back down onto a cage.
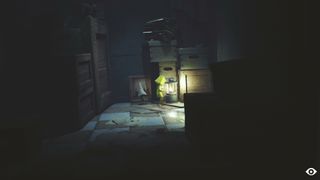
Go through the cage to enter a secret room, with a lamp you can light and a Nome (2/3) to hug.
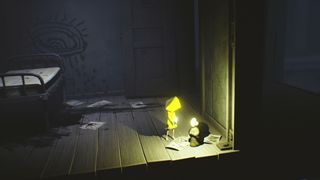
Now return to the previous room and climb the rear wall grid again, before going left along the walkway to a bedroom. You'll find a Statue (2/2) here to smash.

Go right along the walkway to the large bedroom, then hide under the bed until the monster has passed.
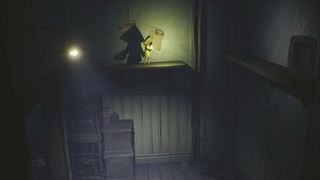
Continue right to the next room, then climb the boxes/shelves to reach the vent.
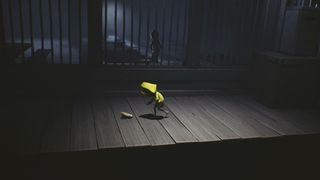
Keep walking right while clutching your stomach until you're thrown some food to eat.
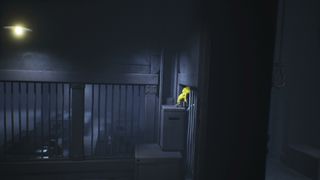
Climb up the boxes on the right then duck through the gap in the bars.
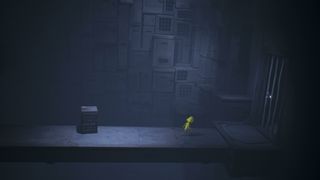
Head through the shower room to the next area then climb up the crates at the back.
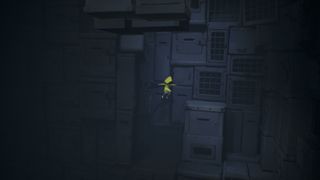
After scaling the grid on the left, jump backwards to reach the next crates and continue upwards.
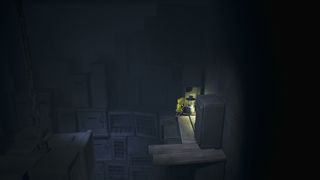
At the top you'll find a lamp to light.
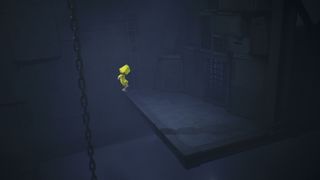
Jump across to the hanging crates and climb up the chain, then jump right onto the first platform.
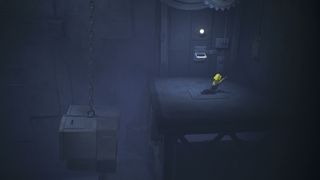
Climb up the grid to the next platform, pull the switch on the back wall then throw the lever to the right to move the hanging crates.
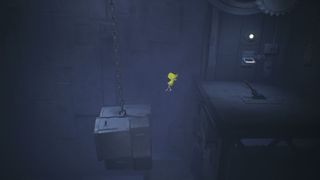
Now move the lever left, before running and leaping left onto the moving crates.
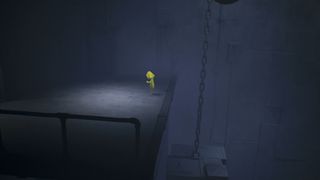
When you reach the other side, climb the chain and jump left onto the platform.
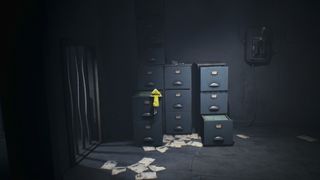
In the next room, pull open the bottom left drawer then climb on it to open the middle left drawer. Open the bottom right drawer then use it to jump to the middle left drawer, then jump to the top of the cabinets and leap to the switch to cut the power.
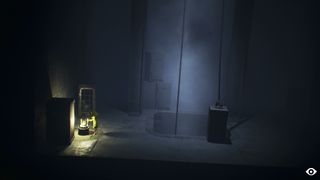
Go through the bars to the left, then at the far left of the next room you'll find a lamp to light.

Pull open the cage behind you, then go back through the bars on the right and hug the Nome (3/3) you released.
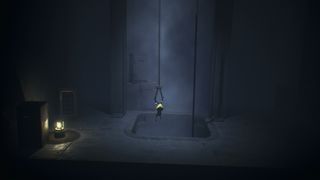
Return to the other room, push the counterweight into the hole then grab the noose and ride it back down to the lower level.
You're back in the shower room, where you'll need to sprint right as leeches start appearing.
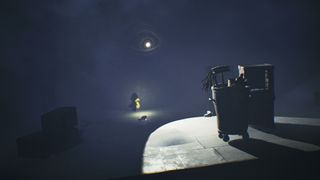
Avoid the searchlight in the next room, either by hiding behind the rolling trolley or hugging the back wall.
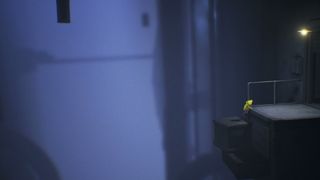
In the next area, sprint right as soon as you get to the platform and jump the gap before it gets too wide, then climb on the crate to reach the other side. Exit through the door to complete the chapter.
Jump to Section:
Sign up to the 12DOVE Newsletter
Weekly digests, tales from the communities you love, and more

Iain originally joined Future in 2012 to write guides for CVG, PSM3, and Xbox World, before moving on to join GamesRadar in 2013 as Guides Editor. His words have also appeared in OPM, OXM, PC Gamer, GamesMaster, and SFX. He is better known to many as ‘Mr Trophy’, due to his slightly unhealthy obsession with amassing intangible PlayStation silverware, and he now has over 750 Platinum pots weighing down the shelves of his virtual award cabinet. He does not care for Xbox Achievements.




"Will today’s players still enjoy a game from 30 years ago?": JRPG icon Kei Shigema says he was thrilled to see Lunar getting a remaster even if he's not involved himself

The Last of Us season 2 showrunners tease a "gorgeous" episode akin to season 1’s Emmy-nominated Bill and Frank story: "Just you wait"
CD Projekt boss says "cutting-edge single-player games" – you know, like The Witcher 4 and Cyberpunk 2 – will "continue to enjoy great popularity" despite industry shifts
