Lego Star Wars: The Force Awakens Minikit locations guide
Find all of the Minikit collectibles in Lego Star Wars: The Force Awakens with our complete guide
Chapter 3: Niima Outpost - Niima Outpost
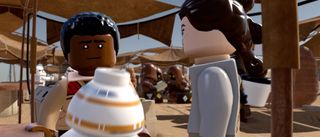
Finn joins the team at Niima outpost, and you can pick up the majority of the minikits with the trio as you progress through the story.
Minikit #1
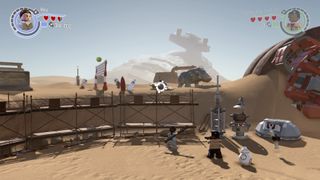
To get the first minikit, you need to dislodge three bird by destroying the lego bricks they're sitting. Or perhaps it's the same bird that you keep harassing. Either way, the first one is perched near the top of the scaffold after you slide down into this area from the start.
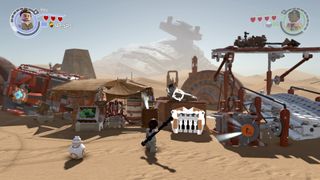
The second is next to the large conveyor belt, above the access hatch.
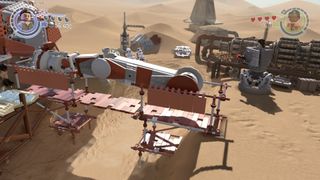
You can hit the third one when Rey builds a turret to make a path for Finn and BB-8. Or you can just have her throw her staff if you prefer.
Minikit #2
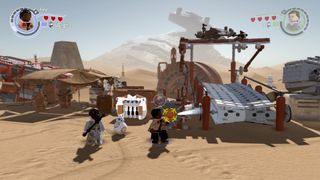
At the conveyor belt, have Finn use the grapple plug to get it going.
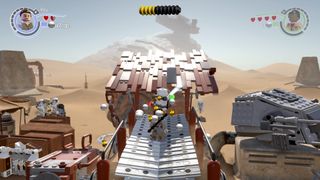
Once all of the bricks fall down, hop onto the conveyor belt and run up it like a treadmill. You'll be rewarded with a shower of studs, and eventually, a minikit.
Minikit #3
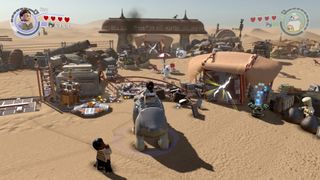
After Finn and BB-8 join Rey on other side of the bridge, use one of those great big beasts in the pen to smash your way through to the next area.
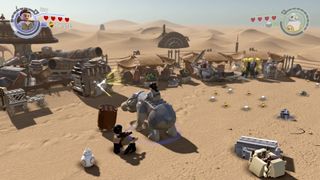
Head to the right and use it again to break the crate open and reach the minikit.
Minikit #4 - Free Play Mode
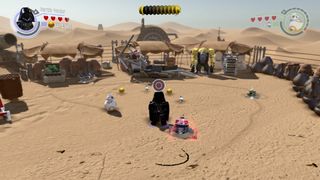
You may have noticed three droids buried in the sand in this area. Come back in Free Play Mode to free them. The first is a little way in front of the middle stall.
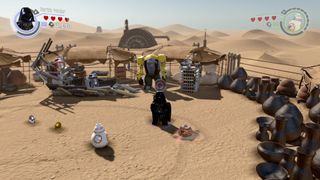
The second is in front of the crate that holds the minikit.
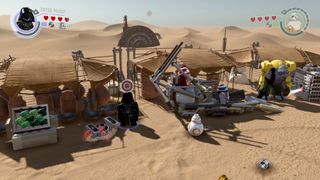
The last one is next to the stall on the left.
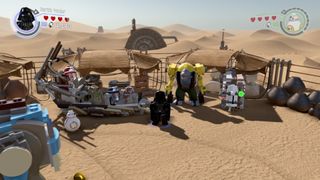
Once you've dug them all up, this cheery-looking chap will give you access to the minikit as a reward.
Table of Contents:
- Prologue: The Battle of Endor - Endor Shield Generator
- Prologue: The Battle of Endor - Death Star Throne Room
- Prologue: The Battle of Endor - Death Star Attack
- Chapter 1: Assault On Jakku - Village Retreat
- Chapter 1: Assault On Jakku - First Order Assault
- Chapter 2: Escape From The Finalizer - Finalizer Hangar
- Chapter 2: Escape From The Finalizer - Star Destroyer Exterior
- Chapter 2: Escape From The Finalizer - Jakku Graveyard
- Chapter 3: Niima Outpost - Niima Outpost
- Chapter 3: Niima Outpost - Niima Bombardment
- Chapter 3: Niima Outpost - Jakku Graveyard Flight
- Chapter 4: The Eravana - Freighter Battle
- Chapter 4: The Eravana - Freighter Chase
- Chapter 4: The Eravana - Freighter Shutdown
- Chapter 5: Maz’s Castle - Castle Approach
- Chapter 5: Maz’s Castle - Castle Basement
- Chapter 6: Battle of Takodana - Castle Corridors
- Chapter 6: Battle of Takodana - Takodana Skies
- Chapter 7: The Resistance - Resistance Base
- Chapter 7: The Resistance - Resistance Hangar
- Chapter 8: Starkiller Sabotage - Starkiller Crash Site
- Chapter 8: Starkiller Sabotage - Starkiller Wall
- Chapter 8: Starkiller Sabotage - Starkiller Shield Room
- Chapter 9: Destroy Starkiller Base - Assault on Starkiller
- Chapter 9: Destroy Starkiller Base - Rey's Escape
- Chapter 9: Destroy Starkiller Base - Oscillator Interior
- Chapter 10: The Finale - Oscillator Bombing Run
- Chapter 10: The Finale - Starkiller Showdown
- Epilogue: Luke’s Island
- Adventure Level 1: Poe To The Rescue - Trash Compactor
- Adventure Level 1: Poe To The Rescue - Hangar Battle
- Adventure Level 1: Poe To The Rescue - Asteroid Escape
- Adventure Level 2: Lor San Tekka’s Return - Kelvin Ravine
- Adventure Level 3: Rathtar Hunting - Rathtar Caverns
- Adventure Level 3: Rathtar Hunting - Loading Area
- Adventure Level 4: The Crimson Corsair - Landing Site
- Adventure Level 5: Trouble Over Taul - Corvette Interior
- Adventure Level 6: Ottegan Assault - Ottegan Pursuit
- Adventure Level 6: Ottegan Assault - Ottegan Surface
Sign up to the 12DOVE Newsletter
Weekly digests, tales from the communities you love, and more

