Lego Jurassic World Minikit and Amber Fossil Brick locations guide
Find every Minikit in Lego Jurassic Park with our guide
Restoring Power - Gallimimus Chase
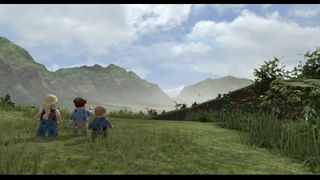
There are two minikits to collect in this area. One is floating above a log, and the other can be picked up by running straight into three signs during the chase. There are five signs in total, so if you miss one, don't panic.
Minikit #1
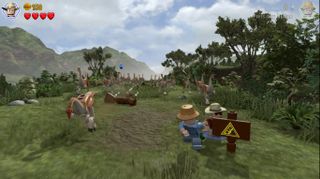
The first sign is on the right.
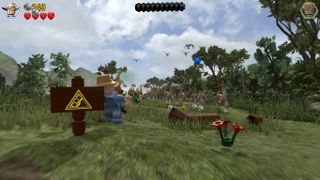
The second sign is on the left.
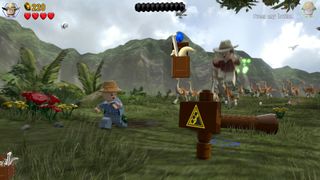
After the drop, veer back to the right for the third sign (towards the foreground).
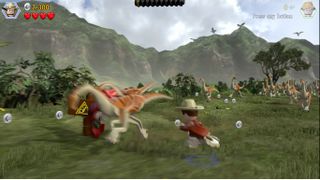
The next sign is back over to the left.
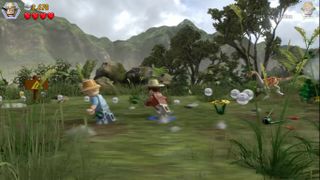
The fifth and final sign is also on the left (towards the back). Hit any three to get the minikit.
Minikit #2
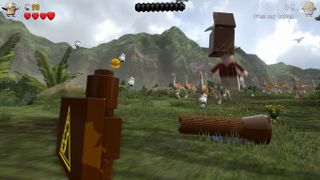
The minikit is floating above a log, just before the third sign.
Restoring Power - Maintenance Shed
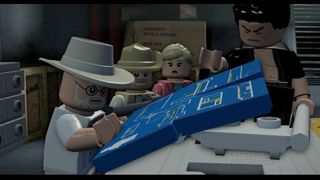
There are six minikits and an amber fossil ferreted away in the shed, but sadly, no severed limbs.
Amber Fossil Brick (Velociraptor)
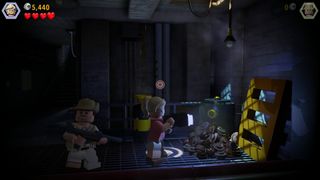
Make your way down the steps at the start of the level and turn right. Dive into the poop to find the amber fossil.
Minikit #1
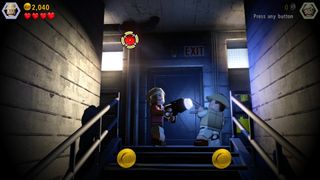
You need to shoot out four red lights to nab the minikit in story mode. The first is above the door at the beginning of the level.

Head right at the bottom of the steps where you start the level to spot the second light.
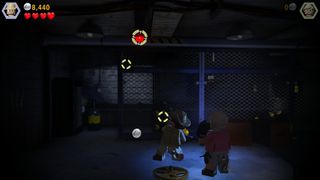
The third red light is just outside of the locked gate.
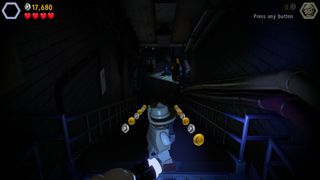
To find the last one, cross the steam pipe and make your way down the ominous staircase.
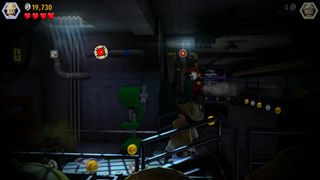
When you come to the T-junction, pop over to the left to find the last red light.
Minikit #2 - Free Play Mode
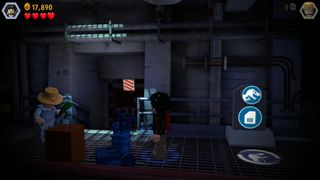
Start the level, head down the stairs, turn left, and stop by the door marked A-21.
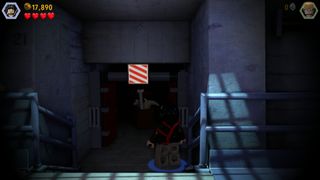
Switch to a character with a crowbar and pry open the door to get your minikit.
Minikit #3 - Free Play Mode
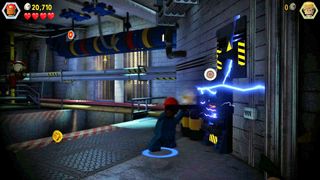
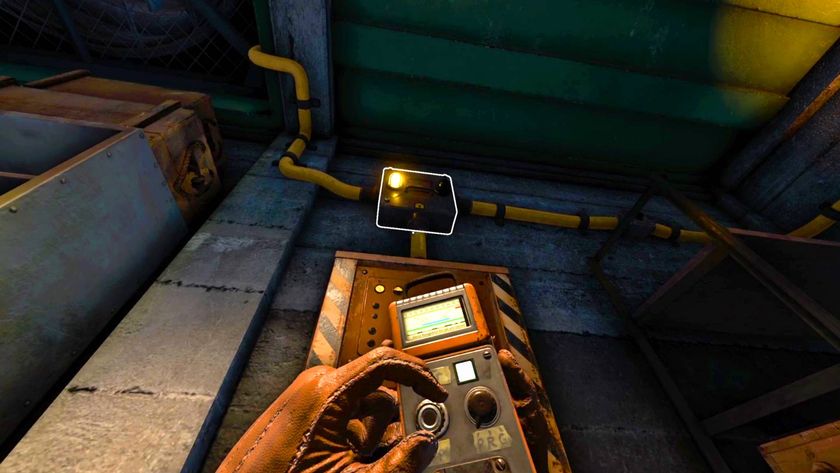
When you reach the gaping void between platforms that requires you to shoot down the steam pipe, switch to Jophery and light up the electricity panel to the right.
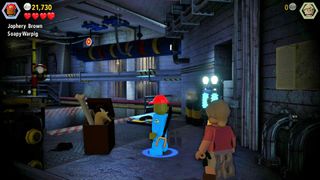
Put together the minikit from the resulting parts.
Minikit #4 - Free Play Mode
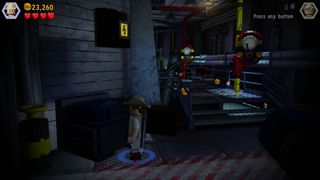
After crossing the steam pipe, destroy the bin to the left to find a small access hatch.
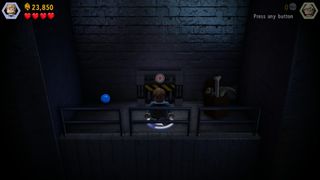
Crawl through to the other side to find a minikit.
Minikit #5 - Free Play Mode
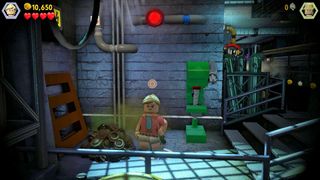
You may remember a small pile of poop near the T-junction where we shot a target earlier. Dive into that poop with reckless abandon.
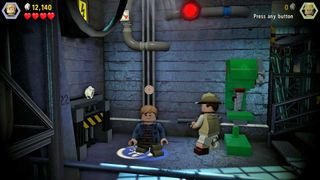
Put together the pieces you dig out to make a small access hatch and crawl through.
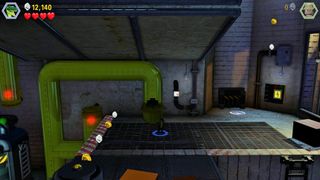
You need to run through the series of Compy tubes here to activate three switches, so switch to the tiny dino and enter the tube next to the access hatch. The switch is on the right as you head down.
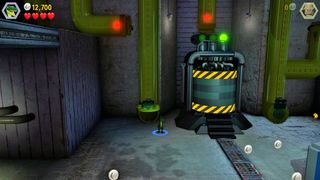
You'll pop out by the furnace. Head into the second tube to the left, hitting the switch on your way through.
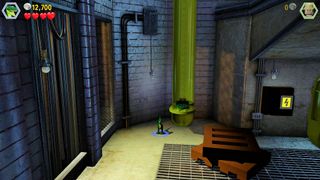
Continue up the tube to the left to reach the upper level.

The last switch is in a portion of the tube between the two upper platforms. As soon as you hit this, the furnace below will open, revealing the minikit.
Minikit #6 - Free Play Mode
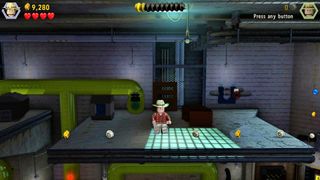
After hitting the last Compy switch, scuttle back up the tube and exit to the right. Smash the living daylights out of the boxes up here.
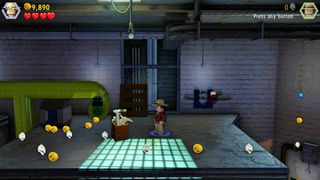
Assemble the pieces into a minikit.
Restoring Power - The Raptor Pack
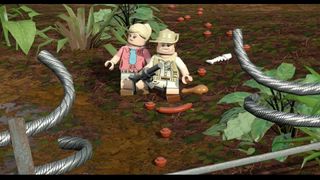
The last two minikits of the level are in this area and you get to play as a Velociraptor to track down the last one.
MInikit #1
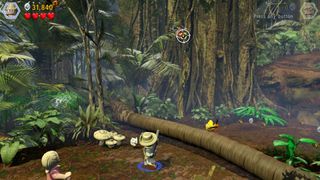
ou need to shoot down four birds' nests to get the minikit, and they all have convenient targets stuck to the side. The first one is near the entrance to the area, on the other side of the fallen tree.
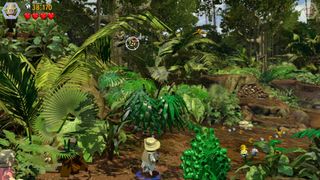
After the first Raptor attack, you can shoot down the birds' nest in the background.
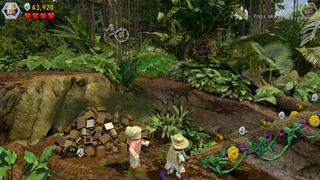
The turd nest is above the pile of dino poop.
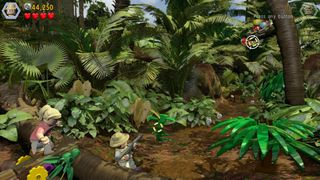
The fourth and final nest is just on the other side of the plant bridge.
Minikit #2 - Free Play Mode
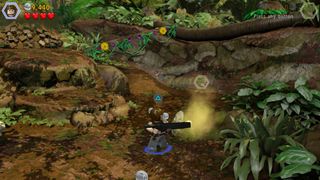
At the bottom of the giant dung pile are some white mushrooms. Destroy them to find a scent cloud, and switch to a Raptor to track it.
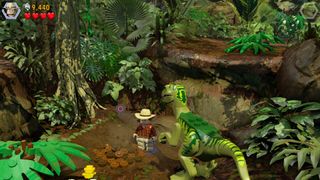
At the end of the trail is a dig pile, so swap out your dino for someone who can interact with it.
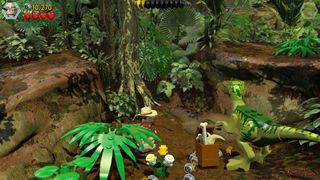
You'll be rewarded with a minikit.
Jump to Section:
Sign up to the 12DOVE Newsletter
Weekly digests, tales from the communities you love, and more

