Lego Jurassic World Minikit and Amber Fossil Brick locations guide
Find every Minikit in Lego Jurassic Park with our guide
Breeding Facility - InGen Facility
There are eight minikits and an amber fossil stashed away at the InGen facility, along with a dinosaur or two.
Minikit #1
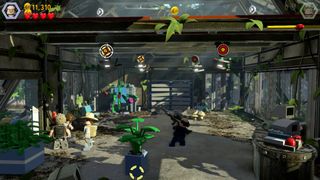
As soon as you enter the facility, you'll see four targets on the ceiling. Shoot them all for the minikit.
Amber Fossil (Troodon)
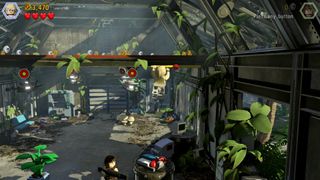
Jump onto the desk in the first room with the lady in your party, and hop onto the bar above.
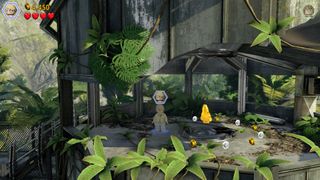
Navigate your way across the ceiling beams and up the ladder at the end to reach the amber fossil.
Minikit #2 - Free Play Mode
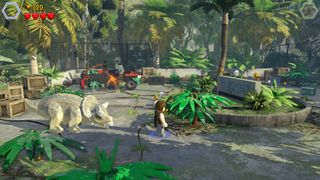
At the start of the area, before you enter the facility, is a broken down car.
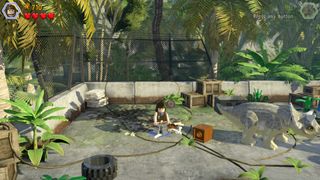
Charge it to smithereens with the appropriate dinosaur and build a minikit from the resultant pieces.
Minikit #3 - Free Play Mode
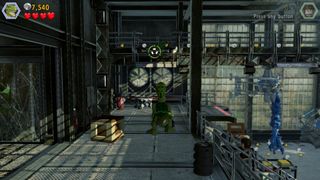
In the next room, switch to a raptor and hop up onto the platform above.
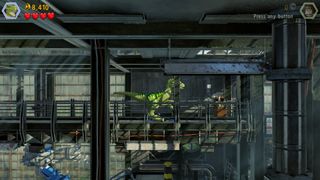
The minikit is at the end of the walkway.
Minikit #4 - Free Play Mode
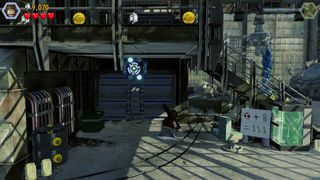
Head down the stairs in the second room and shoot the electric switch underneath them to open the sealed door.
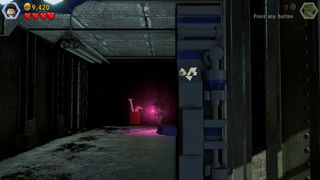
Use a character with the illuminate ability to grab the minikit inside.
Minikit #5 - Free Play Mode
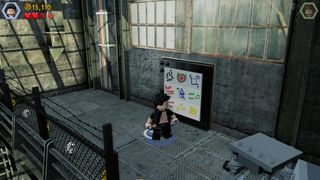
After climbing up the ladder you made up from bones, follow the walkway around to the left to find the equation on the whiteboard.
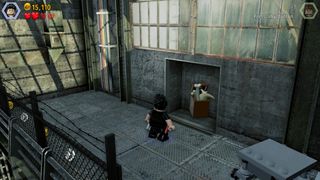
Use a character that can solve equation puzzles to get your hands on the minikit hidden behind it.
Minikit #6 - Free Play Mode
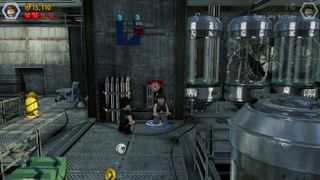
Make your way back round to the right and interact with the InGen access panel. This will prompt a minikit to appear in the set of tubes to the right.
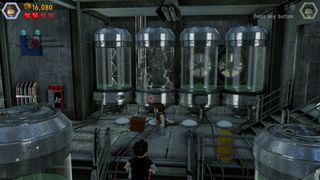
Use the switches on the floor in front of the tubes to move the minikit into the one with broken glass. Once the pieces shoot out, put them back together.
Minikit #7 - Free Play Mode
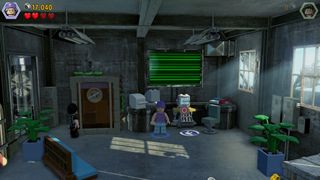
To the right of the tubes is a room with a computer terminal.
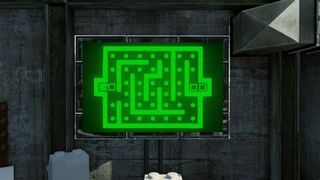
Interact with it using someone with the hacking ability, and play the mini game.
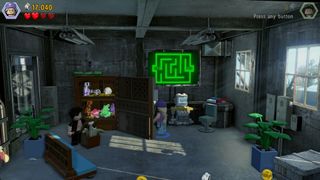
It's pretty straightforward so once you're all done, the minikit will pop out of the cupboard.
Minikit #8 - Free Play Mode
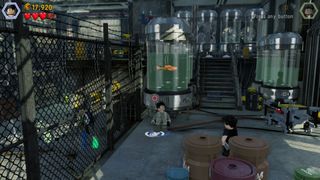
You need to photograph specimens in four tanks, but you'll want to avoid the one with the raptor head in, as it's not actually a disembodied head and will progress you to the next part of the level. The first tank is to the left, at the bottom of the stairs.
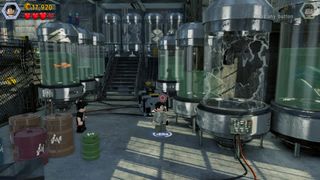
The second photo spot is in front of the tank to the right, at the bottom of the stairs.
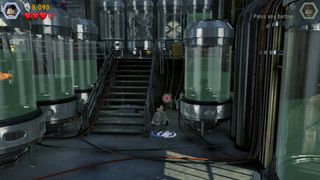
The third tank is directly behind the second one. You'll need to break apart the crate blocking the way to reach it.
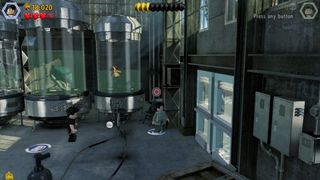
The last tank is in the far right of this area next to the doors, with a teddy bear inside. Avoid the tank to the left of it until you're ready to move on, as this is the one that will initiate the cutscene and kick you out of this level.
Breeding Facility - Corridor Chase
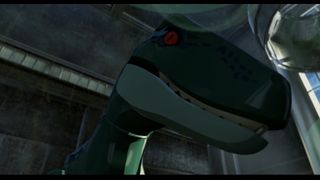
The raptors have finally had enough of your poking around and are determined to chase you out of their territory. And most probably eat you. Make sure you get the two minikits before they catch up with you.
Minikit #1
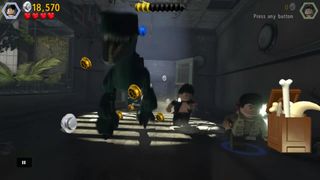
At the start of the chase, stay to the right. The minikit is on the floor and you'll run right through it.
Minikit #2
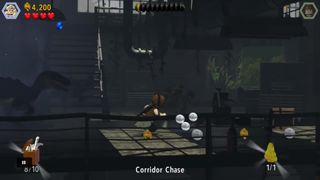
The camera will swing around to a side-on view. The kit will be in the middle of the route, so keep an eye out for it.
Jump to Section:
Sign up to the 12DOVE Newsletter
Weekly digests, tales from the communities you love, and more
Pokemon Platinum's most obscure feature was a reward seemingly given to just 20 players lucky enough to participate in a complicated limited-time event with a lottery prize
37-year-old studio behind iconic PC game Myst and one of the longest-surviving indies in the world just laid off "roughly half the team"

