Legend of Zelda: Twilight Princess Walkthrough
A step by step guide to Link’s epic adventure through Hyrule and beyond.
Temple of Time
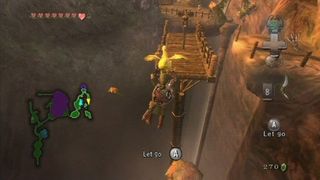
When you arrive at the Northern Faron woods, go north a bit and talk to Rusl. He will tell you about the sacred grove and over to help with his golden chicken. Jump forward from where you were talking to him and glide to the platform ahead of you. Jump again to the next platform and once again to the right. Walk forward to the bridge and use the boomerang to turn it. Grab the chicken to get over to the bridge and turn it once again. Again grab the chicken and glide past the swinging hammers to the other side and enter the Sacred Grove. Now, just like previously, you will need to track down the Skull Kid in the grove and hit him three times so that he retreats to the circular area. Simply follow the torch light in the tunnel entrances to know you are going the right way and then pop him with an arrow when you see him. He likes to be out of reach this time, so direct attacks don’t always work.
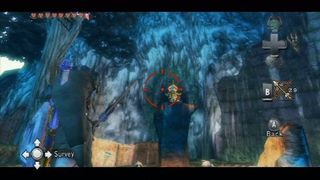
Once you have tracked him down to the circular area, again hit him with three arrows and the door to where you earlier got the Master Sword will open once again. Make your way there, past the statues, up the stairs, and into the chamber where you received the sword. Hit the stone and the statue in the previous room will disappear revealing the entrance to the Temple of Time. Make your way out to it, although first you will need to defeat 5 shadow beings to create a warp. Once they are defeated, enter the doorway and make your way forward to the stone again. Hit it once more to make a staircase appear and walk forward up the stairs. Make your way to the rear of the next chamber and Midna will tell you to look at the statues with your senses.
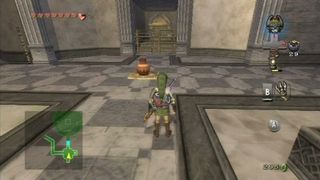
Once you have done that, go back to human form and grab the helmet-like statue across from the large statue and place it on the gold square to the left of where it was. This will raise a platform beside where you entered allowing you to jump up to the stairs there. Make your way there and when you reach the middle, you will find Ooccoo. Pick her up and head down the opposite stairs to find two torches. Light them ablaze and a chest will appear, granting you a small key for the door that was up the stairs behind where Ooccoo was. Go through there and you will enter a room with a switch in the center of the floor and two gold gates. Pick up a pot and place it on the switch to open the first two gates. Grab the chest first and then make your way west. Once you pass the first open gate, shoot the pot on the switch and the second gate will open.
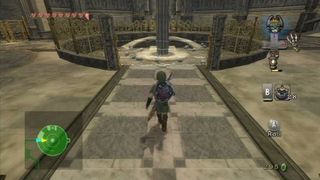
Enter the next chamber that has three Lizalfo’s in it and a statue that will come to life after they are defeated. To destroy it, hit the green crystal on its back and once it is defeated, a chest will appear with the dungeon map inside it. Next grab the two small statues next to the small chest in the alcove and place them on the gold switches next to the gate. Once they are both in place, go through the gate to enter the next chamber that has an electrified pen in the center of it. Go around the room that is filled with Lizalfos to the far side where there is a staircase. Climb up to the break and then use the spinner to go the rest of the way. Make your way to the right and push the tab on the center column clockwise to make the platform lower. Walk off the platform to find a small statue and then pick it up and bring it to the platform. Turn counter-clockwise to go back up and then carry the statue along the path that the spinning spikes are on, to the far side.
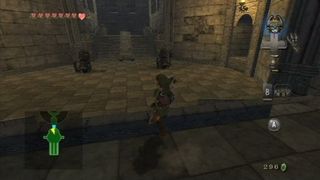
Place the statue on a gold switch there and then make your way along the spike path a little more to find another small statue. Bring it back to the second switch and place it while hopping onto the block that rises. Go through the door atop the stairs and in the next chamber will be two more statues that come to life. One can easily be defeated by slashing at the crystal on its backside before it starts moving. Once they are both down, a chest will appear and will have a small key inside it. Head back across the room and across the previous chamber to the locked door atop the stairs. Enter the next room and there will be a green crystal to the left. Strike it and the walls in the room will move. Go around the first wall to the round circle on the floor and then shoot an arrow at the now red crystal.
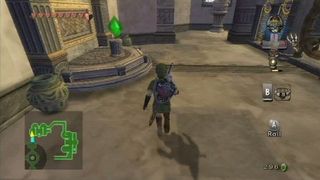
When the walls move again, go around the walls to the open alcove which houses a chest. Grab the compass from it and then stand in the circle in the floor and shoot another arrow at the crystal. When the walls move this time, a doorway will be open to the north, allowing you to go up the stairs there. Kill the Lizalfos along the way and then enter the chamber to the east. Shoot the crystal high above to move some walls and then kill the next couple of enemies. Shoot the crystal again and continue south. You will need to do this two more times to get to the far side of the room and to exit to the next chamber. When you reach it, take the stairs on the right up and you will come to a large set of gold scales. Hop on the first and pick up the small statue and toss it up and onto the next. Run across and enter the door on the far side to find a load of spinning spikes and a Beamo in the center.
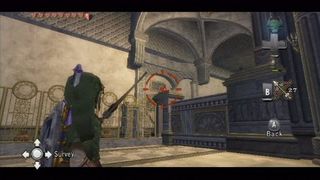
Plug an arrow into the Beamo’s eye and then make your way west to a corridor which leads to a room with a few Lizalfos and some traps. Open the chest for a small key and then make your way to the west side to pick up a small statue. Carry it to the other side of the fence and place it on the gold switch in the floor to make the passage safe from electricity. Continue up the stairs and kill the spiders and two statues in the next room. Once they are all dead, the gate to the east will open and there will be a locked door at the far side. Use the small key to enter and then you will face off against a large knight named Darknut. For the first part of the fight, simply run in counter-clockwise circles around him and strike after he swings. Y9ou will chip away at his armor until he tosses away his sword. Once he does, simply circle strafe him and wait for his attack. When it comes, hop to the side and slash away at him. Get three good group of shots in on him and the chest at the far end will appear.
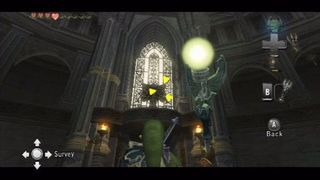
Open the chest to find the Dominion Statue and use it on the statue above. Make the statue walk to the far end of the room and have it stand on the green lines on the floor under the bell. The main goal now is to use the Dominion Rod and the bells to get the statue back to the main room you started in. Go through the door and hit the statue again and make it walk towards the gold gate. Press B to make it smash the gate down and then proceed to the next room. Have the statue smash the two statues that come to life and then place a pot on the gold switch in the center of the room. Walk the statue to the platform to the left and then break the pot to lift the platform. Continue down the corridor and have the statue step on the gold switch on the other side of the electrical fence. When the power goes down, run through and then have the statue break all the traps in the room to pass freely. In the next room, smash the spinning spikes and the Beamo in the center to reveal a switch in the floor.
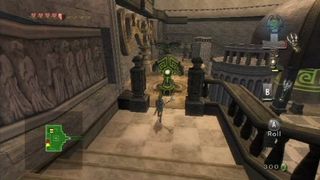
Make the statue walk onto the white platform in front of the bell and then use the rod on one of the small statues on either side. When it hops down, pick it up and place it on the switch, allowing the statue to rise up. Walk in into the bell and it will teleport to the next room. Go through the door to the north and you will come to the room with the two gold scales. Although you need to get across them to proceed, there is another chamber to get to above that holds the Big Key. Have the statue stand on the opposite scale from you and then, as you are on the higher scale, grapple to the gold plate above. Drop to the platform and then use the spinner to go around to the ledge on the far side. Enter the door there and there will be two enemies that you can pull the shells off of. Do so and kill them and the statues and then grapple to the upper level. Use the shells on the gold switches, as well as the small statues and then open the chest to get the Big Key. Make your way back out and down to the scales again. Walk the statue on to the first and then toss some small statues onto the other to lower it.
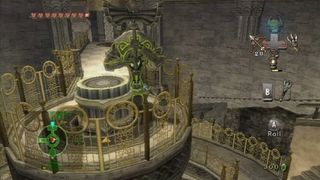
Walk the statue across and repeat the same to walk the statue to the next platform. Walk the statue down the stairs, smashing the spiders, to the bell in the center of the room. Exit via the door to the east and meet the statue on the next room behind the gold gate. Hit it with the rod and move it to the left. Shoot the green crystal with the bow to move the walls and then move the statue onto the floor switch to take down the electrical fence. Go through to the left and find the chest there that has a piece of heart inside of it. Now bring the statue west and shoot the crystal again. Continue out of the room, up the ramp and shoot the crystal again, to open the door in the next room. Use the statue to smash the Beamo to the right and then shoot the crystal through the opening in the walls to move them. Walk the statue to the bell in the middle of the room and then make your way out to the next. Now you will need to raise the middle platform to the top to get the statue and walk him to the center. Lower the platform with him on it to the ground and then walk it through the electricity. Take the platform up one level and walk off the edge to get to where the statue is. Now you can use it to smash through the gold gate blocking the bell and let it enter.
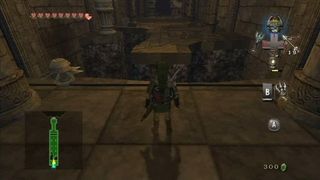
Go through the door to the west and grapple over the gate. Activate the statue and walk it down the corridor and into the next bell. Go through the door on the left and you will now finally be back in the main room with the statue. Walk it to the platform to the right of the similar statue and the large door will open. Enter the next room and shoot out the Beamo’s eye and hop across the gaps and past the traps. Once you get to the far side, grab the small statue and toss it back over the gap. Hop over and place it on the switch and then jump back and go through the first open gate. Turn and use the rod on the small statue and walk it off the switch to open the next gate. Make your way down the steps to the final door to face the boss.
Boss: Twilit Arachnid Armagohma
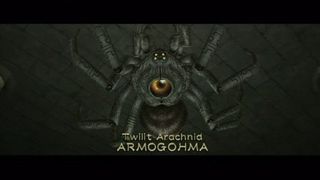
Unlike most of the bosses so far, this one is extremely easy to defeat and takes no time at all. When the spider is crawling along the ceiling, shoot it in its eyeball to make it fall. When it falls on the ground, use the rod on the statue closest to it and then bash the spider. It will then get back on the ceiling and plop out a ton of little spiders. Hack and slash at them and then repeat with shooting the large spider in the eye again. Repeat the process a third time and then a scene will play. Afterwards, simply shoot the eye ball three times with an arrow and it will be defeated for good.
Sign up to the 12DOVE Newsletter
Weekly digests, tales from the communities you love, and more
Jeff McAllister is a freelance journalist who has contributed to 12DOVE over the years. You'll typically find his byline associated with deep-dive guides that are designed to help you scoop up collectibles and find hidden treasures in some of the biggest action and RPG games out there. Be sure to give Jeff a thanks in the comments while you're completing all of those tricky Achievements and Trophies.
