The Legend of Zelda: A Link Between Worlds dungeon guide
Swamp Palace
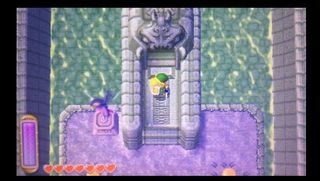
Start by grabbing the handle across the gap with the Hookshot. This will drain water into the room, allowing you to reach the stairs and enter the next room.
There's nothing we can do in here either (unless you feel like diving for Rupees in the top right), so head through the door to your right.
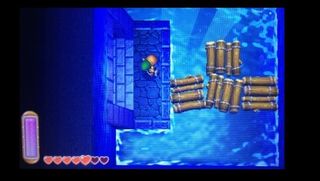
Make your way to the northern end of this room. That's about all you can do right now, so head down the staircase.
In this room with multiple streams of water, use the Hookshot on the periodic poles to safely cross the streams. When you see the orb, hit it to shut off the water flow. Head up the stairs in the middle of the room and grab the key.
Exit through the northwest door to find a small connecting room. Open the chest here for the Compass, then head through the left doorway.
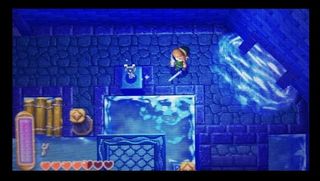
The proceeding room has lots of chests and a Small Key you can't reach. Hop onto the raft and use the Hookshot to guide it around the room. The chests contain a Red Rupee and some Monster Guts. Head to the southern exit (under the face) when you're done. In the next room, you'll find an orb standing inside a pit. A well timed Bomb throw will spawn a chest containing a Gold Rupee.
With a nice Rupee collection in your pocket, return the connecting room in the upper middle of the floor. Use your Small Key to unlock the door here.
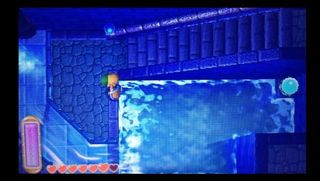
Start by hitting the orb to the upper left of your entrance. This diverts the water flow of the stream to your right. You can now reach another orb in the body of water where the flow is now heading. Hit it to activate a second stream in the room. Merge with the wall to reach the second stream; ride it to the left side of the room. Strike the final orb here to activate one last stream. Use the body of water it creates to reach the exit staircase.
Down here, you'll face a Giant Biri. Get in sword strikes when its electricity is turned off, and it will eventually split into lots of Tiny Biri. Again, strike them when it's safe. This fight is really pretty easy. Once over, you'll have a nice warp portal, and the doors will open.
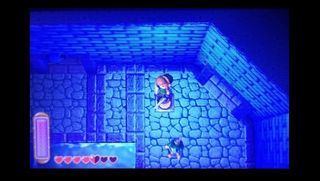
Head through the left door. The walking bombs here are a good way to get rid of the cracked tile on the ledge, but don't drop through just yet. Hit the switch to activate a shortcut back to this ledge. Now drop through to reach the Small Key you saw on the walkway earlier. Grab it with the Hookshot, then open the locked door on the same walkway.
In this room, you can change the water depth throughout the dungeon. Start by grabbing the left side of the machine to take the water to its lowest level, then hop in and enter the northern door. Duck under the rolling spike here to reach a large chest containing the Blue Mail: you now take half as much damage! Exit to the previous room.
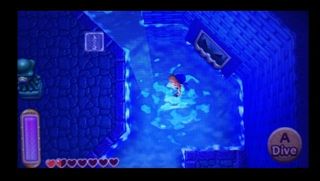
Head to the lower door to the southwest. In the proceeding room are a few baddies and a rotating statue that fires a laser. Be mindful of said laser, and time your Hookshot to grab the left handle. Pull it to open the exit door, then head through.
Start in this room by dropping off the ledge to your right; the switch here opens the exit door. Now drop in the water and swim back to the platform you started on. Use the Hookshot to slam into the wall panel, then quickly merge and follow the wall to a high ledge. Up here, you can change the water level again. Grab the right side twice to raise the water to its highest. Now you can hop onto the raft and open the chest for a Small Key. Grab the left side to lower the water once, then exit through the northeast door.
Back in the main chamber, swim through the center left door.
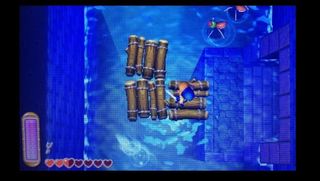
With the water raised, you can now reach the chest in here. Open it for a Small Key. Head for the similar hall on the opposite side of the dungeon; you can reach the chest here too. Open it for some Monster Guts. Use the walking bomb on the left side of the room to bust through the cracked tile, then drop through. Take the walkway through the locked door back into the first water-changing room. Raise the water to maximum height, then swim to and open the locked door to the southeast.
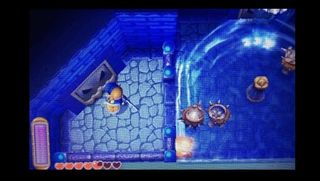
In this room are four of those seashell-wearing enemies. If you haven’t fought any by this point, the strategy is simple: yank them from their shells with the Hookshot, then slice them with the lovely Master Sword. You can pass through a doorway under the water-spitting face here to find some fairies, but when you do defeat all four enemies, a stream will spawn and carry a Hookshot post into range. Latch onto it and exit the room via the stairs.
Here is one last room where we can change the water level. Swim to the western platform, then use the Hookshot to slam into the wall tile. Merge and move counterclockwise to reach the water changing spot. You have to first take it to its lowest level; this allows you reach the switch that opens the exit. Now raise the water to max level and exit the room.
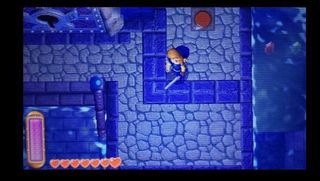
The water is finally maxed out in the main chamber. Swim north and bust up the skulls to find a switch. Hit it to raise the water even further, bringing a massive platform with it. Lower the water once from the left side of the new platform, and you'll have access to the big chest. Open it for the Big Key, then use it straightaway to enter the boss chamber.
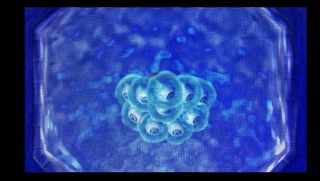
This boss isn't tough at all. Start by using the Hookshot to rip the eyeballs away from him. Slash one a few times to defeat it; you can even snatch up the ones fired at you. With the eyeballs gone, the boss will bounce around the room. Slash whenever it lands to deal damage. When it fires lasers, simply keep moving to dodge the attack. Just keep moving during the fight, and it will end soon.
Sign up to the 12DOVE Newsletter
Weekly digests, tales from the communities you love, and more
Tony lives in Maryland, where he writes about those good old-fashioned video games for 12DOVE. His words have also appeared on GameSpot and G4, but he currently works for Framework Video, and runs Dungeons and Dragons streams.
"I'm lookin' at you, Korok Seeds": Former Diablo and Ghost of Tsushima dev outlines what makes a good collectible, and dunks Zelda: Breath of the Wild's worst grind into C tier
Final Fantasy 7 Remake's Aerith actor is throwing her hat into the ring for the Legend of Zelda movie: "I just wanna audition for Zelda so bad"
