The Legend of Zelda: A Link Between Worlds complete walkthrough
To the Eastern Palace
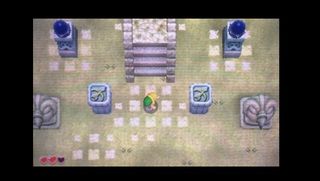
The spot marked on your map is the first dungeon. Make your way east, until you cut north into the Eastern Palace area. You'll spot some arrow emblems and orbs you can't do anything about right now. Read the familiar purple sign nearby to learn of Ravio's trade.
Now you need to return to Link's House/Ravio's Shop. Tell him which symbol you saw, and he'll rent you the Bow for free. Now head back to the spot we just left.
This time, climb the stairs and fire an arrow into each orb to open the way forward. Enter and make your way northeast. Eventually, you'll climb the steep stairs to Osfala and the Eastern Palace. Use the weathervane outside, then head on in.
Note: Dungeon guides are not included in this walkthrough. For the Eastern Palace walkthrough, see our dungeon guide.
To the Tower of Hera
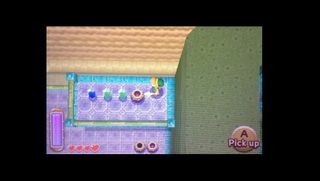
And now we know what Ravio's Bracelet can do - enjoy your new merge powers! Use this new power to slip through the crack at the top of the room. Move right to reach a safe ledge outside.
Merge back to the left to find a ledge you can drop to. Do so, then merge right at this lower level to reach another. Ride the moving platform here down to a lower part of the dungeon exterior. Continue down the ledges, merging when necessary, and you'll eventually return to the dungeon entrance. Exit to spot Sahasrahla.
After the cut scene, you'll be tasked with obtaining the two remaining Pendants. We'll go after the Tower of Hera first.
Note: The dungeon progression in this guide follows the "classic" route, but feel free to follow along in your own order.
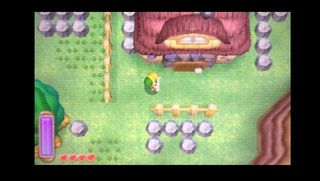
Head north from the Blacksmith's House, and you'll eventually reach Rosso the Miner's House on the northern edge of the map (you'll hopefully also run into Iren en route and obtain the Bell for fast travel). Speak to him to obtain the Power Glove - now you can lift rocks!
Head southeast from Rosso to find a small cave blocked by rocks. Toss these aside and head inside. Follow the tunnel to reach the side of Death Mountain.
Weave your way along the ledges until you reach the weathervane. Go through the cave entrance nearby.
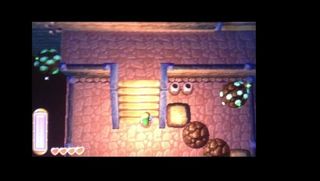
Inside is a series of ledges and rolling boulders. Make your way up to the left exit, merging to cross gaps and avoid boulders.
Outside, move left and avoid following off of the edge. Enter the next cave entrance to find more ledges and rolling rocks. Their movement is trickier, but you can make your way through the same way. Head for the upper right exit this time.
Outside, step left into one last cave with rolling boulders. Head to the top left exit to find yourself outside again. Merge - don't drop off the ledge! - right to cross the gap to Death Mountain's peak.
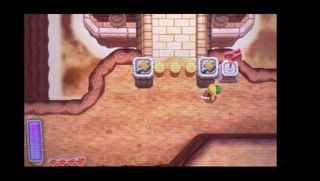
To the right are some pegs blocking the way into the Tower of Hera. To get rid of them, we'll need the Hammer. Return to Ravio to rent it, then come back here. Smash the pegs away to gain entrance to the dungeon.
For the Tower of Hera walkthrough, see our dungeon guide.
Sign up to the 12DOVE Newsletter
Weekly digests, tales from the communities you love, and more
Tony lives in Maryland, where he writes about those good old-fashioned video games for 12DOVE. His words have also appeared on GameSpot and G4, but he currently works for Framework Video, and runs Dungeons and Dragons streams.
"I'm lookin' at you, Korok Seeds": Former Diablo and Ghost of Tsushima dev outlines what makes a good collectible, and dunks Zelda: Breath of the Wild's worst grind into C tier
Final Fantasy 7 Remake's Aerith actor is throwing her hat into the ring for the Legend of Zelda movie: "I just wanna audition for Zelda so bad"
