How to build a cheap PC for gaming
Get components cheaper, work out what you need and how to put it together, and build a cheap PC for gaming
Putting together your own rig can be extremely satisfying, but it's tough: so let us walk you through how to build a cheap PC for gaming. As well as the sense of achievement and money-saving aspect, many forget that a cheap gaming PC can also double as a mini workstation for your side projects in video or Twitch streaming. Another fantastic part of the process is the build - you get to learn what powers your rig and achieve a better grip on the details of the components that make up your benchmark baby. You’ll gain a basic knowledge of how the cogs turn to make for a smooth experience when you’re decapitating bandits in The Witcher 3... in an era of buzzwords like ray-tracing, this is more valuable than you may think.
Yet the versatility comes at a cost - parts become obsolete with time, and your 2012 660 Ti you bought to play Borderlands 2 is not going to make playing Sekiro: Shadows Die Twice very pleasant (that’s me speaking from experience there). However, another advantage of making your own budget gaming PC build is that you can always swap out your parts, and give your rig a cheap upgrade when it starts to stumble.
In this guide, we’re going to cut through the guano and get to the point - you want a budget gaming PC at a reasonable price point that will churn through everything you throw at it. Follow on as we lead you through the process part-by-part, with plenty of helpful suggestions and overviews of where you can add or subtract to refine your custom rig. If that opening crawl scared you into submission, perhaps you’d like to pay a premium to have the build process sorted out for you - in which case, head over to our best gaming PC and best gaming laptops guides and start from there.
Money-saving tips
PC building is one big lovely community full of people who are ready to help you figure out your build and join the club. A quick google search can mitigate a plethora of pitfalls, but you’re going to want to check out some specific spots on the web to make this process easier to cope with - it can have a chilling effect on your brain and your wallet if you think about it too much.
Aggregate sites like Logical Increments crawl for prices across the world wide web and give you a really accessible platform to figure out your build. Most importantly it focuses on price point and the efficiency of the part itself. It’s nice to look at and will make the process much more smooth compared to an individual comparison of components across multiple tabs.
PCPartPicker. If you haven’t heard of it, you need to know about it. This website leads you through the process part by part, offering an estimated wattage and ensuring that the items you pick are compatible and not going to cause any house fires. There are some cool custom build guides on there too if you trust someone else’s judgment - but don’t come back crying when it’s not as good as the one we’re curating for you below!
Being the connoisseurs that we are, there are a number of guides on-site focusing on each part of the set-up, including some extras if you don’t want to be so barebones. If you’re looking for a deep-dive on a specific component, make sure you check out the articles listed below.
Best graphics cards | Best RAM for gaming | Best PC cases
Best CPU for gaming | Best gaming monitor | Black Friday gaming PC deals latest
The PC build - target $700 / £600
With this build we're looking to create a gaming PC that will hit almost all modern games at a solid 1080p, 60fps with higher-end settings enabled. You'll struggle to get 4K here, and the most power-hungry titles won't boost to 120fps, but what you're building is a solid performer to get you started in PC gaming. Importantly, we're not looking to break the bank. Don't forget that you'll need to add extra budget for a monitor, keyboard, and mouse, so it could easily be another $300 / £300 on top.
Graphics card
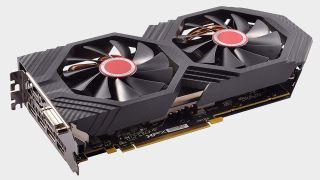
AMD Radeon RX 580
This is where we spend the most money. You’d be a fool not to. You want your games to look good? Buy a quality graphics card. The GPU (graphical processing unit) renders the image on your monitor whilst you’re playing, so it’s fairly important if you want a smooth ride. To kick off our budget build we’re going to go for a graphical powerhouse with 8 gigabytes of VRAM that is somehow below $200 / £200. I know right - shocking. Cryptocurrency be damned, you can grab the AMD Radeon RX 580 for around $180-190 depending on the configuration, which is an absolute steal.
This card will make short of work of most modern games, providing an extremely reliable 1080p 60 FPS experience in demanding AAA games like Resident Evil 2 and Sekiro. Outside of that, it eats daily driver multiplayer games like Fortnite, Dota 2 and Overwatch for breakfast, with FPS averaging way over 60 in each.
Alternative Option: If you’re feeling peckish for more performance, you could check the cracks in the sofa and grab Nvidia’s Geforce GTX 1660 - this offers a reduction in VRAM but more raw power. For about £40 more (the card hovers at the $230-240 mark) this will boost your performance by around 20-30% in most games.
CPU
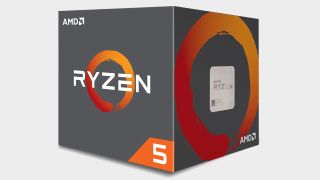
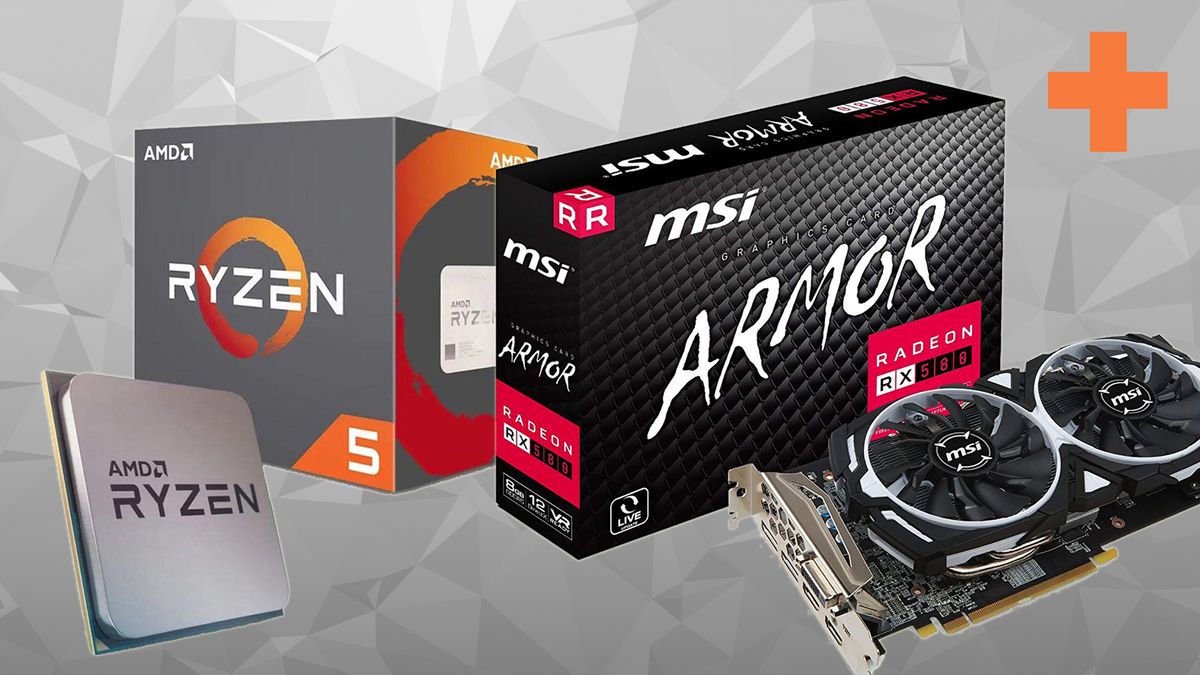
Ryzen 5 2600
Why you can trust 12DOVE
The CPU is the mastermind of your PC, delegating processes, putting out fires and running the show behind-the-scenes. You want them to be fighting fit so that they can support the talent front-of-house. The GPU may get all the credit, but they couldn’t do their job without the backing of a solid CPU, so do not skimp here.
On a budget, AMD is your best bet, and at the moment Ryzen is king. For roughly $130 (and often with a great cooler packed in) the Ryzen 5 2600 processor is an absolute steal.
AMD’s 2600 has 6 cores and 12 threads, which makes multitasking a total breeze when backed up by some solid RAM, which we’ll get onto soon. Encoding speeds and Twitch streaming performance are similarly fantastic, so if you want to branch out into video stuff, this should suit you right down to the ground.
Alternative Option: For $20-30 more you can pick up the Ryzen 5 2600X, which has a slightly higher clock speed at 3.6GHz. According to benchmarks, it’s about 5% faster, so the difference is negligible, but maybe you’re a future-proofer who wants peace of mind?
CPU cooler
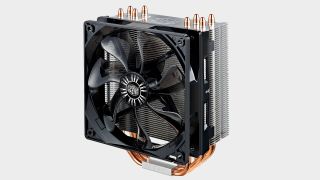
Cooler Master Hyper 212X
Spin to win with an alternative CPU cooler if you’re looking to overclock on a budget. Perhaps you’re not convinced by the cooling system bundled in with the CPU and want to solve the issue on your own terms. For the uninitiated, Overclocking is where you push the limits of the CPU beyond its core clock speed to make the entire computer run faster. Be warned though, this part is totally on you, and a bit of a cheeky upgrade with risks involved.
Still, if you want to really max this rig out, grab Cooler Master’s Hyper 212X and never look back. For $30 it’s a very fair price if you’ve got a hankering to experiment and don’t mind getting into the nitty-gritty.
DDR4 RAM
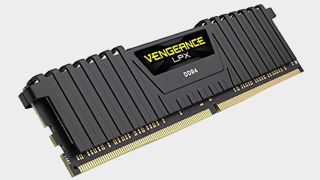
Corsair DDR4 (16GB)
Random Access Memories is not just the name of a brilliant Daft Punk album, it’s the acronym behind the next most important part of a budget gaming rig. RAM is the bouncer who checks the ID of files as they move between your storage solution and your CPU. RAM is on the lookout and making sure there are no noticeable problems whilst you’re sat there chatting away on Discord whilst tabbed into Fortnite.
More RAM equals more multi-tasking. Everybody knows that Chrome is dastardly, sapping your precious memory as you play - fight the scourge with a good 16GB of RAM and you’ll never have to worry about tabbing between our Sekiro Guides and From’s visceral gameplay when you’re on the hunt for collectables.
If you’re someone who likes to have everything open at once, a solid amount of RAM is crucial so you can keep Spotify, Discord, Steam and whatever else puttering on whilst you’re in the middle of battle, as gaming programs love to dine on a big chunk of RAM when you boot them up and get going. On a budget, grab 16 GB of Corsair DDR4 3000 MHz memory for the cheerful price of $90/£70 for reliable safety from memory issues. Nowadays 8 GB just won’t cut it if you like to play massive open-world AAA RPGs and chat, stream and listen at the same time.
Alternative Option: For $20-30 you can upgrade to Corsair’s DDR4 at 3200 MHz, but honestly, 16GB is already overkill for what you want to achieve and 32GB is very much ridiculous high-end territory, and not suitable for builders on a budget. The difference in latency is minimal, so much like the CPU, it’s only worth it for those of you who want true peace of mind.
Storage
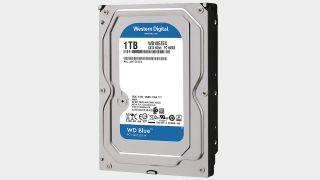
WD 1TB Hard Drive
For storage, it’s a toss-up between an HDD (Hard Disk Drive) or an SSD (Solid State Drive). The consideration is space over speed. An HDD will give you a massive boost in space, often 1 terabyte as standard, but they feel painfully slow if you’ve used any modern hardware. Solid State Drives are the cool new kids on the block, but whilst they’re Macbook-fast, they have incredibly low storage as standard, which for gamers fills up at quite a pace.
On a budget, it’s always going to be the Western Digital Blue 1TB HDD that wins - a stalwart choice for many builders over the past several years which is by far the best storage choice for frugal gamers. 1TB is more than enough storage for the latest titles and even some movies on the side if you’re still not part of the streaming wave. At a mere $45, it’s cheap as chips and will fulfil your every need.
Alternative Option: Yet once you’ve experienced the fast-paced thrills of an SSD, their allure is impossible to ignore. For $10-15 more, you can pick up a 480 GB 2.5” Kingston Solid State Drive. You’ll be sacrificing near half of your storage space, but your boot speed will be lightning fast and you’ll be able to drag around files and complete transfers with pace. Keep in mind your Operating System (Windows 10) will take up roughly 20GB, but you’re still looking at a good 400+GB of games and programs there, which is a meaningful upgrade if you’ve got a little bit extra disposable income. As SSDs have gotten cheaper recently, it may well be worth it as a boot drive and you can then save up for a clunky HDD to store your files on later down the line.
Motherboard
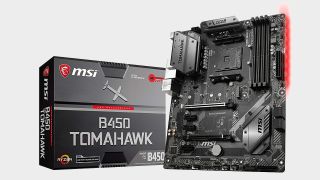
MSI B450 Tomahawk
The motherboard is the central nervous system of your rig, with everything connected to it. When you buy one, you’re not really thinking about how it’s going to improve your speeds, more that it will fit your needs and function properly with the rest of the rig. Future-proofing is the key concern here. You want the room and slots to grow, especially if you’re starting out on a budget.
The MSI B450 Tomahawk is $120 and plays really nice with your Ryzen CPU and DDR4 RAM, offering 3.1 USB ports and sleek design. Many builders will regale tales of its brilliant BIOS, which is useful if you want to tinker - engage in some liquid cooling, add an SSD or even overclock in the future!
Keep in mind that on a budget build you’re going to skip on a WiFi card as its an extra cost - but realistically, you should be using an ethernet cable if you care about download speeds and smooth multiplayer gaming. You can always buy one if you find you’re too far from the router or your setup doesn’t allow for ethernet.
Alternative Option: For $20 more, the MSI B450 Pro Carbon Motherboard will offer slight improvements with extra SATA ports, built-in WiFi and Bluetooth and some cool RGB capabilities. If you care about how your rig looks and can’t get an ethernet connection, this is the best motherboard in this price range and will solve those annoying problems before they become full-blown issues.
Power supply
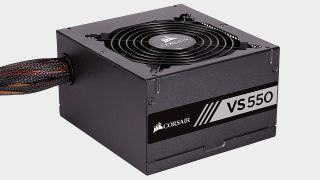
Corsair VS550 550W PSU
For all that is holy, do not overlook the Power Supply. The PSU (Power Supply Unit) ensures that your computer can convert the power coming out of your wall socket into your PC so it can switch on, so uh… it’s fairly important that you get this part of the process right. You want enough wattage so you don’t burn out and ruin the entire system when you start benchmarking and push this rig to its very limits.
As of right now, the build demands around 350W of power, so you want to be safe and add 200 to that for when you’re really going ham on the graphics. Corsair’s VS 550W is regarded as reliable for budget builds and is ridiculously cheap at $50. It’s very quiet too and runs cool, with quality cable sleeves and a healthy 3-year warranty. Don’t risk it all and buy a power supply that isn’t a known and respected brand, or you’re in for trouble.
Alternative Option: The EVGA 600W PSU is here for the worry-worts, the tinkerers and the brave who foresee some high-power gaming sessions in their future. For roughly $15 more you get peace of mind, 3-year warranty and so-called "heavy-duty protections" from short-circuit nightmares amidst other issues.
Case
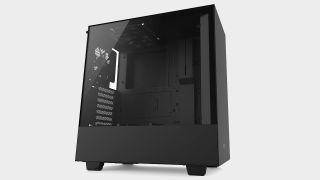
NZXT H500
Here we are - the final hurdle. Like a lot of the items in this guide, it’s essential you pay attention to what case you’re picking up or you could ruin the entire build. If you buy a bad case with the lovely parts listed above, you’re shooting yourself in the foot. Don’t do that! You need to pick up a case that fits all of your expensive components and gives them a good amount of breathing room so they stay safe. Unlike other parts, this is mostly about aesthetics, as long as you keep to a reasonable size to fit everything in.
Your best option is the NZXT H500, which at $75 is very hard to beat on a budget and recommended by many. With its sharp edges and monolithic structure, it’s a very basic build but most importantly it offers space and great cooling, as well as lots of cable runs to keep things neat on the inside when you’re managing your wires. It’s got tempered glass too which gives it a professional veneer. It’s not the fanciest thing on the market, but your parts will look great inside and it's dirt-cheap. What’s not to like?
Alternative Option: For $100 you can upgrade to the NZXT H500i, which retains the professional look but adds built-in means to control your fans and RGB lighting, which is essential if you want to show off your rig and get brownie points for presentation. The giant window on the side is great for visibility and it’s ready for water-cooling if you are. A perfect pick up if you want to be proud of your first budget build.
How much will it all cost?
And with that, you should have all of the parts necessary to construct your budget rig. This machine will offer up a fantastic experience with all games at 1080p 60 FPS, with plenty of space to grow in the future if you’d like to make the jump to 1440p or 4K. Averaging out at around £630-650, this build is impeccable bang for your buck and a shoo-in if you’re after a gaming rig that will power through the most popular games available right now without breaking a sweat. If you follow the guide you should be set if you wanted to branch out into Twitch streaming or video work on the side too.
Some online stores give us a small cut if you buy something through one of our links. Read our affiliate policy for more info.
Sign up to the 12DOVE Newsletter
Weekly digests, tales from the communities you love, and more
Jordan Oloman has hundreds of bylines across outlets like 12DOVE, PC Gamer, USA Today, The Guardian, The Verge, The Washington Post, and more. Jordan is an experienced freelance writer who can not only dive deep into the biggest video games out there but explore the way they intersect with culture too. Jordan can also be found working behind-the-scenes here at Future Plc, contributing to the organization and execution of the Future Games Show.


