Gears 5 components: Where to find all Jack upgrades and component locations in Gears 5
All of the Gears 5 component locations so you can get every one of the Jack upgrades
Act 2 Chapter 1
Gears 5 components: Act 2 Chapter 1
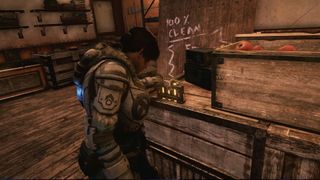
Component 3-Pack
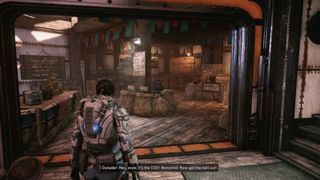
Location: "Fresh" Fish shop
Current Objective: Speak to the village chief at the steam farm
When you enter the settlement, take the stairs down on the right and make another right into the vacant "Fresh" Fish Shop. Getting this 3-Pack, found on the counter, is a welcome consolation in a village where you're not welcome.
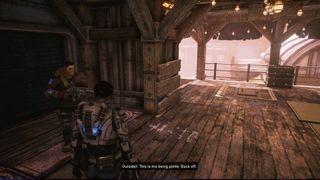
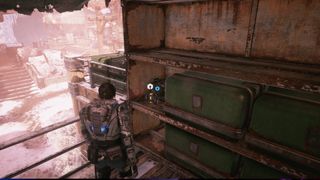
Component
Location: Near the saloon
Current Objective: Speak to the village chief at the steam farm
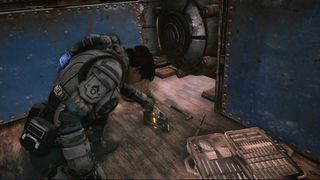
As you pass the fishmongers, move along the left side of the main path, where you'll come across a saloon with a locked door. Pass the saloon and go up the nearby stairs. Make a right, where you'll find an armed guard who doesn't take a liking to COGs. Notice the crates on the right; the next component is behind those boxes.
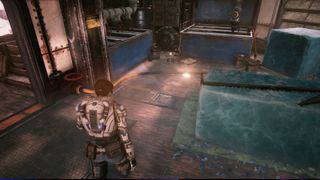
Component
Location: By the ice maker
Current Objective: Speak to the village chief at the steam farm
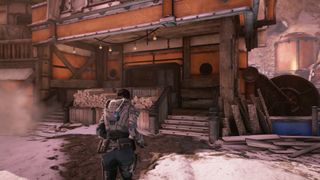
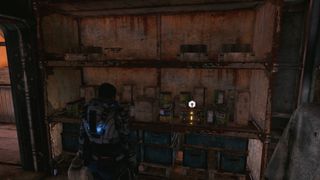
Along the main path, past the fishmongers, look for a large 'Machine Shop' sign on the right. Go up the steps leading to that shop but then turn right, away from the Machine Shop. You'll find the component sitting among some large ice blocks.
Component
Location: Near the open steam generator
Current Objective: Speak to the village chief at the steam farm
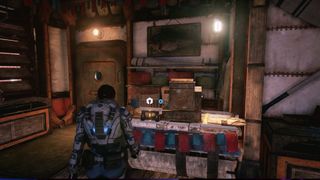
Continue toward the village chief checkpoint marker until you notice some characters having a hard time with an errant steam generator. Look to the right of the generator and you'll notice a building with chopped wood at the front. Enter the building to find the component.
Component
Location: 'Salvage N Trade'
Current Objective: Speak to the village chief at the steam farm
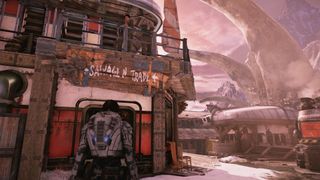
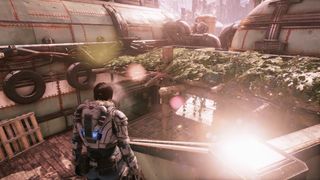
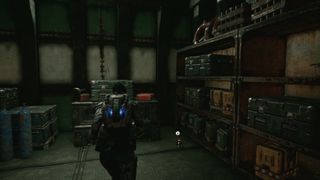
Continue toward the village chief checkpoint marker until you come across a kid harmlessly taunting you. Follow the kid until his mom reprimands him, then look to your left. You should be facing a shop called 'Salvage N Trade'; enter it to find the component on the cash register.
Component
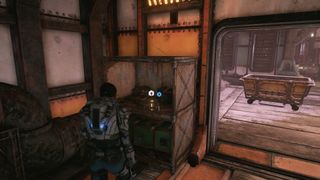
Location: Storage room near the foliage covered shade
Current Objective: Speak to the village chief at the steam farm
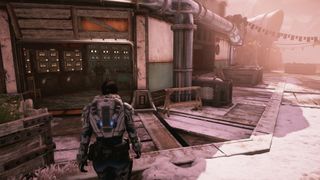
Continue toward the village chief checkpoint marker until you come across a downward set of steps next to a neatly designed shade covered in foliage. Enter the storage room to the left of the shade to find the component on the floor.
Component
Location: Steam generator monitoring room
Current Objective: Speak to the village chief at the steam farm
Continue toward the village chief checkpoint marker until you come across room with a ton of pressure gauges and other monitoring equipment on the wall. You'll find the component on the shelf on the other side of the room.
Component 3-Pack
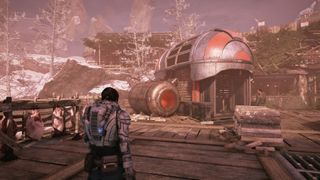
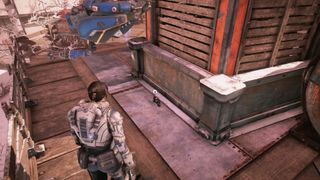
Location: Behind the large meat storage shack
Current Objective: Speak to the village chief at the steam farm
Continue toward the village chief checkpoint marker until you come across a metal structure with meat hanging inside. It can also be identified by the incinerator next to the metal shack. You'll find the component behind this structure.
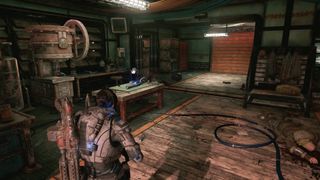
Shock Trap Ability
Location: Inner village/steam farm checkpoint
Current Objective: Get to the inner village
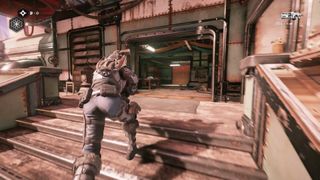
Notice the foliage covered shade and the steps near it? Head up the steps head into the next building. On the table you'll find the Shock Trap ability. This handy upgrade is not only essential to move the story along in a couple areas, but it packs a punch as both a trap and an effective stun weapon against enemies.
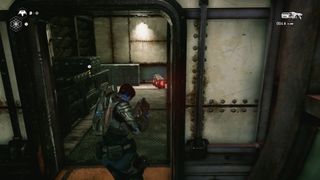
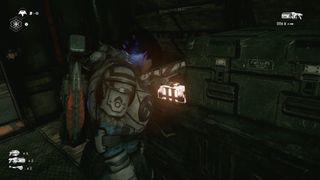
Component 3-Pack
Location: Behind the large meat storage shack
Current Objective: Speak to the village chief at the steam farm
In the same building where you pick up the Shock Trap ability, take two lefts past the work table and into the previously locked room. There you'll find another coveted component 3-pack.
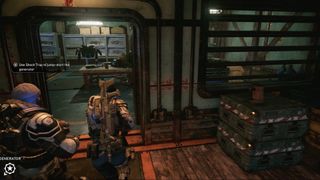
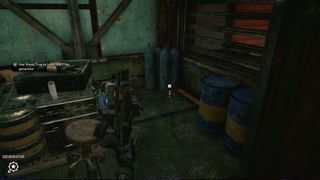
Component
Location: Settlement armory at the checkpoint
Current Objective: Use the Shock Trap to jump-start the generator
The first time you passed this area on your way to the village chief, you probably noticed those many weapons hidden behind locked doors. Well, now those doors are open. Enter the armory and immediately look right to find the component on the floor. To add further context, this is also the same area where you get to complete the generator jump-start objective.
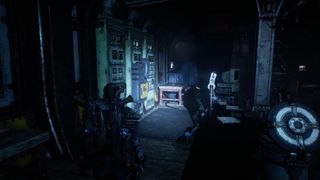
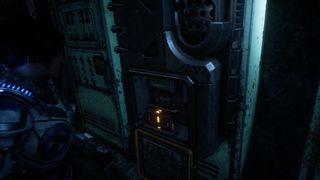
Component
Location: Skiff garage
Current Objective: Turn on the lights
After the big battle in the settlement and steam farm, you'll find yourself in a darkened skiff garage. While facing the skiff's garage door, look to your right. You'll find the component around the middle of the wall on this right side.
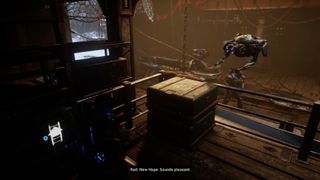
Component 3-Pack
Location: Skiff garage
Current Objective: Set out on the skiff
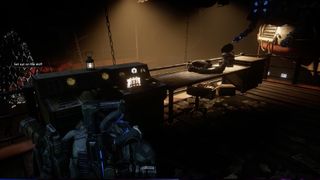
Before leaving on the skiff, look to the left of the garage (while facing the skiff-sized door). Go up the short set of steps and look to your right for a ladder. Climb up the ladder and you'll find a component 3-pack on the console.
Act 2 Chapter 2
Gears 5 components: Act 2 Chapter 2
Component
Location: Boathouse by the lake
Current Objective: N/A, free roam
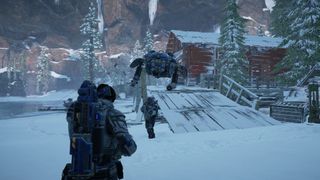
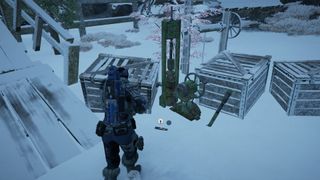
Head to the northern edge of the frozen lake that takes up the majority of this section of the map. There you'll find a maroon colored boathouse by the lake. The component is partly hidden in the snow near the water pump and well. If you're facing the house straight on, the component is on your right.
Component
Location: Train tunnel wreckage
Current Objective: Secondary Mission - Hollow Storm
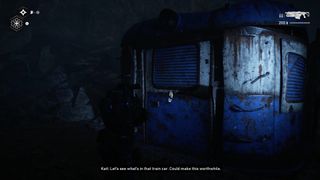
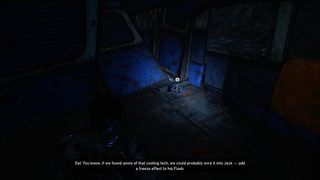
Head north past the maroon colored boathouse by the lake and look for train wreckage in and outside of a tunnel. Enter the tunnel to start the Hollow Storm secondary mission. After you take care of the area's hostiles, look for the blue train car and kick its door open. Along with a collectable, you'll find a component inside the car.
Component
Location: Outsider campsite
Current Objective: Secondary Mission - Lost Outsiders
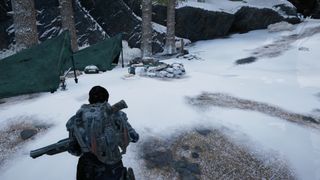
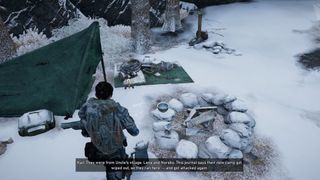
Using the frozen lake and the train tunnel as frames of reference, head northeast to a narrow path on the map. Eventually you'll come across the Outsider campsite, triggering the Lost Outsiders mission. The campsite itself should be within your field of view. There you'll find another component, most likely half buried under snow.
Act 2 Chapter 3
Gears 5 components: Act 2 Chapter 3
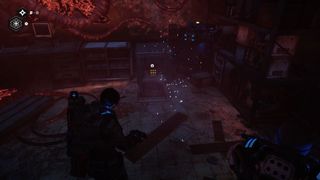
Component 3-Pack
Location: House to the right of the research lab building
Current Objective: Find the facility's research lab
Progress along the main objective until you face off against a Warden. After the fight, go through the narrow passage where the Warden emerged. After a brief fight against some Juvies, look for a house on the right. You'll know you're inside the correct house based on all the red organic material inside. Head downstairs and have Jack open the safe at the end of the room. There you'll find a component 3-pack.
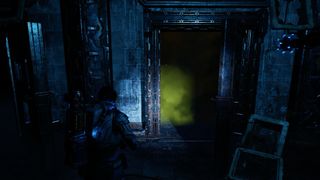
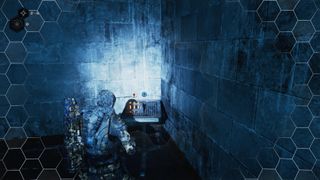
Component 3-Pack
Location: Inside the research lab building
Current Objective: Find Niles' A.I.
Progress through the research lab until your reach the poorly-lit prison-like experimentation lab. Look for a room with its door open outward. There should also be toxic green gas leaking inside the room near the doorway. Use the stim ability to protect yourself as you enter the room. Then grab the component 3-pack.
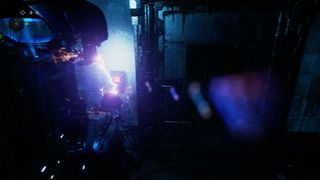
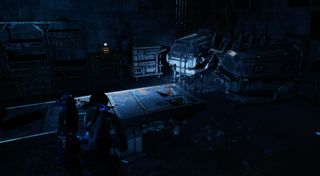
Component 3-Pack
Location: Inside the research lab building's operating room
Current Objective: Find Niles' A.I.
Progress through the research lab until your reach the poorly-lit prison-like experimentation lab. Look for a locked room that can be opened using Jack's lockpicking skills. Given the darkness of the room, it will be very easy to spot this component 3-pack.
Act 2 Chapter 4
Gears 5 components: Act 2 Chapter 4
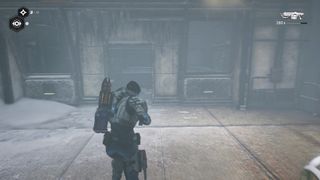
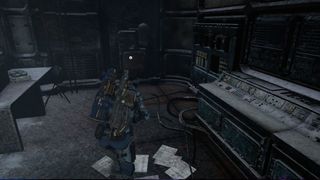
Component 3-Pack
Location: Old COG Wall
Current Objective: Defeat the Swarm
After completing Act II: Chapter 3, Jack will have the means to access the giant COG gate in the southeast corner of the map. Make your way to that gate, known was the Old COG Wall and enter the facility. Explore the area until the Swarm pop out. Climb up in the direction of the high elevated sniper. You actually can't reach the sniper's nest but that's not your goal anyway. Where you want to go is the small control room. Inside is an electrical panel, where you'll find a component 3-pack.
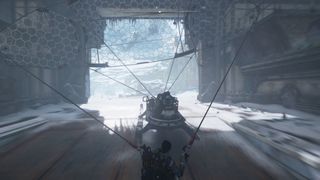
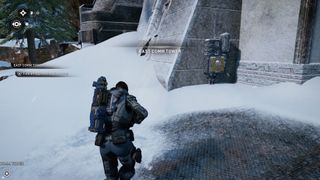
Component 3-Pack
Location: Old COG Wall exit
Current Objective: Find an approach to the tower
Once you've opened the other side of the Old COG Wall, don't bolt out of the facility just yet. Exit the wall and swing your camera around to the right. You'll find a yellow electrical panel on the door frame of the wall. Open the panel for another component 3-pack.
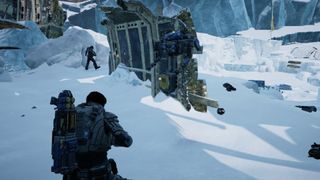
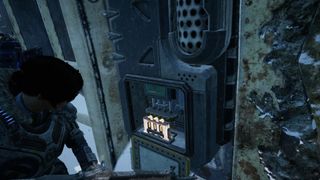
Component 3-Pack
Location: First Condor crash site
Current Objective: Search for supplies
As you exit the Old COG Wall and enter the eastern half of the map, keep an eye out for a fork in your path. Take the path on the right. At the next fork, head left. Keep your eyes peeled for an off-yellow flag marker. This is one of multiple Condor crash sites. After taking care of its local hostiles, cross the small snow-covered bridges, and look around the remnants of the Condor. You can find a component 3-pack on the inner wall of a large fuselage fragment.
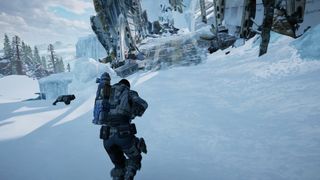
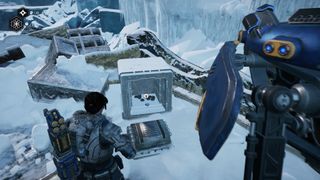
Ultimate Upgrade: Marked For Death
Location: First Condor crash site
Current Objective: Search for supplies
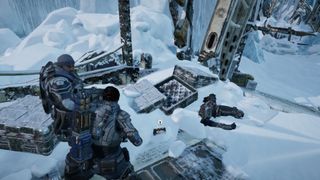
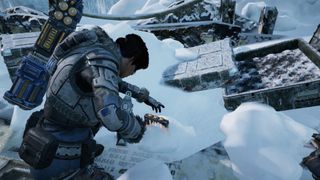
As you exit the Old COG Wall and enter the eastern half of the map, keep an eye out for a fork in your path. Take the path on the right. At the next fork, head left. Keep your eyes peeled for a dark yellow flag marker. This is one of multiple Condor crash sites. After taking care of its local hostiles, cross the small snow-covered bridges, and look around the remnants of the Condor. One particular section of the transport is on an upward incline. Walk up this section of the Condor to find a locked safe. Use Jack to open this safe for this ultimate upgrade. This upgrade is for Jack's Pulse ability and triggers a 20% damage bonus, provided you use the Pulse ability beforehand.
Component 3-Pack
Location: First Condor crash site
Current Objective: Search for supplies
As you exit the Old COG Wall and enter the eastern half of the map, keep an eye out for a fork in your path. Take the path on the right. At the next fork, head left. Keep your eyes peeled for a dark yellow flag marker. This is one of multiple Condor crash sites. After taking care of its local hostiles, cross the small snow-covered bridges, and look around the remnants of the Condor. One particular section of the transport is on an upward incline. Walk up this section of the Condor to find a locked safe. The component 3-pack is too the immediate right of the locked safe. Keep your eyes peeled as much of the component might be under snow.
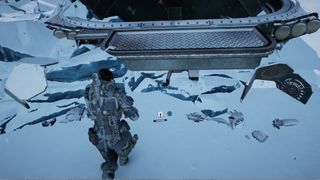
Component
Location: Train wreckage between the Abandoned Mine and the East Comm Tower
Current Objective: Find an approach to the tower
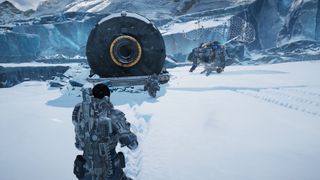
After you pass the Old COG Wall, your objective will be to reach the comm tower to the southeast of the map. As you get close to the waypoint, look for a string of train wreckage along the cliffs on the right. You can actually reach that area by taking a leftward loop near the waypoint and travelling on top of the arch bridge near the comm tower. Look for a large intact cylindrical train section. You'll find the component near one of the ends of the train car.
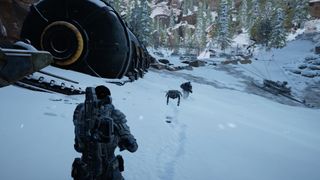
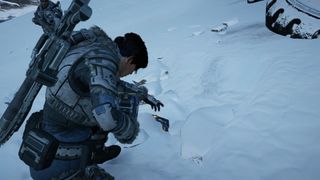
Component
Location: Train wreckage outside the Abandoned Mine entrance
Current Objective: Find a way into the mine
Make your way to the abandoned mine southeast of the map. When you reach the gate--most likely triggering the Abandoned Mine optional mission–-look to your left for a mostly intact cylindrical train section. If your back is to the gate of the mine, walk to the far end of the train section. Don't try to look for a component but rather the component icon, since it's highly likely that the component is heavily covered in snow.
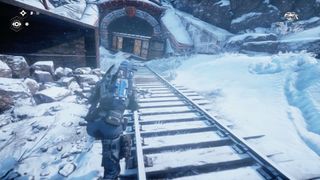
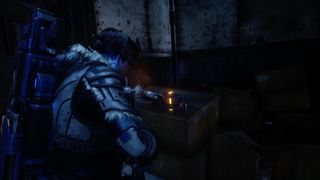
Component
Location: Open train car on the tracks leading to the abandoned mine.
Current Objective: Find a way into the mine
During the Abandoned Mine optional mission (located at the southeast corner of the map in Act II), progress until you have a good far view of the main mine entrance. Notice the train tracks leading to the mine. Turn the camera right as you follow the tracks away from the mine to find a train car resting outside of a tunnel. Look inside the train car for the component.
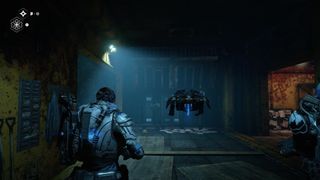
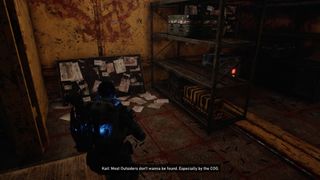
Component 5-Pack
Location: Abandoned mine entrance interior
Current Objective: Explore the mine
During the Abandoned Mine secondary mission (located at the southeast corner of the map in Act II), progress until you pass a metal door that requires two people to open. You should find yourself at a T-intersection while facing a row of lockers. Go to the room on the right and look for a safe at the far corner. Use Jack to open it and grab the highly coveted component 5-pack.
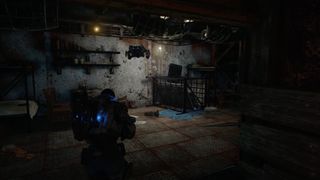
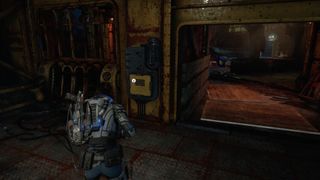
Component 3-Pack
Location: Abandoned mine rest area
Current Objective: Explore the mine
During the Abandoned Mine secondary mission (located at the southeast corner of the map in Act II), progress until you reach a room with that includes a small dining table and some bunk beds. When inside, swing the camera around toward the doorway to find a panel hiding a component 3-pack.
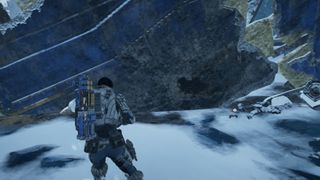
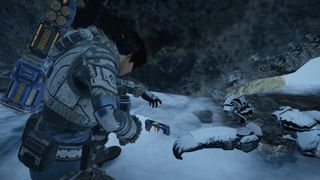
Component 3-Pack
Location: Second Condor crash site
Current Objective: Search for supplies
Travel to the northeast section of the map in Act II to find this second Condor crash site. After you park the skiff, head to your immediate right and inspect the wreckage there. If you find yourself squeezing through a tight passage, you'd gone to far ahead. Pay attention to the large chunks of Condor fuselage walls and look for one that has a DeeBee robot corpse in the snow. There you'll find a component.
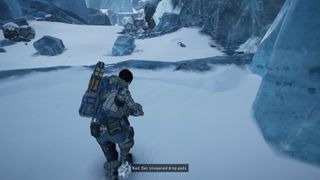
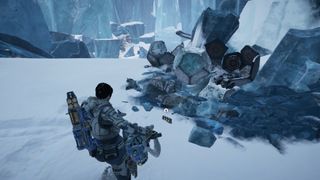
Component
Location: Second Condor crash site
Current Objective: Search for supplies
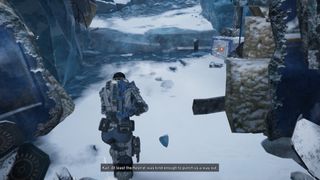
Travel to the northeast section of the map in Act II to find this second Condor crash site. After you park the skiff and proceed to the site, you'll squeeze through a tight passage. After you emerge you'll notice a long slope going down to the main part of the crash site. Don't go down the slope just yet. Walk toward the pair of drop pods on the right and be ready to take on an errant DeeBee. You should find a useful component 3-pack in the snow close to the opened pods.
Ultimate Upgrade: Brawler
Location: Second Condor crash site
Current Objective: Search for supplies
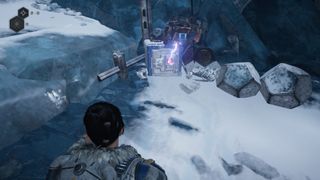
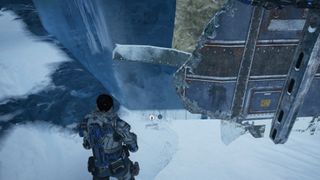
Travel to the northeast section of the map in Act II to find this second Condor crash site. Progress through this brief secondary mission until you take down the Kestrel helicopter. When it crashes, it will open up a new route. When you start on that path, notice the safe on the right. Use Jack to open it. Now you have the Brawler upgrade, which greatly boosts your melee when you use the Stim ability.
Component
Location: Second Condor crash site
Current Objective: Find an approach to the tower
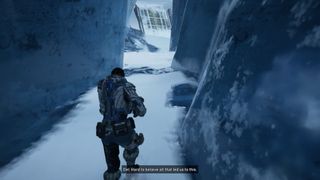
Travel to the northeast section of the map in Act II to find this second Condor crash site. Complete the crash site's supply search objective. Upon completion, take the only available path back to the skiff. This path starts on an upward incline and then on a downward one. You'll find a component half-buried in the snow at the top of this path.
Component 3-Pack
Location: North Tower Substation
Current Objective: Secondary Mission - Lost Outsiders (Part 2)
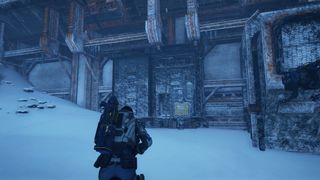
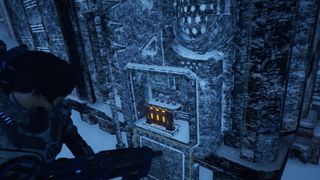
After you pass the Old COG Wall, head north. As you approach the northern edge of the map, veer left. You'll find yourself on a path to the North Comms Tower. When you reach the first gate, you'll come across the North Tower Substation. You'll find a component 3-pack on the exterior wall left of the substation entrance.
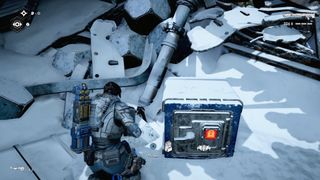
Component 3-Pack
Location: Path leading to the North Comms Tower
Current Objective: Access the comms tower
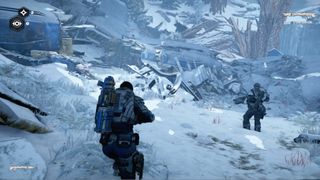
After you pass the Old COG Wall, head north. As you approach the northern edge of the map, veer left. You'll find yourself on a path to the North Comms Tower. Progress toward the tower until come across some Conder wreckage (if you reach a firefight against DeeBees and a Stump on a frozen lake, then you've gone too far). You'll find a component 3-pack in a safe within the Condor wreckage.
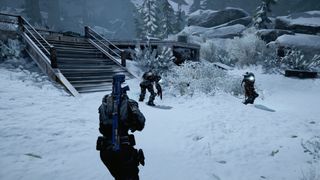
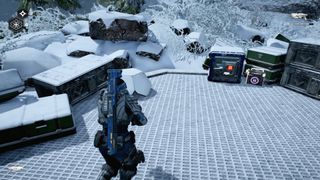
Component 3-Pack
Location: Outside the North Comms Tower entrance
Current Objective: Access the comms tower
After you pass the Old COG Wall, head north. As you approach the northern edge of the map, veer left. You'll find yourself on a path to the North Comms Tower. When you eventually reach the tower entrance, look to your right; there should be some DeeBees around a platform. Take out the DeeBees and walk on the platform. You should see a safe, which has a component 3-pack inside.
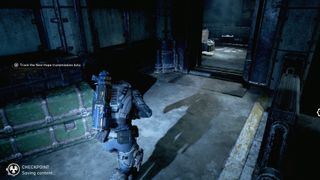
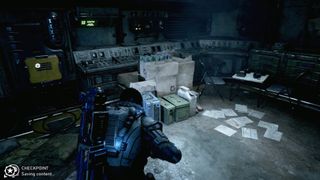
Component
Location: Inside the North Comms Tower
Current Objective: Track the New Hope transmission data
After you pass the Old COG Wall, head north. As you approach the northern edge of the map, veer left. You'll find yourself on a path to the North Comms Tower. When you eventually make it inside the comms tower, hang a left. You'll find a control room with a lot of switches and instrument panels. There's also another yellow panel containing a component.
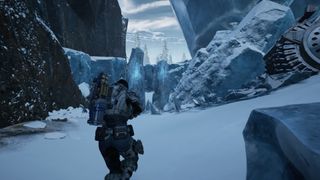
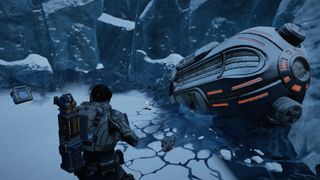
Component 3-Pack
Location: Middle of the lake, east portion of the map
Current Objective: Secondary Mission - Hollow Storm (Part 2)
Travel around the middle of the lake in the east portion of the map to find and trigger another part of the Hollow Storm secondary mission. When you enter area, hang a left. When you come across two ice columns, break at least one of them to access a bunch of goodies. One of those items is a component 3-pack.
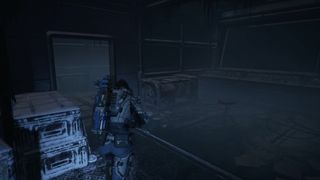
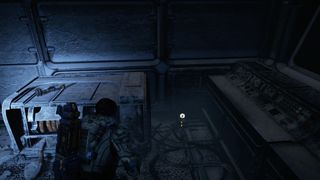
Component
Location: North Tower Substation
Current Objective: Secondary Mission - Lost Outsiders (Part 2)
Gaining access to the North Tower Substation requires getting a keycode from a security memorandum in the East Tower Substation. Once inside the North Tower Substation, look for an observation window in the main room. The component is tucked in the left corner when facing the window.
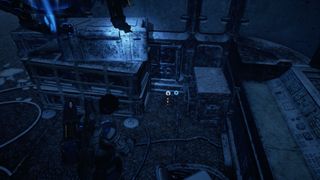
Component
Location: North Tower Substation
Current Objective: Secondary Mission - Lost Outsiders (Part 2), Find out what happened to Norsko
Gaining access to the North Tower Substation requires getting a keycode from a security memorandum in the East Tower Substation. Once inside the North Tower Substation, veer left but don't enter the adjacent room just yet. Instead look to the left of the main console. There you'll find the component tucked in the corner.
Ultimate Upgrade: Seeker
Locations: North Tower Substation
Current Objective: Secondary Mission - Lost Outsiders (Part 2), Search for anything useful
Gaining access to the North Tower Substation requires getting a keycode from a security memorandum in the East Tower Substation. Once inside the North Tower Substation, enter the adjacent room. Look left to find a safe that Jack can unlock. Once open, grab the Seeker ultimate upgrade, which adds a homing function to the already-useful Shock Trap ability.
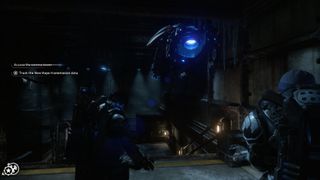
Component
Location: East Comms Tower
Current Objective: Restore power to the console
This involves the main objective where your destination is the East Comms Tower. Progress until you're in the tower itself. Head down to the main area, where you'll find the main console powered down. While facing the console, hang a rightward u-turn to find the component on the floor.
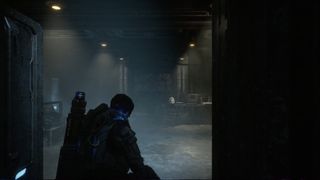
Component
Location: East Comms Tower
Current Objective: Return to the skiff
This involves the main objective where your destination is the East Comms Tower. Progress until you've used the console inside the tower. Then make your way to the exit by heading into the adjacent room. Look to your right to find a component sitting on top of a file cabinet. You'll need Jack's help to grab it.
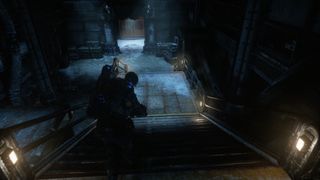
Component 5-Pack
Location: East Comms Tower
Current Objective: Return to the skiff
This involves the main objective where your destination is the East Comms Tower. Progress until you've used the console inside the tower. Then make your way to the exit by passing the adjacent room into another room with a downward staircase. At the bottom of the steps, make a leftward u-turn and look for a yellow panel along the wall on the right. There you'll find a component 5-pack.
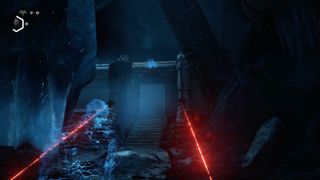
Component 5-Pack
From the start of the chapter, advance until you've reached the security turrets. Use Jack's Cloak ability to conceal yourself from the turrets on the left path and enter the small control room. Turn around 180 degrees to find a component 5-pack inside the fuse box.
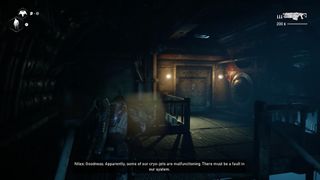
Component
When you're tasked with deactivating the first cryostasis-chilled, head up the ramp on the left. After you kick open the door, the component can be spotted at the opposite end of the room.
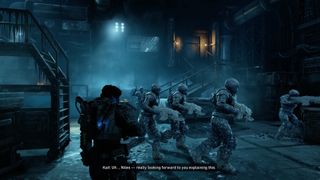
Component 5-Pack
After unfreezing the first previously-frozen room, walk past the frozen soldiers on the right and head up the ramp on the right. Kick open the door and head to the opposite end of the room. There you'll find a component 5-pack behind a fuse box panel.
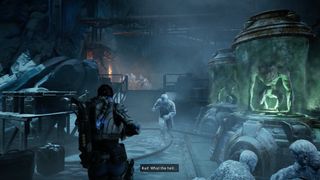
Component
Continue following Niles as he shows you some of his grotesque experiment samples. When the path turns right and up a short ramp, there'll be three frozen soldiers facing the next door you'll need to enter to advance the story. But before doing so, look to your right for a component sitting on a console.
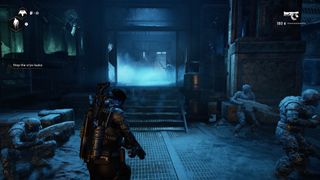
Component 3-Pack
Keep following Niles until you reach a room with active cryostasis vents. You'll need Jack's shock trap to deactivate the cryostasis in order to advance the story. It's easy to spot the component 3-pack in this same room.
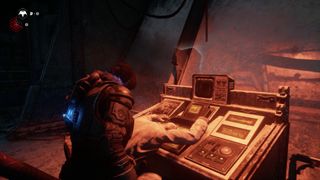
Component
After a series of revelatory cutscenes, you'll need to chase after Niles. Eventually, you'll come across the corpse of the real Niles. Interact with his corpse to advance the story. If you're facing Niles' back, look right to find a component nearby.
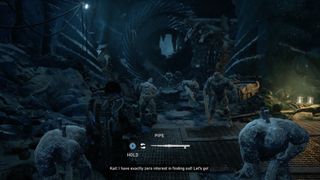
Component 5-Pack
Continue progressing through the chapter until the now-freed Matriarch spots you. After you shut the door on him, the opposite door will open. Exit through that door and notice the large gap in front of you. Destroy the frozen enemies across the gap and use Jack to grab the component 5-pack.
Continue to Gears 5 components Act 3
Current page: Gears 5 components: Act 2
Prev Page Gears 5 components: Act 1 Next Page Gears 5 components: Act 3Sign up to the 12DOVE Newsletter
Weekly digests, tales from the communities you love, and more
