FFXIV Variant dungeon guide to unlock the secret routes in the Sil’dihn Subterrane
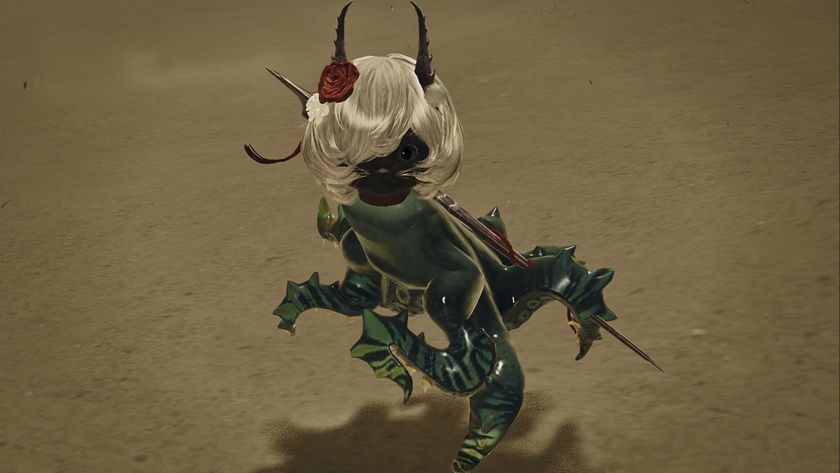
How to find the hidden boss and unlock the Silkie mount in Final Fantasy XIV Variant dungeon
This FFXIV Variant dungeon Sil’dihn Subterrane will help you with the mode added in patch 6.25. These Variant dungeons are for groups of 1-4 players to challenge, with tricky bosses and 12 individual routes to uncover there’s a lot here to challenge yourself - it’s all about exploring. Variant dungeons are meant as a fairly casual challenge, with the harder Criterion dungeons being a much more formidable endeavour.
Here we’ll show you how to find every hidden path, the secret boss and unlockable mount for the Variant dungeon Sil’dihn Subterrane.
How to unlock Sil’dihn Subterrane and learn the basics

To unlock the Sil’dign Subterrane Variant dungeon you’ll need to be level 90 and have finished the main story for Endwalker. You’ll then want to head over to Old Sharlayan and speak to Osmon nearish to the docks and then Shallow Moor to start the ‘A Key to the Past’ quest. They’ll send you over to Ul’dah to unlock the dungeon.
You’ll need to have an item level of 575 or above to enter so you’ll want to spend your tomestones and run a few raids first to reach it if you’re a fresh level 90.
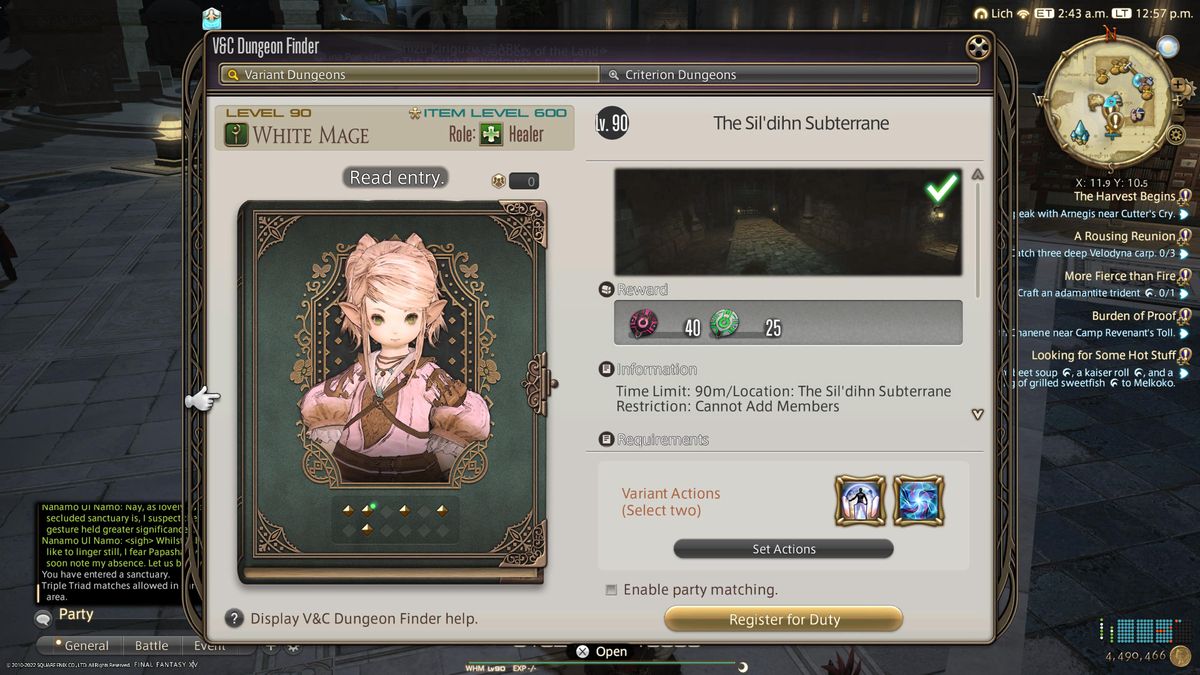
To access the Variant dungeons you’ll want to navigate to Duty - V&C dungeon finder and register for duty once you’re ready. However you’ll want to set appropriate special actions for yourself before you enter. Since you can play this dungeon with any Job mix there are a few extra abilities you can assign to yourself to compensate if, for example, you don’t have a healer. Select the damage action if you’re a Healer or Tank, the defensive action if you’re a DPS or Healer, and the curative actions if you’re a Tank or DPS.
The difficulty of the dungeon scales to your group size, so if you want a quick run a group of four is best. However if you want to be sure you get everything to complete each secret route you’ll want to run it solo. It’ll be slower but it’s perfectly possible to do it without a party.
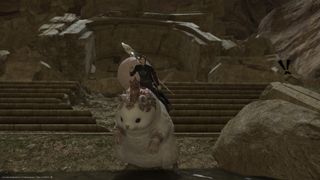
For each run you’ll first be presented with a choice of three doors, with each door having four possible routes afterwards. We recommend doing one from each door completely blind first to enjoy the story and get a general feel for the routes. The first boss for each of the tree doors is the same, but with a twist for each arena. The final boss for each door is different and will change its mechanics slightly for each of the hidden paths. Don’t worry about your choices! Each route will unlock a note for your diary and getting all 12 notes will unlock the Silkie mount, with note number 12 unlocking a secret boss. Once you’ve tried each route and gotten a few notes it’s time to find the others using our handy guide below.
The Left Door paths
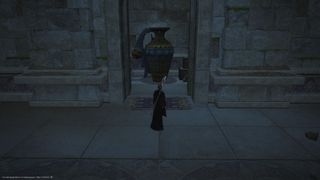
- Note one - Once you’ve beaten the first boss you’ll find yourself in a room with lots of green and yellow sacks in it. For the first note you’ll need to pick the correct two sacks - The green one in the Northeast corner on top of the rubble, and the yellow one in the Southeast corner. You can place them on the pedestals in any order and you’ll open up a portal on the floor. Once you’ve stepped through and defeated the group of monsters, be sure to look behind the rubble for a secret door and then open it. Make sure you find that door before you speak to Nanamo at the exit then confront the final boss.
- Note two - For the second note follow the same instructions as note number one, but this time don’t open the secret door. Just leave it closed and head to the final boss.
- Note three - This time when you reach the room with sacks put any of the wrong sacks on the pedestals - it doesn’t matter which! Once you’re in the next area you’ll want to step on every dandelion puff (five of them) to trigger their floor effect while fighting the group of monsters. Once all five are activated head to the final confrontation.
- Note four - You’ll want to place the wrong sacks on the pedestals again, but this time you don’t want to step on all of the dandelion puffs while fighting. It’s ok if you hit one or two, just as long as you don’t trigger all five of them! Fight the boss as normal.
The Middle door paths
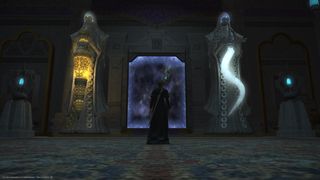
- Note eight - (Yes, we know this isn’t number five as you’d expect, but you’ll want to do the middle set before the right set and the hidden boss) After you’ve fought the first boss you’ll eventually come to a room with a set of scales in the middle and four tablets - a very similar set up to the Sunken Temple of Qarn dungeon. For this route you’ll need the wrong answer so choose any tablet that isn’t the helm or fruit or just use the scales without anything on them at all. Just before the final boss you’ll be presented with a choice of levers - pick the right lever and tackle the boss. Careful, this boss hits surprisingly hard.
- Note nine - Follow the same instructions as above, including picking the wrong tablets for the scales. This time when you’re presented with the levers you should pick the left one.
- Note ten - This time when you reach the scale you’ll want to pick the correct options for the scales. Place the helm on the left scale, and the fruit on the right one (like the flag of Sil’dih) then interact with the scales to unlock an ancient teleporter. Once you’ve beaten a wave of monster you’ll be given the choice of interacting with two different statues. Approach Nald on the left.
- Note eleven - For the last note in the middle branch you’ll want to complete the same steps as for note number 10 but this time approach the statue on the right - Thal.
The Right door paths
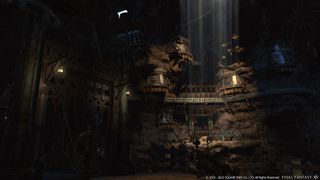
- Note five - Once you’ve cleared all of the fungus and watery pits of the first boss you’ll enter a mine-like area and be presented with a rusted winch. Pick the left lever and then fight your way through a few more monsters. Once you reach a giant door choose the wrong answer ‘The blessed spark’ and then bash the door down. The boss will be pretty angry about it, but at least you’ll get that note!
- Note six - Copy the exact same steps as above except this time when you reach the door select ‘The sacred fire’ and the door will politely open itself for you. You could also get this note by taking the right lever and then killing the room full of drakes in the wrong order as long as you pick the right answer as the door.
- Note seven - This time when you reach the winch you’ll need to pick the right lever. Once you’ve fought off one group of monsters you’ll soon find yourself in a room full of drakes. You’ll need to kill them in the right order to unlock a secret path. Start with the biggest and end with the smallest - Drakefather, Drakemother, Drakebrother, Drakesister and Drakeling. Don’t risk using AOEs here as the Drakeling is really squishy - just focus on one at a time and keep up your healing. Once you’ve unlocked the secret path you’ll find yourself in an armoury with an incense burner - be sure to interact with it. Once you reach the last room, interact with the sarcophagus and fight the boss once more.
- Note twelve - The final note and source of the secret boss! Once you’ve completed all twelve you’ll get that precious Silki mount. For this path you’ll want to follow the same steps as above, making sure you activate the incense, but this time don’t touch the sarcophagus. This time you’ll want to do a series of emotes in front of it - bow (/bow), pay respects (/respect), victory pose (/vpose), and finally kneel (/kneel). You’ll have completed the funeral rights of the fallen warrior and open another secret door to face a clockwork monstrosity with a crazy number of arms and cannons - good luck!
Sign up to the 12DOVE Newsletter
Weekly digests, tales from the communities you love, and more
Daniella is a freelance consultant, writer, and editor, who was formerly deputy editor at Official Xbox Magazine before its closure. Her words have appeared on the Guardian, Eurogamer, PC Gamer, and GamesRadar, among others. She's a Final Fantasy 14 aficionado.










As Final Fantasy 14 raiders tear through the MMO's hardest duty with no healers and then no tanks, the community can only see this going one way: "Now it's time to clear without DPS"

Final Fantasy 14's funniest speedrunning beef continues as runner who lost a world record to its original champ in just 1 day returns, beats record, is promptly dethroned again
