The best Guns for Hire in Far Cry 5 (and how to get them)
Here's how to get Hurk, Boomer, and every other Gun for Hire available in Far Cry 5
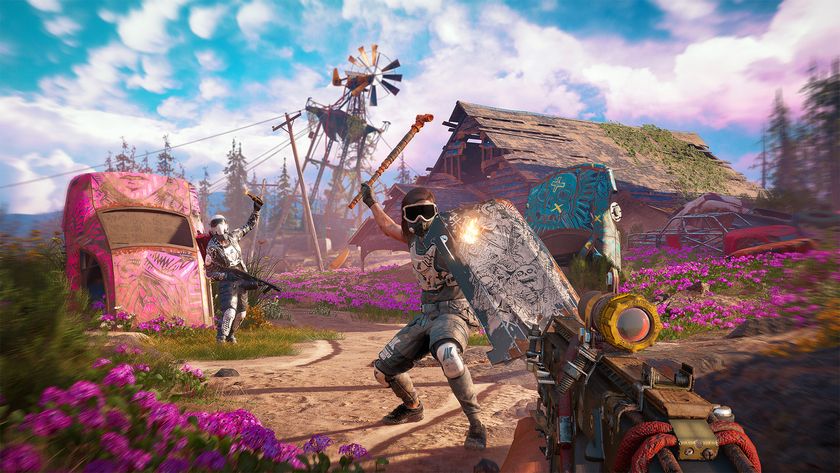
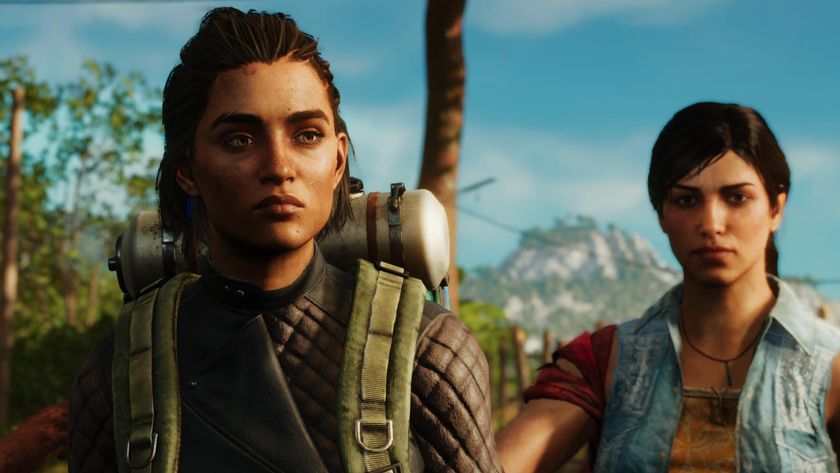
You’re never alone in Far Cry 5. While the Eden’s Gate cult might seem like it controls every corner of Hope County, there are plenty of willing and able patriots ready to rise up and help you out in the fight to liberate this beautiful slice of Montana, USA. The game’s Guns for Hire system is the best way to partner up with AI comrades, either with the randomised Fighter civilians you’ll find around the world, or with unique Specialists who are unlocked via their own bespoke missions.
Each Hire brings their own distinct weapon, vehicles, or abilities that can open up new opportunities for combat, and once you’ve acquired the Leadership perk, you can even take two of them with you at once. Different characters therefore suit different playstyles, and it’s a good idea to swot up on the details before you leap head first into the wilds of rural Montana, guns blazing. Here’s everything you need to know about Far Cry 5’s Guns for Hire.
Fighters
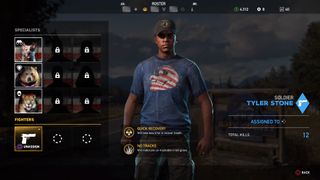
Fighters are randomly generated NPC civilians who are able to be recruited as Guns for Hire as soon as you encounter (or rescue) them around the open world. You can enlist up to three Fighters at any one time, but you can permanently dismiss members of your current crew from the roster menu to make room for new recruits. Talk to a Fighter before recruiting them, and they’ll also often provide you with a new mission to make note of in your quest log and map, such as a Cult Outpost.
Fighters can be one of three classes, which determines which weapon they use in combat:
- Soldier - Assault rifle
- Long Range - Sniper rifle
- RPG - Rocket Launcher
Unlike Specialists, you can level up your Fighters to gain access to new perks, which can affect both themselves and your character for advantages in Far Cry 5. Each Fighter will have two unlockable perks, accessed after they attain five and 12 kills respectively. It appears as though these perks are randomly selected from a limited pool of pre-made buffs, and below are a list of the ones we’ve come across so far.
- No Tracks - Will make you untraceable in tall grass
- Spotter - Will tag enemies at the start of combat
- Quick Recovery - Will take less time to recover health
- Vulture - Will find extra stuff when looting a dead body
- Thick Skin - Will be more resilient to damage
I’d suggest experimenting or mixing and matching with Fighters as much as possible, ideally so you eventually have all three classes recruited, with each one bearing different perks to ensure there’s no overlap. They might not be as exciting as Specialists, but they can be very useful when you just want an extra gun in the fight.
Guns for Hire

Unlike the expendable, procedurally generated Fighters, Specialists are fully-fledged, permanent characters with distinct perks and abilities that can seriously up your firepower in Far Cry 5. To bring them onboard as Guns for Hire, you’re going to have to find them and win their favour by completing their personal side-missions, but don’t worry - they’re all enjoyable excursions, and easy to find thanks to the large icons representing them on your map.
There are six Guns for Hire and three Fangs for Hire in total, and once you’ve recruited them, they’ll remain in your roster forever. You won’t have to level Specialists up like you do with Fighters, but each has two character-specific perks and one character-specific weapon or gadget that caters to different combat situations. Below is a list of every Specialist (ordered by the Region you’ll find them in), how to unlock them, the weapons and perks they provide, and how you can most effectively use them in Far Cry 5.
- How to get Boomer the Dog in Far Cry 5
- How to get Cheeseburger the Bear in Far Cry 5
- How to get Peaches the Mountain Cat in Far Cry 5
Jacob's Region
Hurk Drubman Jr
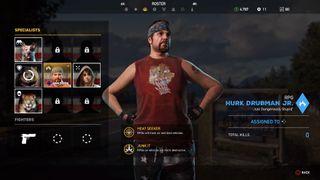
Location: Fort Drubman in the East side of Jacob’s Region
Mission: Talk to Hurk Drubman Sr to begin ‘The Prodigal Son’ quest, which will see you escorting Hurk Jr as he attempts to rescue his father’s campaign truck from Eden’s Gate.
Gun: Rocket launcher
Perks: Heat seeker (RPGs will track land and air vehicles), Junk It (RPGs on vehicles are more destructive)
Pros: Hurk’s perks make him ideal for the demolitionist player with a penchant for rocket launchers, especially when you’re contending with enemy choppers or planes.
Cons: Hurk’s a loud guy, making him absolutely hopeless for stealth, so sneaky players would be wise to keep him off duty until the combat gets heated.
Jess Black
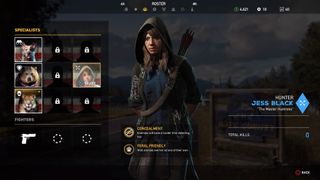
Location: The Baron Lumber Mill in the Eastern side of Jacob’s Region
Mission: Liberate the mill and speak to Jess to begin the quest, ‘A Dish Served Cold’. You’ll have to escort her on a revenge quest to kill a serial killer known as The Cook, taking out several cultists encampments along the way.
Gun: Bow
Perks Concealment (Enemies will have a harder time detecting her), Feral Friendly (Wild animals will see her as one of their own)
Pros: Jess is absolutely the best character for stealthy players, and her Feral Friendly perk makes her preferable for animal hunting too.
Cons: She’s not great for taking down vehicles or armoured enemies, and won’t be much help when the chaos starts to properly unfold.
Cheeseburger
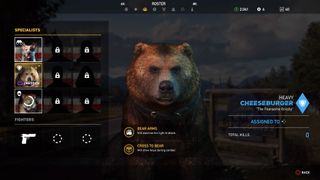
Location: The F.A.N.G Centre located in Jacob’s Region
Mission: Liberate the centre and speak to the freed NPC to begin ‘A Right to Bear Arms’ quest, which will see you fishing for salmon and bringing it to cheeseburger to win him over.
Perks: Bear Arms (Will exercise his right to attack), Cross to Bear (Will draw focus during combat)
Pros: An unstoppable force of nature in combat, Cheeseburger can instantly kill enemies and his high health makes him a perfect bullet sponge distraction.
Cons: He can sometimes get in the way during vehicular combat, and his large size makes him an easy target.
John's Region
Nick Rye
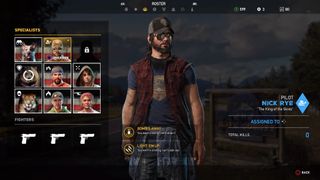
Location: Rye and Sons Aviation in the South of John’s Region
Mission: Speak to Nick to begin the quest ‘Wingman’. You’ll have to rescue his plane from a nearby outpost, before defending his home from waves of cultists.
Gear: The Kimberlite HP-18-160 plane
Perks: Bombs away (Want a bomb? He’ll drop it), Light ‘Em Up (You want a strafing run? Look out)
Pros: Nick’s air support works well for bombing large groups of enemies or making quick work of the enemy’s own forms of aircraft.
Cons: Unlike Adelaide and her chopper, Nick can’t actually pick you up in his plane, so don’t call him in if you’re looking for a ride.
Grace Armstrong
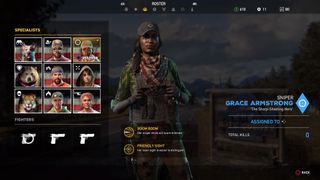
Location: The Lamb of God Church in the Western part of John’s Region
Mission: Talk to Grace in the church steeple to begin the quest ‘Grace Under Fire’. Help her defend the church and she’ll be available as a Gun for Hire.
Gun: Sniper
Perks: Boom boom (Her sniper shots will scare enemies), Friendly Sight (Her laser sight is easier to distinguish)
Pros: Grace’s lethal precision makes it easy to point to an enemy and have him instantly killed within seconds.
Cons: Her sniper doesn’t come with a silencer, meaning her capacity to be stealthy is non-existent.
Boomer

Location: Rae-Rae’s Pumpkin Farm, John’s region
Mission: The ‘Man’s Best Friend’ quest will begin as soon as you get there; free Boomer from the cultists to access him as a Fang for Hire.
Perks: Pointer (Will tag all enemies nearby), Retriever (Will sometimes fetch a weapon after an attack)
Pros: As the first Fang for Hire you’ll likely come across, Boomer’s designed to be an all-rounder, good for scouting, combat, and stealth.
Cons: He’s the weakest of the animal companions, so maybe send him home when the going gets tough.
Faith's Region
Adelaide Drubman
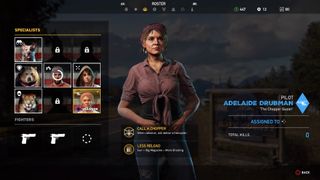
Location: Drubman Marina, at the very north point of Faith’s Region
Mission: Liberate the marina from Eden’s Gate and speak to Adelaide Drubman to begin the quest ‘Friendly Skies’. You’ll have to assassinate three helicopter pilots at three different locations before bringing Adelaide’s helicopter back to the Marina.
Gear: Helicopter
Perks: Call A Chopper (When called on, will deliver a helicopter), Less Reload (Gun + big magazine = more shooting)
Pros: If you’re looking to get somewhere, Adelaide’s a good call, and can even fly you to your waypoint if you’re too lazy to pilot her chopper yourself.
Cons: She’s better for transportation than combat, as her helicopter’s low health means it won’t be long before it goes down in blazes during large battles.
Sharky Boshaw
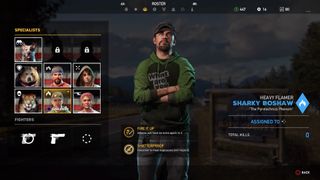
Location: Moonflower trailer park in the middle of Faith’s Region
Mission: Talk to Sharky to begin the quest ‘Burn. Baby. Burn!’, in which you’ll have to fend off waves of angels to the tune of Disco Inferno.
Gun: Flamethrower
Perks: Fire It Up (Attacks will have an extra spark to it), Shatter Proof (Resistant to most explosions and impacts)
Pros: Sharky’s best for crowd control, as his flamethrower can make quick work of any enemy type.
Cons: Anyone who’s played a Far Cry game before will know that fire will spread and get out of hand during combat, so Sharky may end up harming you more than the enemy.
Peaches
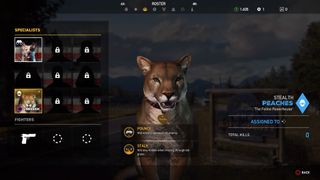
Location: Peaches Taxidermy in the northern part of Faith’s Region
Mission: Speak to Miss Mable to begin the quest ‘Here Kitty, Kitty’. You’ll have to find and lead Peaches back to her cage, killing a few cultists along the way.
Perks: Pounce (Will silently take down an enemy), Stalk (Will stay hidden when moving through tall grass)
Pros: Peaches’ perks make her the obvious choice for stealth playstyles, but she’s pretty competent in open combat too.
Cons: She’ll go down more often than Cheeseburger, since her health is much lower.
Become an American hero with up to date tips on everything in Far Cry 5 guide.
Sign up to the 12DOVE Newsletter
Weekly digests, tales from the communities you love, and more
I'm GamesRadar's Features Writer, which makes me responsible for gracing the internet with as many of my words as possible, including reviews, previews, interviews, and more. Lucky internet!
