Destiny 2 Xenophage: How to get Xenophage in Destiny 2
How to get Xenophage the Exotic machine gun in Destiny 2
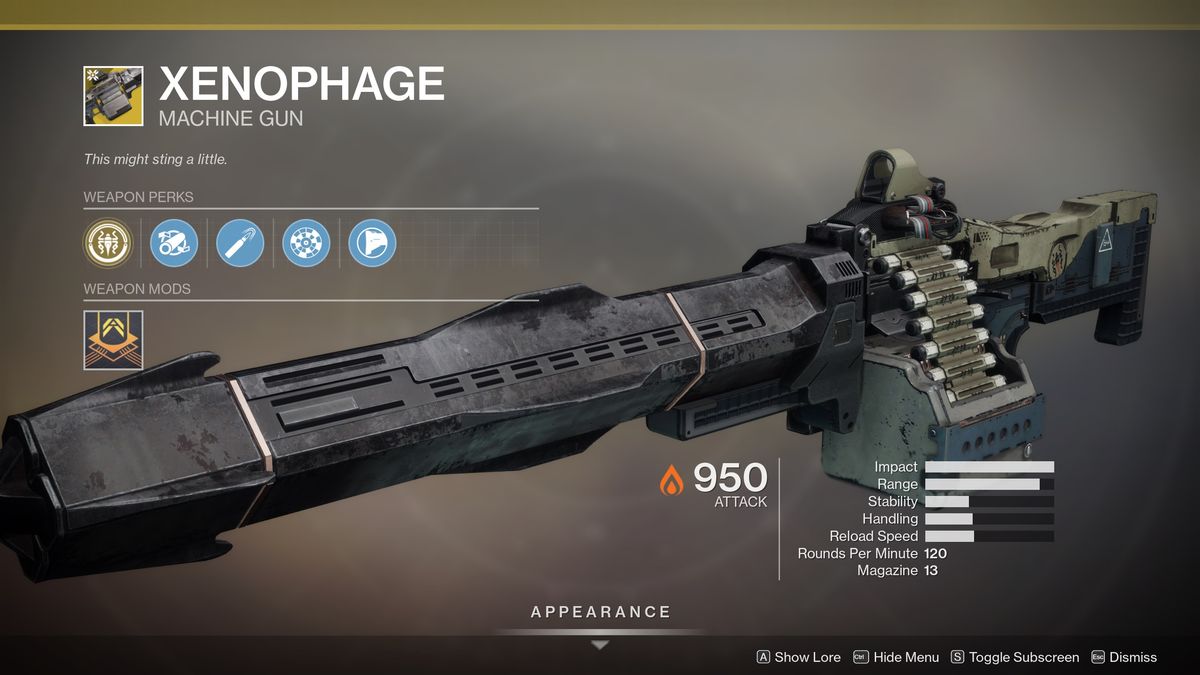
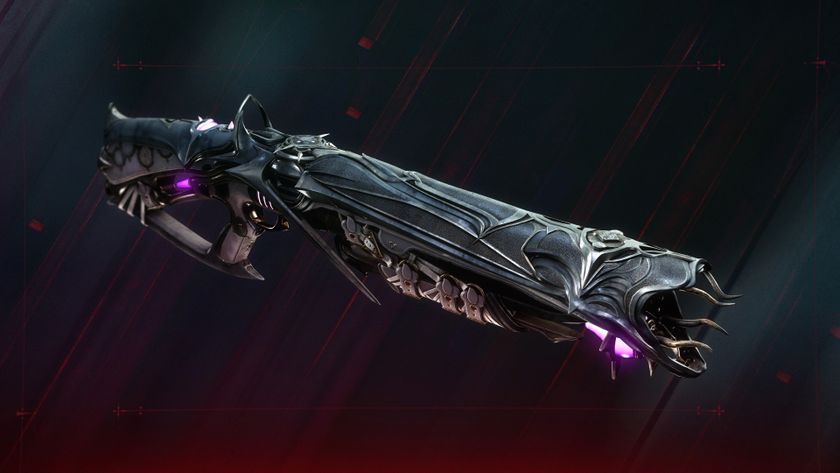
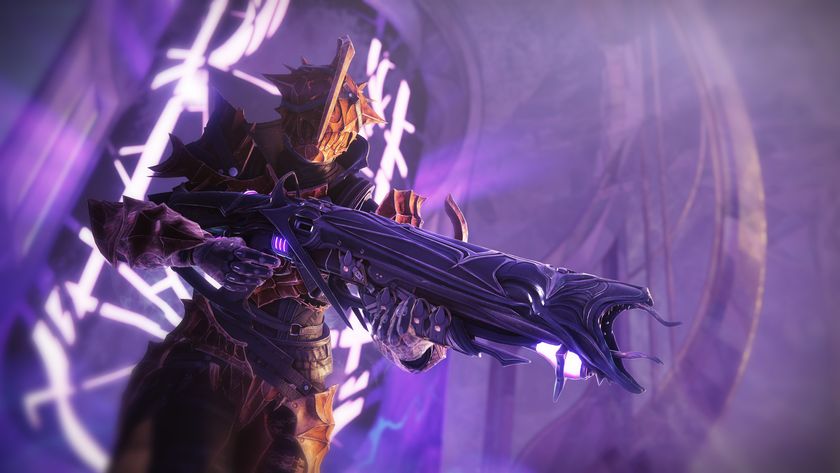
The Destiny 2 Xenophage Exotic Machine Gun is a punchy weapon that you get from a pretty substantial quest on the Moon. The weapon has continually proven itself as a versatile and reliable Destiny 2 DPS option thanks to its punchy explosive rounds that virtually can't miss and good ammo reserves – take it into a Raid or Nightfall and melt bosses and Champions with it. Along with the Thunderlord Exotic Machine Gun paired with its Destiny 2 Thunderlord catalyst, Xenophage is a top-tier Exotic that's easy to use.
It also has one of the best Exotic quests in the game, packed with puzzles and unique mechanics, but it's only available in the Destiny 2 Shadowkeep expansion. Everyone and their Ghost should own this thing, so here's how you can get your own Xenophage in Destiny 2.
How to start the Destiny 2 Xenophage quest

To start the quest for Xenophage, head to the Enduring Abyss area on the Moon and get ready to activate some statues. It's the area that sort of serves as Eris's base of operations near the Pyramid ship during the Shadowkeep campaign and it's where you meet her when completing her Memory quests.
You can get to this area by landing at Sorrow's Harbor and heading north into the Scarlet Keep. Take the left path at the green crystal junction, then follow this path until you see a small path on the right wall leading upward.
When you reach the main room, you'll find four statues along the walls - two on each side – that can be activated with the 'Emerge from the Dark' prompt. You need to activate these statues in order and withing the time limit for the Xenophage quest to begin. Oriented from the entrance to this room and looking out to the Pyramind, the order is close right, far left, far right, close left. Once all four statues are lit, a chest will spawn in the middle of the room. Loot it to claim The Journey, the first step in the Emergence Exotic quest.
1. Emerge from the dark

For the next step, you need to head to the Anchor of Light and collect a special flaming orb, using it to light six lanterns in a specific order. When you get to the Anchor of Light, hang a left toward the Fallen-infested site. The orb is in the stout building in the front. Pick it up, then go around looking for the following lanterns:
- The Destiny 2 dev behind Titan's game-changing Banner of War was also on its new Exotic shotgun Slayer's Fang: "I gotta live up to this, especially as my first gun"
- "If your cake is trash, nobody wants to eat it": At a tough time for Destiny 2, Bungie drops an Exotic mission promising vampire vibes, a cool shotgun, and a finale with bite


- Right next to where you picked up the orb.
- On top of a collapsed structure in the north of the area.
- In the small, yellow building next to the cliff east of where you picked up the orb.
- Within the central tower in the Moon base site where you picked up the orb.
- In the small, yellow building roughly opposite the building where lantern 3 was.
- On the roof of the round building in the middle of the Anchor of Light.
Once all six lanterns have been lit, you can dunk your orb in the small Hive spire near the site where you grabbed the orb and move on to the next Xenophage quest step.
2. Find the path fragments
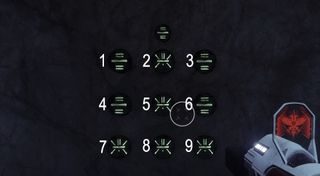
Now you need to complete all four Lost Sectors on the Moon and solve Hive rune puzzles at the end of each one. Because the puzzles are in the exit paths for the Lost Sectors, you must clear out the Lost Sectors to access them.
These puzzles are 3x3 grids of Hive runes where the goal is to make every rune in the grid show the same symbol as the one indicated above the grid. When you shoot a rune on the grid, it'll change what's shown on a particular set of runes, so you need to shoot the right combination of runes to change them all to be the same. Once you've done this, a chest containing a path fragment will spawn.
To keep things simple, we've coded our solutions like a keypad as seen above. Here's how to complete the puzzles for each Lost Sector. Shoot the designated runes in the following order:
- K1 Logistics: 1 - 7 - 6 - 5
- K1 Revelation: 6 - 4 - 5 - 5 - 4 - 8 - 5 - 2
- K1 Crew Quarters: 3 - 4 - 5 - 8 - 9 - 9 - 8 - 8
- K1 Communion: 7 - 9 - 2 - 2
3. Uncover the path in the Pit of Heresy Dungeon
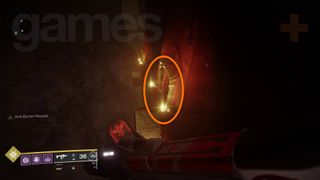
The next three steps take place in the Pit of Heresy Dungeon. Right after the first encounter in the Necropolis, you'll reach a wall full of dark doorways. Look for a doorway without a chained rune hanging over it on the upper-left side. Use the pillars along the back to scale the wall and jump over to the door, then activate the rune inside for the next step.
4. Locate the path's end
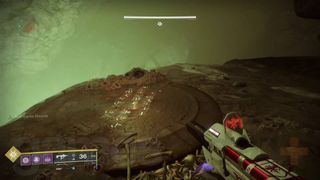
The rest of the Destiny 2 Xenophage quest takes place in the Hive Ogre labyrinth section of the Dungeon known as the Pit. When you first enter the room, note the left and right hallways. In short, you need to take the left hallway to collect the same type of orb that we used to light the lanterns earlier, then take it to the right hallway to light more lanterns. Here's what to do:
- Head down the left hallway and drop down to the ledge on the cliffside.
- Look for a small plate with some runes scrawled on it and activate it to summon a string of platforms nearby.

- Hop across the platform, grab the orb from the final platform, and then jump back the way you came.
- Return to the rightmost hallway with the orb.
- Hug the right wall until you reach a locked red door with two lanterns next to it. Avoid the Ogres as necessary too.
- Use your orb to light both lanterns, thus opening the door. Head inside and follow the linear path deeper to reach the final encounter.

5. Slay Volmar, the Tempted

Boss time! Volmar isn't a tough-as-nails boss, but coming prepared will help you get through the fight quickly and easily. This special Wizard boss combines all the quest mechanics we've used thus far. On top of managing enemies, you'll need to collect and deposit flaming orbs in specific locations to acquire buffs which let you damage the boss.
Before the boss, you'll come to a room with four elemental orbs. There will be one in each corner, with each orb marked by a Hive rune. The Void orb has an A-looking rune, the Arc orb has a V-looking rune, the Solar orb has a W-looking rune, and the Kinetic orb has an I-looking rune. This information is essential to the boss fight because it indicates where you need to deposit the flaming orbs based on the buff that you have.
Throughout the fight, you'll receive one of four buffs: Abyssal (Void), Thunderous (Arc), Fiery (Solar), or Neutral (Kinetic) Dread. When you have a Dread active, you'll need to collect an orb of flame from the center of the arena and deposit it in the corresponding corner of the room. Here's where to deposit orbs based on your Dread type (oriented to the arena's entrance):
- Abyssal Dread: top level, back-left corner
- Neutral Dread: top level, front-right corner
- Thunderous Dread: bottom level, front left corner
- Fiery Dread: bottom level, back right corner
When you deposit an orb in the correct spot, your Dread will turn into a Vengeance buff that lasts around 25 seconds. This buff allows you to damage the boss, but only using the damage type of your buff. So if you turn Abyssal Dread into Abyssal Vengeance, you'll be able to damage the boss using Void weapons and abilities. Keep this in mind when planning your loadout. Be sure to use different elements for your energy and heavy weapons, that way you can deal damage using multiple Vengeance types.
Repeat this orb-dunking process until the boss is dead. You'll receive a Hive bug which you must then bring to Eris in Sanctuary on the Moon. Congratulations! Xenophage is yours. Go shoot some dudes with your freaking anti-materiel rifle.
© 12DOVE. Not to be reproduced without permission.
Sign up to the 12DOVE Newsletter
Weekly digests, tales from the communities you love, and more

Austin has been a game journalist for 12 years, having freelanced for the likes of PC Gamer, Eurogamer, IGN, Sports Illustrated, and more while finishing his journalism degree. He's been with 12DOVE since 2019. They've yet to realize his position is a cover for his career-spanning Destiny column, and he's kept the ruse going with a lot of news and the occasional feature, all while playing as many roguelikes as possible.
- Will SawyerGuides Writer












Doom director claims The Dark Ages can be beaten without using a gun, but "the game's not necessarily built to do that"

Battlefield dev reveals more of his Bad Company 3 script and confirms the plot would revolve around the squad getting kicked out of the military and brought back for a final suicide mission
