Demon's Souls walkthrough and step-by-step guide to Boletaria
Our walkthrough will make getting through Demon’s Souls easier
Valley of Defilement 5-1 walkthrough - Depraved Chasm
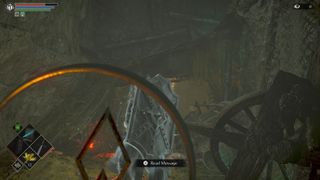
This section is probably the creepiest in the game, due to the black pit that surrounds you and the narrow platforms you walk upon to traverse it. The main piece of advice for this area is to be careful with locking onto enemies. Sometimes if you’re locked on, an enemy will move or fall off a platform, causing your camera to become disoriented - leading to a possible death.
Start by making your way up the planks to the top of the section above and then take the left path ahead. Then cross the gap in front of you and drop down to the platform below. You’ll be able to cross another plank to the left and you can create a little shortcut by pushing down a piece of wood right next to it.
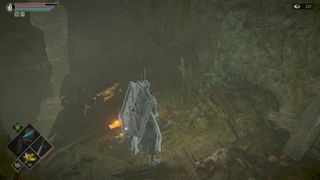
Cross the plank and make your way down where you’ll come to a bridge. Try not to fight the enemies while on the bridge, as it’s easy to get swarmed. Make your way across, and then keep going, down a ladder (or you can drop down). Again, keep going down and you’ll reach yet another bridge.
Go across the bridge and then take a right, where you’ll come to two Giant Ticks. When you take them out, stand back, as their mist can give you the plague. Head down the planks behind them and you’ll come to a small junction with rats. Take them all out quickly (or from afar) to avoid the plague. Then, cross the narrow plank that leads to a Giant Depraved One - a bigger version of the regular enemies you’ve seen thus far. Try not to fight him on the narrow platform.
Then, go into the area behind him, make your way up, and you’ll reach more Giant Ticks and a bridge. Take out the ticks, cross the bridge, and use the same tactic as before: Fight the enemies away from the bridge to give yourself more room. Finally, after you’ve crossed the bridge, head down a few planks to the area below, where you’ll reach the next boss.
Leechmonger boss
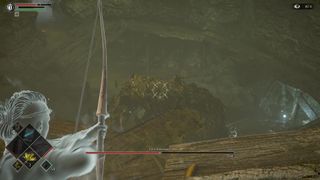
Fortunately, Leechmonger can easily be cheesed with a bow. The main thing to know is that you must stand close enough to the boss to get it to shoot its leech balls at you, but far enough away to avoid them.
Move forward across the planks on the left and then drop down to the next set of planks below you on the right. You’ll sort of slide down a wall and land on the corner. From here, the boss cannot attack you but it’ll still try. Stay here and fire arrows until it’s dead.
If you’re too far away, it won’t throw leeches at you - causing the boss to regenerate its health. Stay close and you’ll be able to take it out without even getting hit. Otherwise, the boss is weak to fire so use turpentine to enhance your melee attacks.
Leechmonger Archstone 5-2 - Swamp of Sorrow
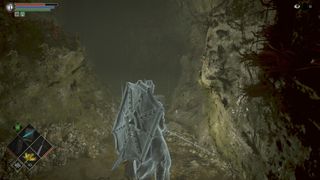
Make sure you bring plenty of Royal Lotuses with you for the Swamp of Sorrow, as the entire area is full of poison. Start by making your way down to the swampy area and once you’re at the bottom, run through the water towards your nine o’clock, while stopping at the little islands to pick up items. Along the way, you’ll find a Shard of Suckerstone, and the War Scythe.
Stick to the water on the left and continue wrapping around, clockwise. If done correctly, you’ll go past the Meat Cleaver Black Phantom. If you’re going to fight her, make sure you don’t do it in the water. Keep wrapping around, across the islands, and you’ll see the first fog gate ahead.
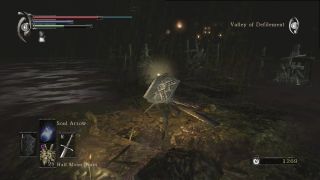
Cross it and then look to your right. You should see large flames in the distance, indicating your destination. Head this way while sticking to the left side. There will be some large slugs along the way with another fog gate ahead. Be careful of the poisonous Depraved Ones.
After the fog, you’ll come to the Filthy Woman NPC. Keep going along the narrow paths while carefully taking out enemies one at a time so you don’t get overwhelmed. Follow this section to the are above, and you’ll reach another plank that leads upward. At the top of this plank, wrap around to the left (opposite of the swamp), where you’ll reach the next boss.
Dirty Colossus boss
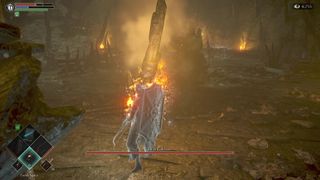
Guess what. You can cheese Dirty Colossus, as well. The tactic is to get behind one of the torches ahead and angle yourself so the boss’ ranged attacks don’t hit you. If you position yourself correctly, you’ll be able to shoot the boss with arrows, without taking damage yourself. Just make sure you adjust yourself as needed and if you do get hit, run into the fire to burn the flies off you.
Alternatively, you should know that Dirty Colossus is weak to fire, so again - use Pine Resin on a melee weapon and stick behind it to get some attacks in. Or spam it with fire spells. Back away when it does its AOE attack and keep striking with two-handed attacks.
Maiden Astraea boss
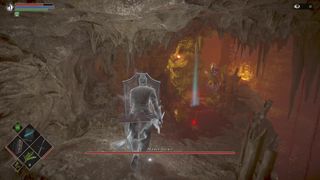
The next section begins with the final boss fight of this area against Maiden Astrea. It’s a trick boss because you don’t actually have to fight her. Instead, you can kill her bodyguard, Garl Vinland. As soon as you walk through the fog, head straight and to the left. This path leads to Garl Vinland and all you have to do is take him down.
He’s somewhat challenging, but the nice thing is that you can use a number of different strategies on him. We found backstabs to be the most useful as you can deal massive damage and then get additional attacks in before he even gets up. If you use the Thief’s Ring, he’ll basically stay in one spot with his shield up, so get behind him, backstab and then switch to two-handing your weapon to dish out a couple attacks before rolling away.
If you catch him off guard, you can continuously strike him and he’ll be stunned and unable to retaliate. After he’s dead, head down to the swamp below, using the path behind Vinland, which leads to the Maiden. Talk with her and she’ll die without you setting a finger on her. Then touch the Archstone beside her to return to the Nexus.
Jump to Section:
- Demon's Souls walkthrough: Tutorial
- Demon's Souls walkthrough: Boletarian Palace (part 1)
- Demon's Souls walkthrough: Stonefang Tunnel
- Demon's Souls walkthrough: Tower of Latria
- Demon's Souls walkthrough: Shrine of Storms
- Demon's Souls walkthrough: Valley of Defilement
- Demon's Souls walkthrough: Boletarian Palace (part 2) and End Game
Current page: Demon's Souls walkthrough Valley of Defilement 5-1
Prev Page Demon's Souls walkthrough Shrine of Storms 4-1 Next Page Demon's Souls walkthrough final boss and End GameSign up to the 12DOVE Newsletter
Weekly digests, tales from the communities you love, and more
Joseph loves Nintendo and horror games. With the Nintendo Switch, he's ready to get spooky anytime, anywhere. He specializes in covering Call of Duty: Warzone and action RPGs like Dark Souls, so you can bet he's looking forward to Elden Ring, the brainchild of George RR Martin and Hidetaka Miyazaki. You can find Joseph's work at GamesRadar, Digital Trends, Inverse, and PLAY Magazine. When he's not writing about video games he can usually be found petting his cats and listening to some Progressive Metal. He thinks Meshuggah is tight.

