Deadlight Director's Cut Collectibles Guide
Act II: Hunters
Dream
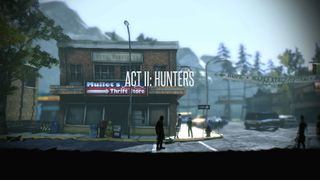
No Collectibles – Enjoy your dream!
Tunnel Rats

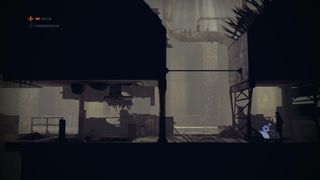
Diary Page – Pull out the crate required to climb the ladder early on in the stage. Duck down to the left past the crate in order to discover a diary page.
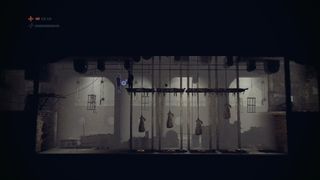
Secret 1 – ID of J. L. Dahmer – Enter The Rat’s sequence of four sandbag traps and get on top of them. Search the hanging corpse to the left in order to recover the ID of this murderer.
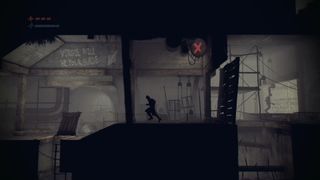
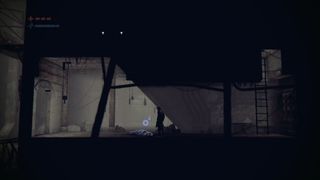
Secret 2 – Second poem page – After opening the trap door below “Virgil will be your guide”, drop down the ladder and head to the left to find a corpse on the floor with the this stage’s second secret.
The Collector
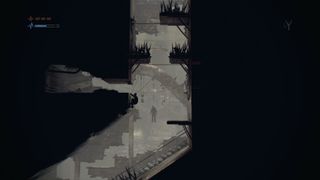
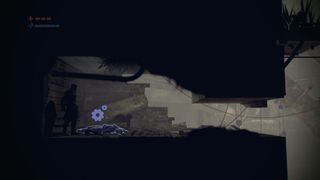
Secret 1 – Rat Necklace – After jumping over several spike traps while sliding down a slope, you’ll end up on a horizontal bar. Jump to the left while hanging from the lowest bar to discover a secret area with the Rat Necklace. The Shadow in this area cannot harm you.
The Den

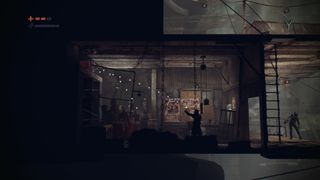
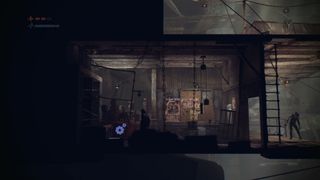
Secret 1 – Medal of Honor – Run through the breakable wall to the left and fire your slingshot at the red box found at the top left of the screen. Search the fallen box to claim the Congressional Medal of Honor.
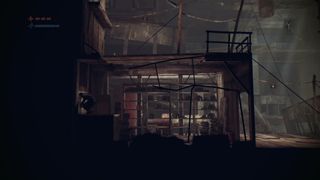
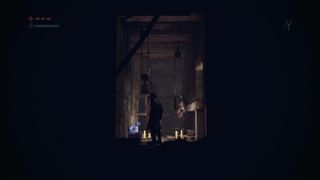
Secret 2 – Photograph of The Rat’s Son – In the room on the floor above with a first-aid kit, climb up to the left and crawl through the hole to reveal a tiny room. Search the left to discover a photo of The Rat’s son.
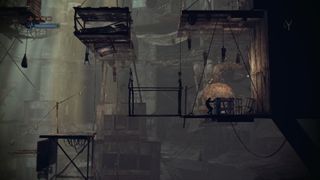

Secret 3 – Photograph of an armed young soldier – Find the crate to the right of the large lever-controlled platform. Pull the crate aside and search where it was to reveal this secret.


Secret 4 – Divine Comedy illustration – Once on the top area of this stage, make your way farthest to the left. Run through the breakable wall, and then jump through the window to the left to find a hidden area with the illustration.
Ascend
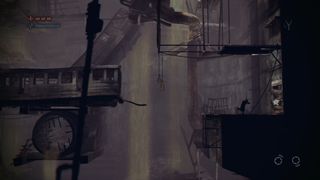
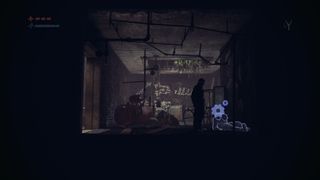
Secret 1 – ID of K. A. Bianchi – Jump off the suspended train car and jump from the plank near the right exit to land at an isolated area. Run through the breakable door to the right and loot the corpse within to find another ID.
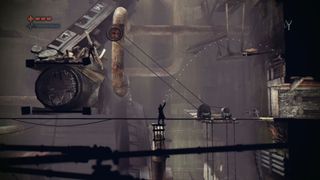
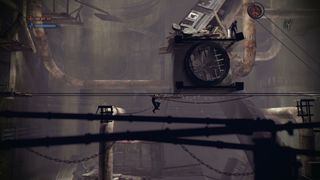
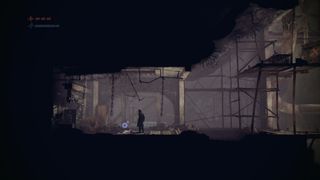
Health Increase – This one is tricky! Make your way up to the top of the moving platforms and shoot the wheel above on the left in order to dislodge a bar and summon a new platform. Then, fire an upward shot with an angle so that it lands down on the red X to the right. The platform will then move to the left, and you’ll have to hang on the ledge and pull yourself up in order to avoid obstacles. After making the trek all the way to the left on the platform, you’ll find a permanent boost to your health bar, alongside the completion of the What You Need Achievement/Trophy.
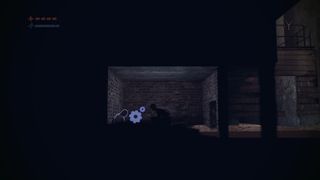
Secret 2 – Another page ripped from the poem – In the room with adjustable water, keep the water level on the ground and crawl into the bottom-left of the screen in order to find a secret area. Loot the corpse within to discover another poem page.
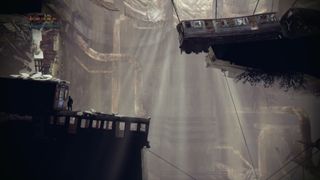

Secret 3 – Survivor’s last diary entry – Climb up the destroyed train cars toward the end of the stage until you reach a horizontal car with a door you can open. Head to the centre of the train car to find the last entry written by a desperate survivor.
Tree House

Secret 1 – Rosary – Make your way to the right of the stage until you emerge into the top floor of a house. Right after entering you’ll discover a hanging corpse. Loot it to find the Rosary secret item.
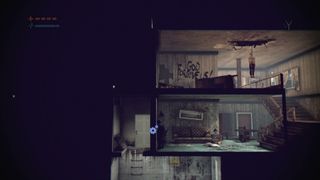
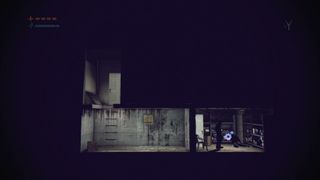
Stamina Increase – In this same house, enter the room at the bottom-left of the bottom floor in order to discover a basement. Enter the basement door to the right in order to receive a permanent stamina boost. You’ll be using that boost right away, too - there’s a Shadow waiting for you right after you grab the item.
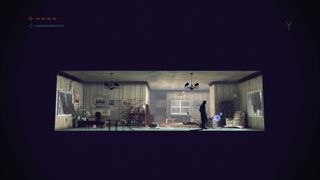
Secret 2 – West Seattle Herald cutting – Follow the suspended telephone pole to the right in order to avoid a large group of Shadows. At the end of the pole, drop to the right and climb up to enter an open window. Search the right side of the hallway you enter in order to find a new secret.
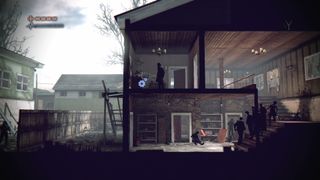
Secret 3 – I.D. of Robert C. Bundy – After the second telephone cable that you climb on snaps, run into the home to the right. Scale the home to the top floor and search the left room for a new ID.
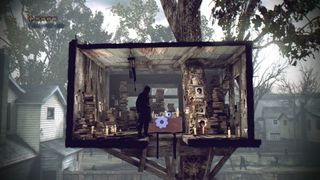
Secret 4 – Photo of a sick woman – Search the table in the tree house immediately after Randall begins having a hallucination.

Diary Page – Exit the tree house by jumping to the right and sliding off a roof. On the floor to the right of the building you slid off, you’ll find the diary page in a garbage can.
The Big Bird
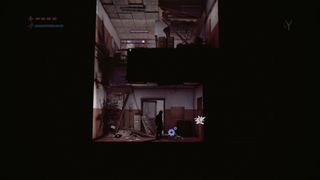
Secret 1 – ID of E. Theodore Gein – When you first get back inside and drop down several floors, search the body before the breakable door for a new ID of the famous body snatcher.
Lydia
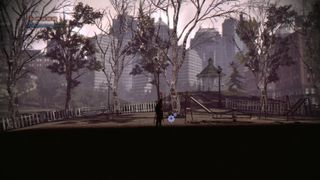
Secret 1 – Half-heart pendant – Interact with the swing in the park, after having a flashback about Lydia.
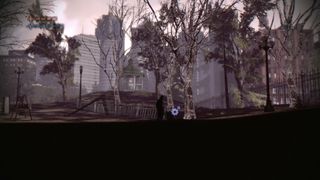
Diary Page – Check the bin to the right hand side of the park.
Human Flow
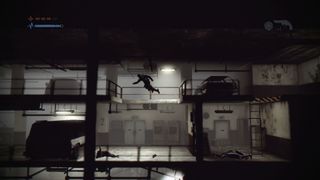
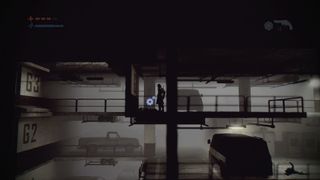
Secret 1 – Tape of children’s stories – Climb over the car that falls and the van next to it. Prepare to deal with the two Shadows that emerge from the white door to the right, as well as the new Shadow that arrives from the left. Climb up the ladder, then go left and jump from railing to railing to reach the area on the left where the tape can be found.
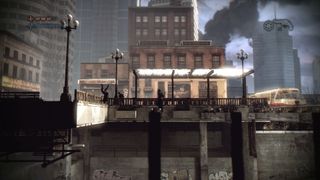
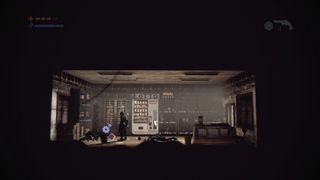
Secret 2 – ID of A. H. Fish – When you reach the bus at the top of the ramp out of the car park, carefully jump across the steel girders to the left. Wait at the last girder until the Shadows watching you from the ledge fall over it. Head to the left and kill the single Shadow in the room, then run into the cabinet on the left to knock down the box carrying the ID.
Playoff
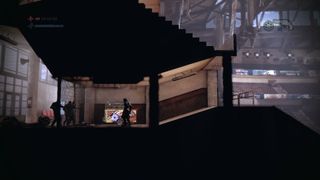
Diary Page – As soon as you drop inside the stadium, enter the tunnel to your left. You’ll find the diary entry in a hotdog stand.
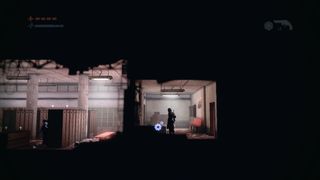
Secret 1 – Military protocol report – Continue dashing through the locker rooms while avoiding Shadows. Once you’ve finally cleared the last set of lockers, you’ll find the report in the small room before the door all the way to the right.
Note: Make sure you collect the next items before rescuing Ben.
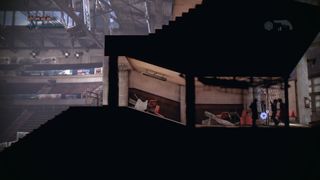
Secret 2 – Pilot’s letter – When you emerge into the stadium, go up the stairs to the right and venture into the middle tunnel. You’ll find the secret on a hanging corpse next to a pair of Shadows banging on a fence to get in.
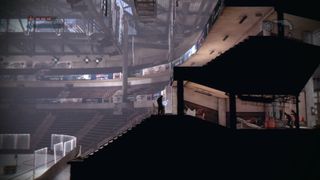
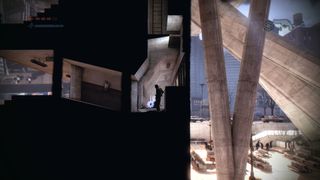
Stamina Increase – Now move the shelves so you can climb up to the higher path, then follow the corridor right before checking on the floor at the end.
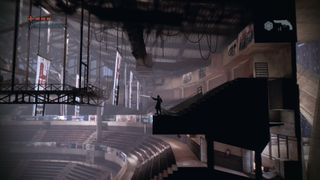
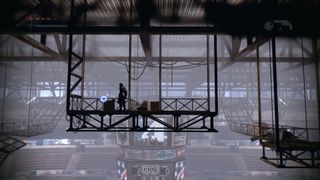
Handheld – No Pain, No Gain – Note: You need at least one bullet to obtain this item! Climb the highest portion of the right hand side of the stadium, and look across to the left. Use your revolver to fire at the lock and allow the ladder to drop down. Jump to the ladder and climb up, then sprint over the loose beams and jump as far left as the rafters above allow in order to locate the second handheld minigame.
Emergencies
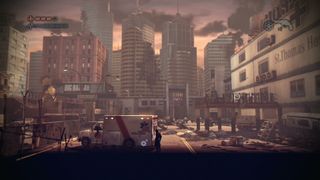
Secret 1 – New Flu brochure – Break through the fence at the beginning stage and loot the back of the ambulance to grab the brochure early in the level.
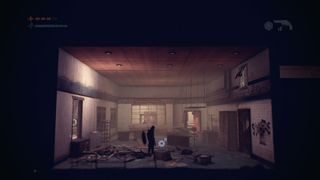
Diary Page – Jump up into the window to the right of the ambulance and climb in. You’ll spot the diary page in the middle of the room.
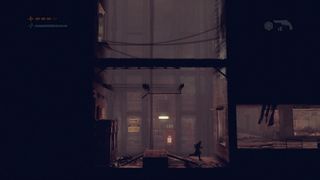
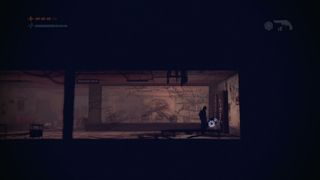
Health Increase – Drop to the bottom of the area with the long bar ladder on the right (you can afford to lose a bar of health here – you’ll gain it all back once finding the increase item). Walk into the right hand area to experience a hallucination of Randall’s daughter. Once the vision ends, search the right side of the room to increase your health by an additional bar.
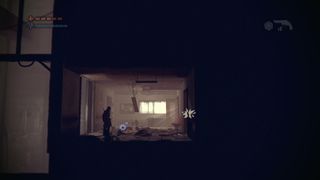
Secret 2 – Absurd letter – Climb up the long bar ladder to the right of the large pit. Immediately after you reach the top, you’ll find the letter on the ground.
Secret 3 – Doctor’s Recordings – Sprint to the right of the area after the ladder and immediately barricade yourself with a shelf once you’ve reached the room farthest to the right. To right of this room you’ll find more recordings from the crazy doctor.
Medicine Man
Secret 1 – Science and Medicine clipping – You’ll find this clipping on the floor in the area where you begin. You can deal with the Shadow in the room first if you like, but you should have enough time to grab the secret before it attacks.
Secret 2 – ID of Karla L. Homolka – After obtaining the medical supplies from the lower right area of the hospital, climb across the pipe toward the room on the top left. Open the door and enter the room to find this ID on the corpse in the bed.
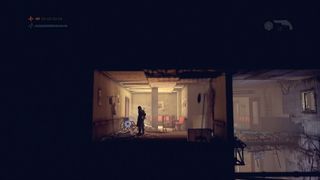
Secret 3 – Doctor’s Watch – Before dropping down below in the area after the hospital beds, climb up to the left and kick through the small area at the top left of the screen. Jump across to another low area to find the watch of the crazy Doctor by his corpse.
Sign up to the 12DOVE Newsletter
Weekly digests, tales from the communities you love, and more

Iain originally joined Future in 2012 to write guides for CVG, PSM3, and Xbox World, before moving on to join GamesRadar in 2013 as Guides Editor. His words have also appeared in OPM, OXM, PC Gamer, GamesMaster, and SFX. He is better known to many as ‘Mr Trophy’, due to his slightly unhealthy obsession with amassing intangible PlayStation silverware, and he now has over 600 Platinum pots weighing down the shelves of his virtual award cabinet. He does not care for Xbox Achievements.