Deadlight Director's Cut Collectibles Guide
Act I: Welcome to Seattle
Left Behind

Secret 1 – Automatically added to your collection at the start of the game.

Secret 2 – Karla’s Hair Lock – Also available almost immediately after you start the game. Walk over Karla’s dead body on the first screen and interact to obtain a lock of her hair.
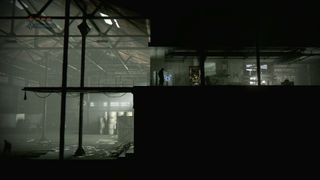
Diary Page – At the right side of the raised area above the Shadows on the planks, you’ll find a locker right outside the door. Search the locker to obtain the first missing diary page.
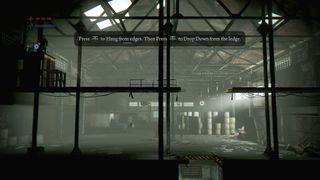
Secret 3 – ID of R. T. Chase – On the left side of the same raised area you found the diary page, there is a block you can push and pull. Move past it and climb up on the left to reveal a corpse. Search the corpse to recover the first of a long list of famous serial killer ID tags.
The End of the Tunnel
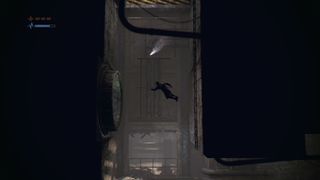
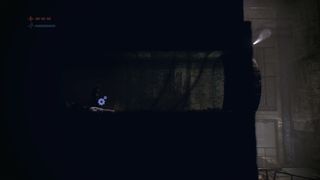
Handheld – Raven Thunder’s Rock Legend – When sliding down the first downward ladder in the game, stop before you hit the bottom and jump toward the large sewer entrance on the left. Search the corpse here in order to find the first of three old school electronic handheld minigames.
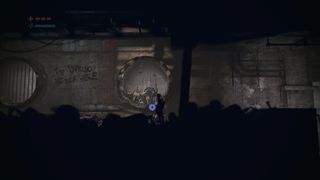
Secret 1 – Page torn from a book – Visible on a corpse lying in spikes while walking through the sewers’ natural path. Here you’ll find a clip of a fairly depressing poem.
Welcome to Seattle
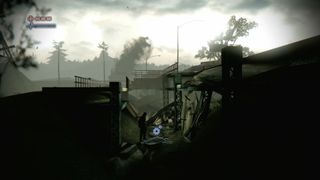
Secret 1 – ID of Arthur L. Allen – Follow the stage’s trail to the right until you find a gap to jump over. Instead of making the jump, drop down into the ditch below in order to find a corpse with an ID on it, a major suspect in the Zodiac Killer case.

Secret 2 – “Quarantine” government pamphlet – Continue following the trail to the right until you reach a climbable fence and a broken down telephone pole. Search in the wreckage of the telephone pole to find this secret.
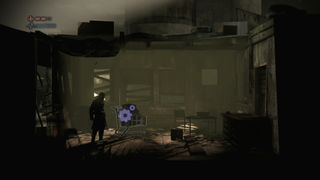
Secret 3 – Cutting of ‘The Seattle Reporter’ – Run past the area with the Shadow under the floorboards, and continue to the right in order to discover a small room. Search the shopping cart in this room to uncover the newspaper clipping.
Outskirts
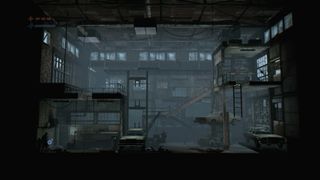
Secret 1 – Air Freshener – Find the garage with three cars in it. Take out the Shadows on the ground with your axe (or crush them with the raised car on the left side of the screen), and locate this collectible in the bottom-left hand corner of the screen.
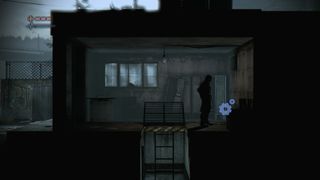
Diary Page – Once you’ve escaped outside into the rain, follow the path right into the first building you can find. You’ll locate the diary page in a locker to the right of this room, right above the ladder.

Secret 2 – Hundred Dollar Bill – Find the area under the bridge with a lower barbed wire fence ahead to jump over. Before you make the leap, drop below to find this now worthless piece of currency.
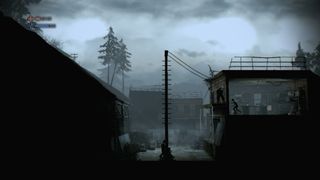
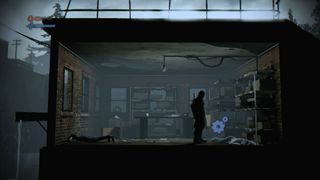
Secret 3 – ID of J. W. Gacy – After sliding down the angled roof, jump to the ladder pole in the middle of the screen. Jump again from the peak of the pole to the right, and you’ll emerge through an open window into a cramped room with a single Shadow. Defeat the Shadow with your axe and claim the ID of the killer clown for yourself.

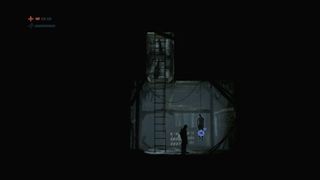
Stamina Increase – On the other side of the building, drop down and drag the crate to the left then climb down the ladder that is revealed. Examine the hanging corpse to collect a permanent stamina boost.
A Chance Meeting
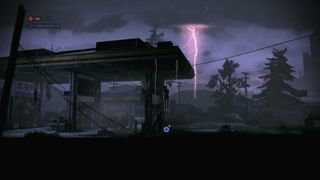
Secret 1 – Blue Handkerchief – Shortly after this stage begins, walk to the right to locate a hanging corpse. Search it to find your first artifact from “The New Law”.

Secret 2 – ID of A. C. Wuornos – Drop down into the two-story building and find the corpse in the bottom right room. Fighting off the Shadows on the bottom floor can be challenging, but as long as you complete the stage after grabbing the item (even if you die), it’ll still count toward your final total.
Checkpoint Charlie
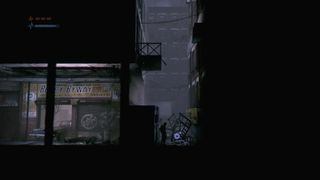
Secret 1 – Map to the Safe Point – At the alley where the game introduces controls for performing a Wall Rebound, drop below into the alleyway to find this handwritten map.
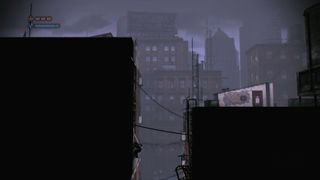
Secret 2 – Page from medicine book – After making a large leap from rooftop to rooftop, climb down the ladder on the left side of the roof and jump to the left. You’ll enter through an open window into a small room. At the left of this room is a filing cabinet, where you’ll find the papers.
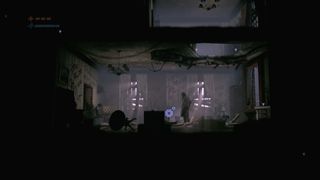
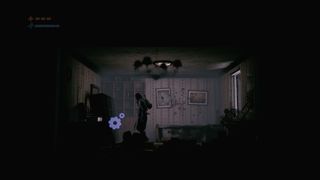
Secret 3 – Music Box – Once you’ve entered the room with the music box playing, drop below and search the middle of the room near the television. Around here you’ll find the source of the music, and add another secret to your collection.

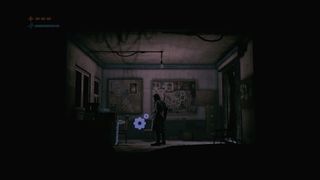
Diary Page – Jump from the balcony outside to the fence across the street and climb over. Walk to the other side of the building and climb down. Ignore the electricity to the right, and instead walk through to the left in order to find a room with this level’s diary page inside.
Broken Homes
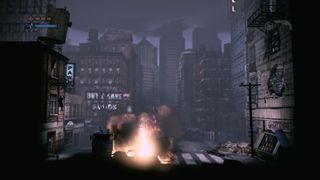
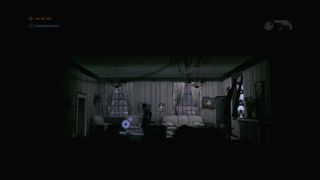
Secret 1 – ID of O. Elwood Toole – Jump onto the dumpster next to the pillar of flame, and jump to the left to find a ladder. Climb up and enter the building. Inside of the first room of this building you’ll find a corpse with this ID.
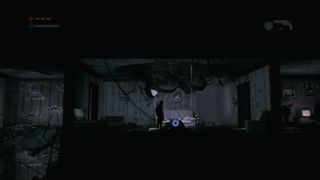
Secret 2 – Complaint to Seattle Police – Begin climbing up inside the tattered rooms of the building opposite where you found the last secret. Make your way to a room toward the upper middle of the building where you’ll find a sofa. Claim the secret from within this sofa.
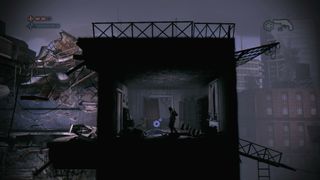
Secret 3 – Testament Letter – After using the Shadows to drop the flimsy board at the roof of the building, climb your way through the centre of the damage you created. In the upper right room of the building you’ll discover the Testament Letter.
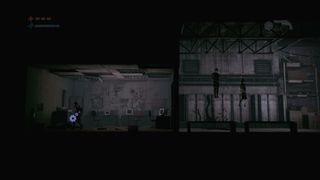
Secret 4 – Postcard – After clearing the area with electrically charged floors, climb up the ladder and run as far left as you can. Take out the two Shadows here, then search the left side of the room in order to find the last secret of the stage.
Lou’s Pawnshop
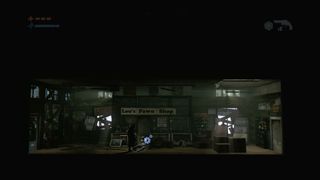
Secret 1 – Sam’s Badge – Immediately after the stage begins, search Sam’s body to grab his badge as a secret.
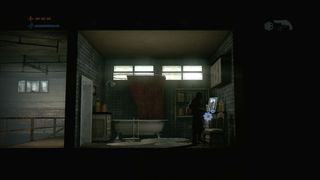
Secret 2 – Combination – In the bathroom at the far end of the building, examine the family photo to discover the combination.
Sign up to the 12DOVE Newsletter
Weekly digests, tales from the communities you love, and more

Iain originally joined Future in 2012 to write guides for CVG, PSM3, and Xbox World, before moving on to join GamesRadar in 2013 as Guides Editor. His words have also appeared in OPM, OXM, PC Gamer, GamesMaster, and SFX. He is better known to many as ‘Mr Trophy’, due to his slightly unhealthy obsession with amassing intangible PlayStation silverware, and he now has over 600 Platinum pots weighing down the shelves of his virtual award cabinet. He does not care for Xbox Achievements.