Darksiders II: Book of the Dead Pages, Stones, Gnomes and collectibles guide
Maps and more to help you locate every Boatman Coin, Book of the Dead Page, Stone, Relic, Scroll, and Gnome
The Eternal Throne
Boatman Coin #52
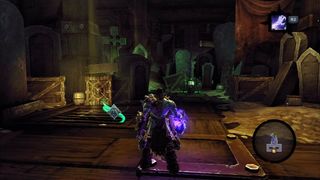
(Eternal Throne) Break the crates near the Serpent Tome in the basement to reveal a coin.
Stone of Resistance #2
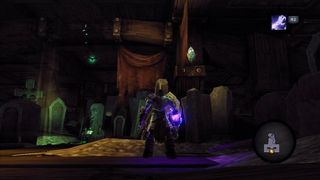
(Eternal Throne) This is just to the right of the Serpent Tome. It may be hidden from view by a red cloth.
Gilded Arena
Book of the Dead Page #14
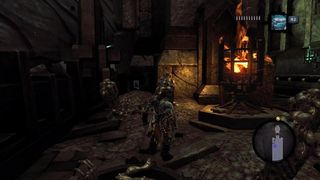
(Gilded Arena/Eternal Throne/Leviathan’s Gorge) Technically, this page is outside the Gilded Arena dungeon on the pier. Before entering the narrow passage containing the door to the Gilded Arena, check the left side among some skulls to find a page.
Stone of Mystics #17
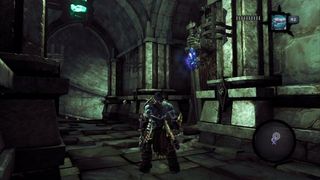
(Gilded Arena, 2nd fl) As soon as you officially enter the dungeon, simply look to your right.
Relic of Renagoth #1
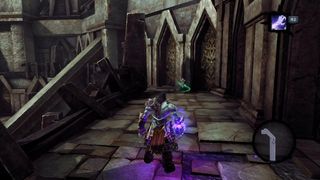
(Gilded Arena, 3rd fl) After the first cutscene in the main arena, head right and climb up to the second-level balcony. Turn right, then climb to the next level. Follow this 3rd floor balcony to north until you see a Deathgrip hook. Use it to reach a relic.
Stone of Mystics #18
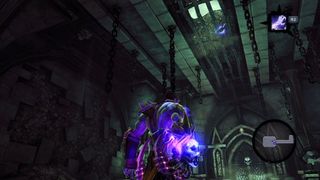
(Gilded Arena, B2) You’ll be ambushed by numerous skeletons in a rectangular room on level B2. Defeat them, then look up at the ceiling.
Boatman Coin #53
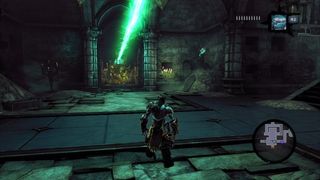
(Gilded Arena, B2) The second time you encounter a green lantern will be on level B2. The coin is just to the right of the beam when you enter the room.
Stone of Mystics #19
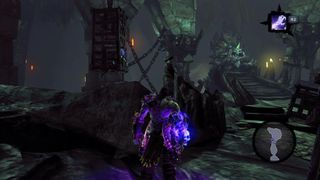
(Gilded Arena, B2) Continue heading north through level B2. Just before you reach the first Animus Stone (at the dead end), look for a Stone of Mystics attached to a hanging cage to your left.
Stone of Power #8
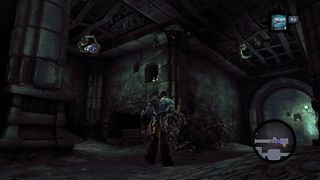
(Gilded Arena, B2) After claiming the first Animus Stone, you’ll need to head east through a narrow corridor on the same floor. Look for a nook on your left. The stone is hard to miss.
Soul Arbiter’s Scroll #3
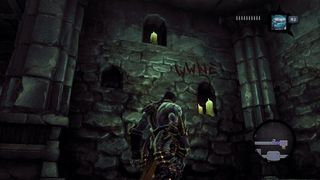
(Gilded Arena, B2) This is in the same nook as the Stone of Power mentioned above. Once again, this ‘scroll’ takes the form of red text on the wall.
Boatman Coin #54
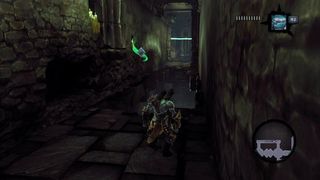
(Gilded Arena, 2nd fl) This is clearly visible in the northernmost hallway of the 2nd floor. You’ll need to use a nearby bomb to destroy the corruption crystals and clear a path.
Book of the Dead Page #15
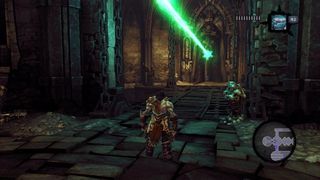
(Gilded Arena, 2nd fl) This page is in the westernmost room of the 2nd floor. Rotate the lantern in the adjacent room until its light points west, at which point a bridge will rise.
Soul Arbiter’s Scroll #4
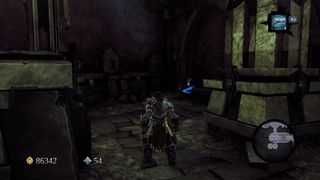
(Gilded Arena, 2nd fl) Just before entering the pair of circular rooms at the southwest end of the 2nd floor, turn to your right and check behind a pillar for this scroll.
Relic of Etu-Goth #3
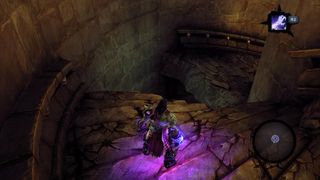
(Gilded Arena, B2) Once you finally gain access to the western spiral staircase of the 2nd floor, you’ll notice that some steps are missing. Simply drop through the first gap and you’ll land right next to this relic.
Boatman Coin #55
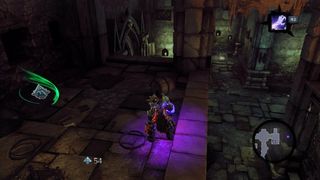
(Gilded Arena, B3) After grabbing the second Animus stone, head for the rectangular room in the northeast. Before using the Deathgrip to climb the wall in front of you, head to the right side of this room and look for a spot to climb up normally. Wallrun to the opposite ledge, then break the crates there to reveal a coin.
Relic of Etu-Goth #4
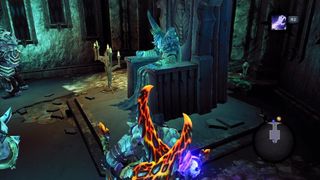
(Eternal Throne) After finally speaking to the Dead King, check behind his throne for a relic.
Relic of Renagoth #2
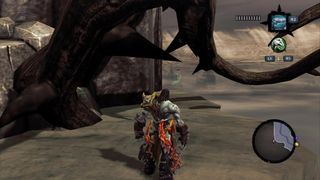
(Gilded Arena, outside) From the Eternal Throne, head into the Gilded Arena. Descend the spiral staircase all the way to the bottom and you’ll come upon a huge door that leads back out onto the overworld map. Check the southwest corner of this section.
Sign up to the 12DOVE Newsletter
Weekly digests, tales from the communities you love, and more

