Darksiders II: Book of the Dead Pages, Stones, Gnomes and collectibles guide
Maps and more to help you locate every Boatman Coin, Book of the Dead Page, Stone, Relic, Scroll, and Gnome
BACKTRACKING 2
After completing The Drenchfort and returning to Tri-Stone, speak to the Makers to receive the Maker’s Key. Speak to Alya once more to pick up a side quest (The Hammer’s Forge) involving the exploration of The Shattered Forge. Now that we have reason to, let’s quickly clear this dungeon and nab the two collectibles found there. You can also find a material for the “Shaman’s Craft” side quest by defeating an enemy in this dungeon.
Boatman Coin #26
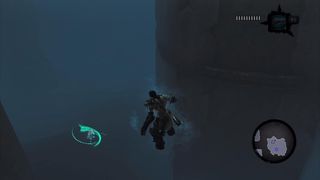
(The Shattered Forge, B1) As soon as you enter the forge, you’ll notice a chest on a raised platform surrounded by water. Dive under the water to find a coin floating nearby.
Book of the Dead Page #7
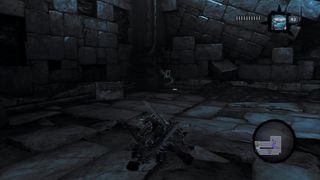
(The Shattered Forge, 2nd fl) In one of the easternmost rooms of this dungeon, you’ll view a short cutscene and be attacked by several enemies. In the northwest corner of this room are some vases. Break them to reveal a page.
END OF BACKTRACKING 2
The Nook
Boatman Coin #27
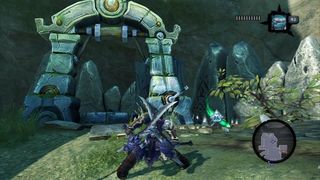
(The Nook, 1st fl) The Nook is the dungeon at the northeast of Baneswood that, if you’ve been following this walkthrough, you stepped foot in to grab a coin earlier. Coin #27 is inside a breakable vase in the large, open room pictured above.
Stone of Mystics #13
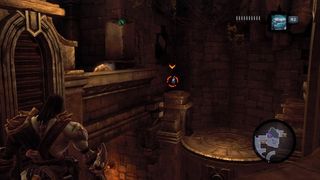
(The Nook, 1st fl) You’ll eventually find yourself in an elevator room. Look high on the northern wall of the first floor to see this stone. It’s just above where the first elevator stops.
Boatman Coin #28
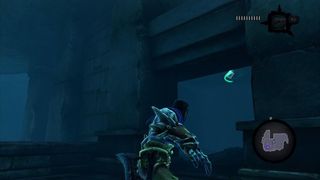
(The Nook, 1st fl) When you reach the room where the staircase descends into the water, dive in and follow the steps down. They’ll lead you to a small underwater room that contains a coin.
The Lost Temple
Boatman Coin #29
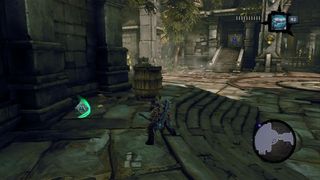
(The Lost Temple, 1st fl) After reviving the first custodian in this temple and using it to open a door, you’ll enter a much larger, open area. Look to your immediate left and smash the crate to reveal a coin.
Boatman Coin #30
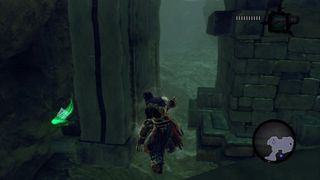
(The Lost Temple, 1st fl) In the room with the second custodian, go underwater and search the west side of the pool for a coin.
Stone of Mystics #14
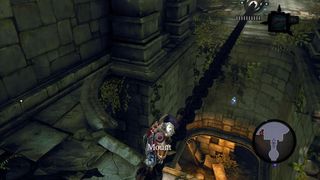
(The Lost Temple, 1st fl) After reanimating the second custodian and riding it back to the room with the skeleton lock, smash through the corruption crystals to the south and plant the custodian into the orb slot. You’ll notice that if you look down at gap, there’s a stone on the far wall.
Boatman Coin #31
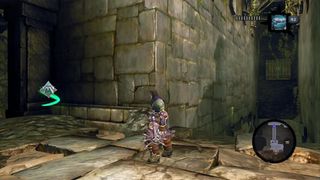
(The Lost Temple, 1st fl) You’ll eventually come upon a circular room and be attacked by a swarm of enemies. After clearing this room, proceed until you reach a hallway where you have to continually wall jump to reach the other end. Once back on solid ground, turn right to find a coin.
Boatman Coin #32
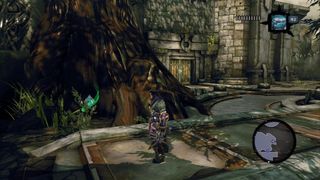
(The Lost Temple, 1st fl) When you reach the outdoor area, look for a large tree. Behind its massive trunk, on the east side of this area, you’ll find a coin.
Book of the Dead Page #8
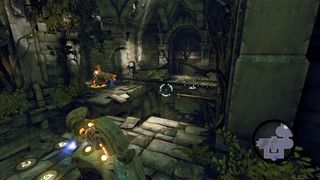
(The Lost Temple, 1st fl) You’ll encounter a custodian at the bottom of an elevator. Reanimate the custodian and leave it on the elevator. Climb the nearby wall up to the next level and look for another custodian. Bring this one back and plant it in the orb slot near the elevator. The first custodian will rise, and you’ll now have two at your disposal. Park one in the slot north of the elevator, then take the other through the newly opened passage. Configure the two as seen in the screenshot. Instead of crossing over the chain and continuing with the dungeon, walk along it to reach the page, which is now accessible.
Stone of Power #3
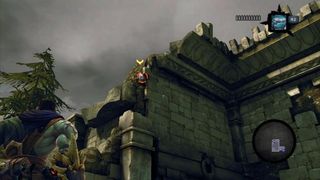
(The Lost Temple, 2nd fl) After defeating the two Savage Stalkers on the balcony, proceed north. In the next room, climb the wall up to the second level and look up at the corner in the screenshot to find a stone of power.
Book of the Dead Page #9
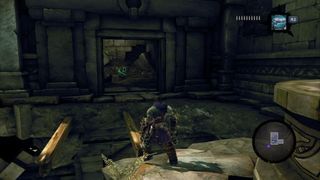
(The Lost Temple, 2nd fl) This is near the stone of power, in the small room off to the east side of the second floor.
Boatman Coin #33
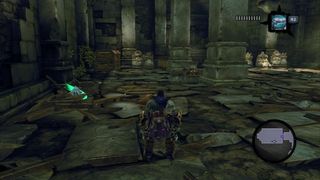
(The Lost Temple, 1st fl) Inside a breakable crate on the south side of the room where you fight the two Tainted Construct Champions.
Sign up to the 12DOVE Newsletter
Weekly digests, tales from the communities you love, and more


