Darksiders II: Book of the Dead Pages, Stones, Gnomes and collectibles guide
Maps and more to help you locate every Boatman Coin, Book of the Dead Page, Stone, Relic, Scroll, and Gnome
Shadow's Edge
Book of the Dead Page #36
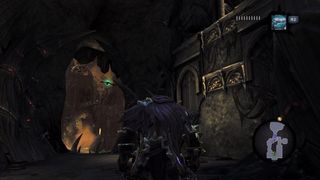
(Shadow’s Edge) Just before you emerge into the open air (and meet Ostegoth), look for some handholds to your right. They lead up to a pressure plate. Stand on the plate and face north.
Relic of Khagoth #4
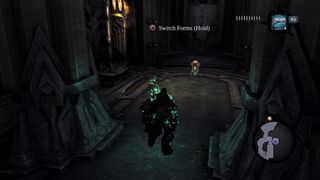
(Shadow’s Edge) Use Soul Splitter to keep weight on the pressure plate, then loop around to the south past the Serpent Tome. The door to the east will now be open, allowing you access to a relic.
The Black Stone
Boatman Coin #95
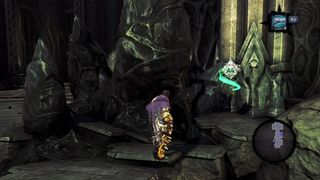
(The Black Stone, 1st fl, present) As soon as you enter The Black Stone, walk around the corruption to your left to find a coin.
Book of the Dead Page #37

(The Black Stone, 2nd fl, present) After speaking with Lilith, continue east. This page rests on the edge of the map.
Boatman Coin #96
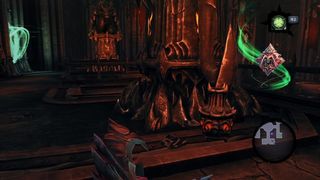
(The Black Stone, 1st fl, past) As soon as you enter the past, check behind the statue on the opposite side of the stairwell for a coin.
Boatman Coin #97
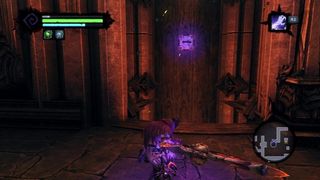
(The Black Stone, 2nd fl, past) This takes some doing. In the eastern part of the dungeon, you’ll come upon a pit with a Deathgrip hook on the far wall. Grab the hook, but drop down instead of climbing up. This takes you to a lower passage. You’ll see another Deathgrip hook at the end of this passage, but instead of using that one, check the narrow hallway for a different hook. Follow this up. Once you emerge on floor 2, turn to the west to find a coin.
Stone of Resistance #10
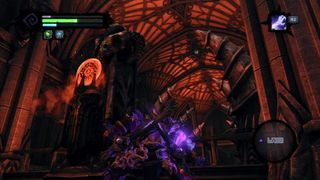
(The Black Stone, 2ndfl, past) From coin #97, walk east a bit then look at the southern section of the roof. You’ll spot a stone up there.
Book of the Dead Page #38
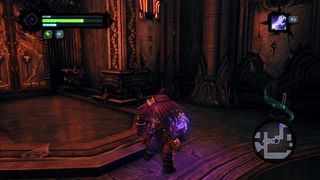
(The Black Stone, 1st fl, past) Backtrack to the second Deathgrip hook we mentioned under coin #97 and use it to reach the dungeon map. From there, return to the original pit, and use that hook to go up this time. At the top of your climb, look north to find a page.
Stone of Power #20
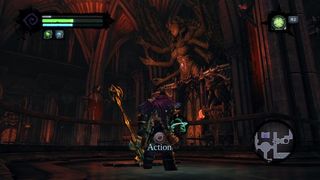
(The Black Stone, 1st fl, past) Just after page #38 you’ll come upon a lever. From the lever, look at the Shiva-like statue to the northwest. There’s a stone on its belly.
Soul Arbiters Scroll #18
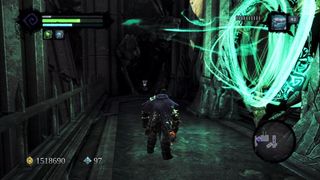
(The Black Stone, 1st fl, present) From the Stone of Power #20, you’ll see a portal. As soon as you pass through it, turn to your right to find a scroll.
Stone of Power #21
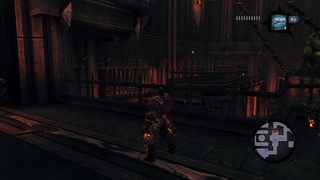
(The Black Stone, 1st fl, past) Soon after returning to the present, you’ll make your way across a crumbled passage along the southern edge of the 1st floor. If you turn around at that point, you’ll see a portal. Use this to go back to the past, then head northeast to the locked skeleton door. You can’t do much here, except face southwest and shoot the stone on the far wall. Return to the present.
Boatman Coin #98
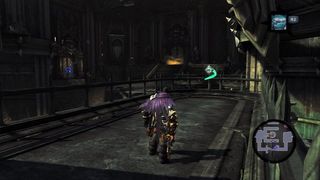
(The Black Stone, 1st fl, present) Take the high path south of the chest that’s blocked by corruption to find a coin.
Stone of Power #22
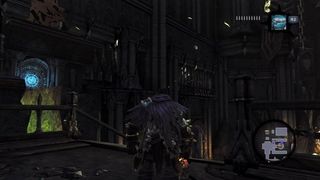
(The Black Stone, 1st fl, present) Take the north path and look north for a stone.
Sign up to the 12DOVE Newsletter
Weekly digests, tales from the communities you love, and more

Devs behind the legendarily horny Dead or Alive series take "strict action" against nearly 3,000 pieces of content made for "adult purposes" every year
First Dragon Ball: Sparking Zero DLC adds 11 characters from Akira Toriyama's final film, Dragon Ball Super: Super Hero, including 4 Gohans and 4 Piccolos