Darksiders II: Book of the Dead Pages, Stones, Gnomes and collectibles guide
Maps and more to help you locate every Boatman Coin, Book of the Dead Page, Stone, Relic, Scroll, and Gnome
Earth, Part 1
Stone of Mystics #28
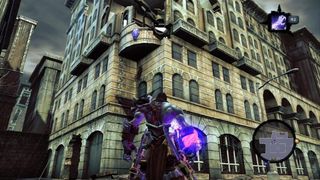
(Earth, 1st fl) After your conversation with Uriel, look at the southwestern corner of the building to the north of the square.
Boatman Coin #77
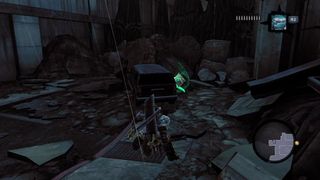
(Earth, 1st fl) Behind a car in the northwest corner of the first area.
Boatman Coin #78
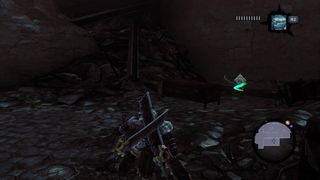
(Earth, 1st fl) Behind a desk in one of the southern buildings in the first area.
Soul Arbiter’s Scroll #15
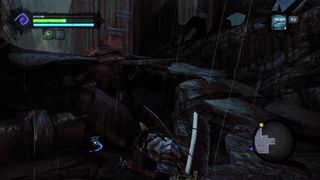
(Earth, 1st fl) From the first area, if you follow the road east, it ends in a pit. Check the pit for a scroll.
Trapped Hellguard #1
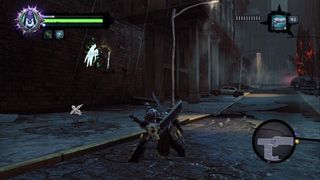
(Earth, 1st fl) As you continue northeast, you’ll notice this trapped hellguard chained to the wall. The point is to kill these soldiers for Uriel. Use ranged weapons here.
Book of the Dead Page #28
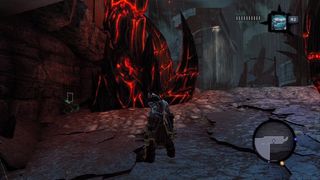
(Earth, 1st fl) In the northeastern corner of the map, the road will start to slope downward and into a tunnel. As you descend the street, check behind one of the red crystals to your right.
Trapped Hellguard #2
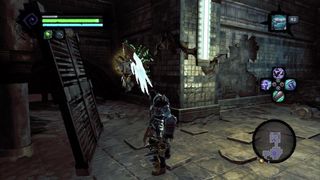
(Earth, B1) In the first room of level B1, check the southwest corner.
Trapped Hellguard #3
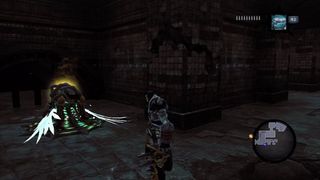
(Earth, B1) As you continue, make sure to check the southeasternmost corner.
Stone of Mystics #29
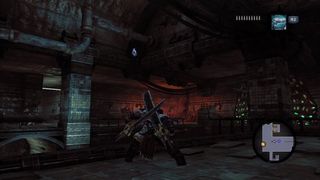
(Earth, B1) Check the upper southwestern corner of this long room for a stone.
Relic of Renagoth #7
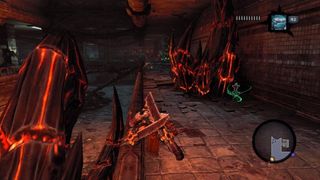
(Earth, B1) In the northwestern corner of B1, behind a red crystal.
Book of the Dead Page #29
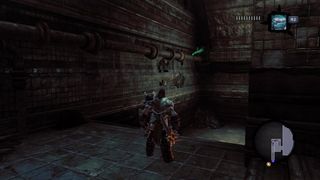
(Earth, B1) As you head up the stairs leading out of B1, check out the long pipe that runs along the wall. There’s a page on top of it. Use your Deathgrip to nab it.
Book of the Dead Page #30
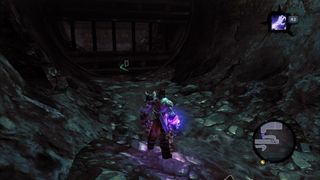
(Earth, 1st fl) After claiming the first rod piece and speaking to Uriel, you’ll head south through some winding tunnels. Make sure to check the easternmost point of these tunnels for a page.
Stone of Mystics #30
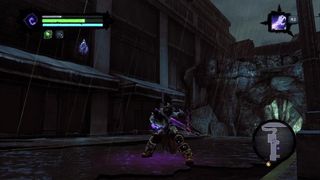
(Earth, 1st fl) Upon emerging from the tunnels, check the second floor of the building to your right.
Relic of Renagoth #8
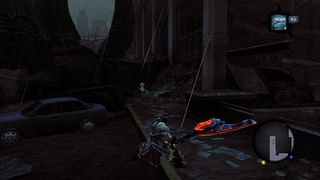
(Earth, 1st fl) Before heading south into the building, turn right and take the street north until it ends.
Trapped Hellguard #4
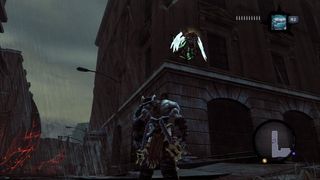
(Earth, 1st fl) As you head back towards the building, look up and to your right.
Book of the Dead Page #31
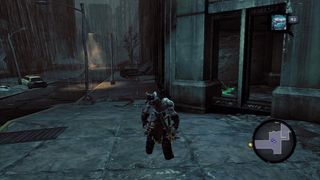
(Earth, 1st fl) After emerging from the building, continue forward and check the entranceway of the corner building to your right.
Trapped Hellguard #5
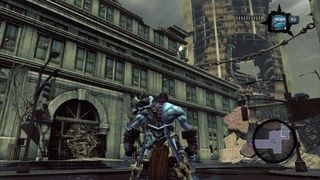
(Earth, 1st fl) Step out of the corner building and look to the southeast. High up on the building you see is a trapped hellguard.
Stone of Resistance #6
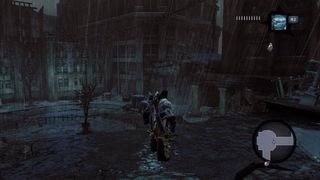
(Earth, 1st fl) Before you drop down from the broken road into the square, look to the building on your right and shoot the stone you see.
Boatman Coin #79
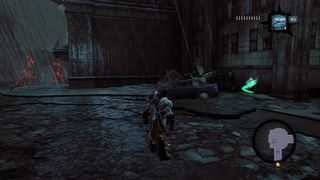
(Earth, 1st fl) After (or before) defeating The Noss, check the southwest corner of the square for a coin.
Stone of Power #16
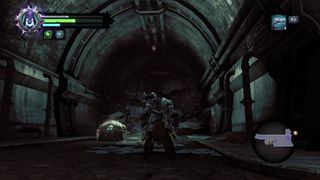
(Earth, 1st fl) After you come out of the curved tunnel, enter the shorter one to the south. Look above the chest to find a stone.
Trapped Hellguard #6
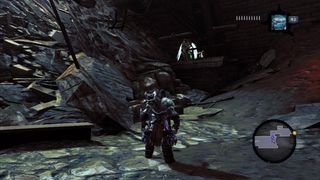
(Earth, 1st fl) Before heading north again, turn around and check the southeastern corner of the tunnel for a trapped hellguard.
Trapped Hellguard #7
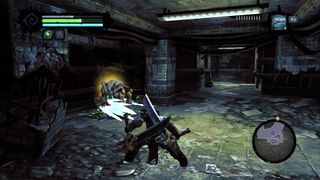
(Earth, 1st fl) As the tunnel curves to the north, check the room in the southeast for a trapped hellguard.
Sign up to the 12DOVE Newsletter
Weekly digests, tales from the communities you love, and more

