Darksiders II: Book of the Dead Pages, Stones, Gnomes and collectibles guide
Maps and more to help you locate every Boatman Coin, Book of the Dead Page, Stone, Relic, Scroll, and Gnome
City of the Dead
Book of the Dead Page #23
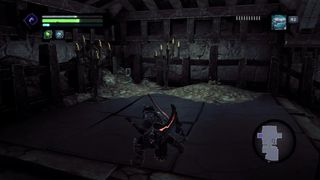
(City of the Dead, 1st fl) This page is clearly visible in the second room’s (entering from the south) southeast corner.
Relic of Renagoth #5
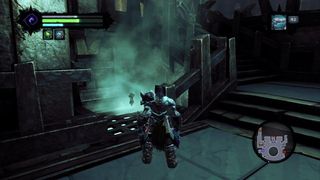
(City of the Dead, 1st fl) In the third room (the one with the pit), walk around to the northeast corner and down the stairs. The relic is on a steam grate.
Soul Arbiter’s Scroll #13
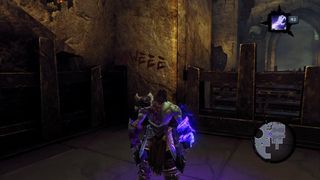
(City of the Dead, 1st fl) Pass through the skeleton door to arrive at a rotating bridge. Use the Soul Splitter on the bridge, then release the Deathgrip hook and handholds to climb over to the south edge of the room. Check the southwest corner for some writing on the wall.
Book of the Dead Page #24
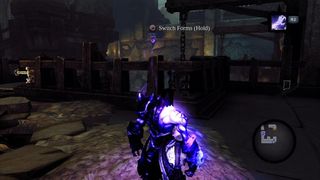
(City of the Dead, 2nd fl) Look for another handhold to the south, and from it, wall jump back and forth until you reach the next level up. Once there, check the balcony to the right of the lever for a page.
Boatman Coin #70
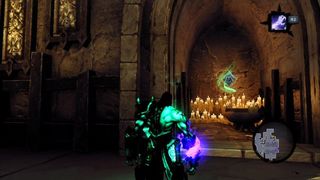
(City of the Dead, 1st fl) Rotate the bridge so that it runs north/south. Switch souls and check the nook in the northeast corner of the room for a coin.
Book of the Dead Page #25
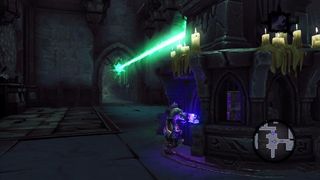
(City of the Dead, 1st fl) If you solved the rotating bridge puzzle, you should now be within Deathgrip range of a lantern from the room with the pit. Take the lantern all the way over to the statue in the western section. Put the lantern in place and rotate the statue so that it points south, which will open a door to a page.
Relic of Etu-Goth #10
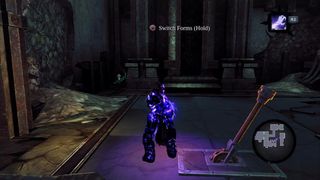
(City of the Dead, 2nd fl) After climbing up to floor 2, use the Soul Splitter and have one soul stand on the red wall lever and the other run over to the level sticking out of the ground. Not far from that lever, you’ll find a relic in the corner.
Stone of Power #14

(City of the Dead, 2nd fl) After rotating the crooked bridge, use one soul on the red wall lever and send the other soul south. On the wall next to the chest, you’ll find a stone.
Boatman Coin #71
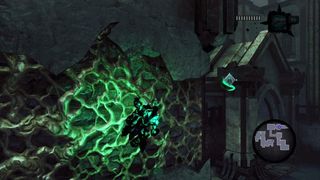
(City of the Dead, 2nd fl) As you make your way back to the bridge from the power stone, you’ll notice growth on the wall in front of you climb it until you see the a floating coin. Leap from the growth to claim your prize.
Stone of Resistance #5
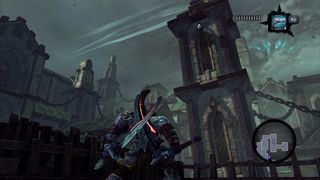
(City of the Dead, 3rd fl) As soon as you step into the open-air section of floor 3, look to your right for a leaning tower. The stone is stuck above the highest window.
Boatman Coin #72
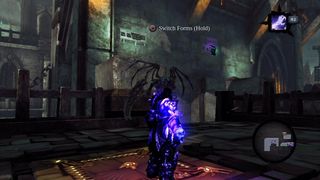
(City of the Dead, 4th fl) When you reach the first pressure plate of floor 4, use the Soul Splitter but do not put your stone form on the plate. Put your first soul form on the plate and move the second soul form onto the northern wall’s rotating handhold. Leave him there, then move the first soul off the plate. The second soul will rotate around to a hidden area. Smash the crates to find a coin.
GnoMAD Gnome #1

(City of the Dead, 4th fl) This is in the same area as coin #72. Check near the treasure chest.
Boatman Coin #73
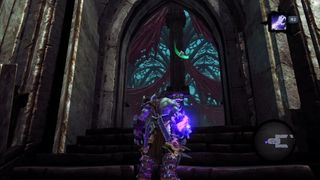
(City of the Dead, 5th fl) After nabbing the skeleton key, turn around and look up. There’s a coin floating near one of the Deathgrip hooks. Use your Deathgrip to grab it.
Book of the Dead Page #26

(City of the Dead, 4th fl) Just after passing through the skeleton door, smash to crates to your left to reveal a page.
Soul Arbiter’s Scroll #14
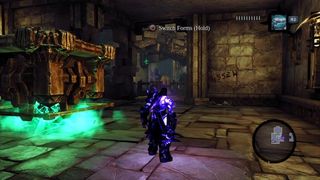
(City of the Dead, 4th fl) Once you gain access to room containing the movable floating platform, check the nearby wall for some writing.
Sign up to the 12DOVE Newsletter
Weekly digests, tales from the communities you love, and more

Devs behind the legendarily horny Dead or Alive series take "strict action" against nearly 3,000 pieces of content made for "adult purposes" every year
First Dragon Ball: Sparking Zero DLC adds 11 characters from Akira Toriyama's final film, Dragon Ball Super: Super Hero, including 4 Gohans and 4 Piccolos