Darksiders II: Book of the Dead Pages, Stones, Gnomes and collectibles guide
Maps and more to help you locate every Boatman Coin, Book of the Dead Page, Stone, Relic, Scroll, and Gnome
Psychameron
Relic of Renagoth #4
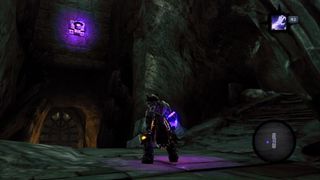
(Psychameron, 1st fl) After obtaining the skeleton key, you’ll have to climb up a tall column to return to where you were. Once you jump off this column, look up to find a Deathgrip hook. Use it to reach a relic.
Stone of Mystics #23
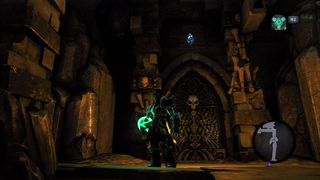
(Psychameron, 1st fl) Once you finally exit the maze to the south, turn around and look above the door.
Relic of Etu-Goth #9
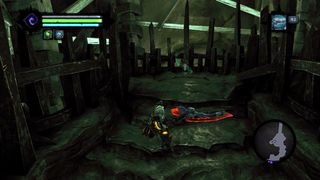
(Psychameron, 1st fl) From the Stone of Mystics, continue south across the bridge. When it ends, look to the west to find a relic.
BACKTRACKING 4
The Lord of Bones will grant you the Soul Splitter power, which will allow you to nab some collectibles that you previously couldn’t. It’s time to revisit some old hot spots. Remember, if you want to do this later, then just skip past this section.
Book of the Dead Page #22
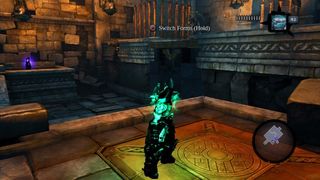
(The Fjord, northeast structure) Stand on the central platform (which is an elevator) and activate the Soul Splitter. Use your two ghostly forms to step on the pressure plates and raise your stone form. Once that’s done, cancel the Soul Split and jump off the elevator onto the higher level. Split your soul once more and activate the two pressure plates up here to gain access to the page. Note that you’ll have to climb the wall to get over the spikes and step on the northern switch.
Stone of Resistance #4
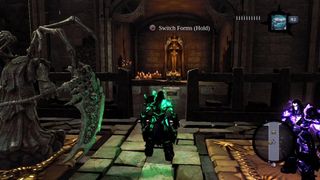
(Leviathan’s Gorge, under the bridge) There’s a spot east of the south end of the bridge where you can climb a wall and take a path down to below Leviathan’s Gorge’s bridge. Shoot the bomb in the distance to destroy the corruption crystals, then use the Deathgrip to make your way over to the pressure plates. Use Soul Splitter on the plates, then shoot the bomb that reveals itself. This clears away the corruption crystals, allowing you access a chest. Once next to it, look up in the corner to find this stone.
En route to Boneriven: Boneriven is a dungeon within Sentinel’s Gaze. Enter Sentinel’s Gaze and stand near the yellow bomb. Use the Soul Splitter and have one soul use the handholds on the south side of the central structure to climb up. Switch souls, toss the bomb to your other soul, switch back, and use the bomb on the corruption crystals. You can now ascend, but don’t recombine yet; there are more corruption crystals up top.
Stone of Power #13
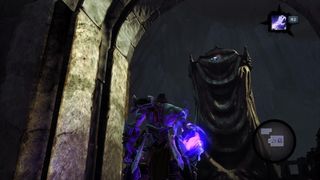
(Sentinel’s Gaze, 1st fl) After you’ve climbed the inside of the central structure, there will be the aforementioned second cluster of corruption crystals. Stand where they were (or are), turn to face the hole through which you climbed, and look up. There’s a stone on the back of the statue.
Stone of Mystics #24
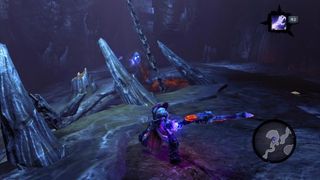
(Boneriven, 2nd fl) Not long after you climb to floor two, you should spot this crystal easily.
Boatman Coin #68
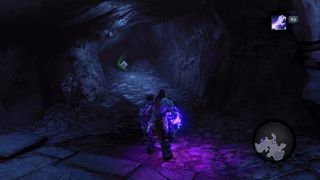
(Boneriven, 1st fl) This coin is in the northernmost nook of floor 1, just after the third gate.
Soul Arbiter’s Scroll #11
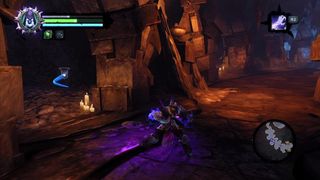
(Boneriven, 2nd fl) You’ll notice this scroll in one of the nooks as you head south.
Boatman Coin #69
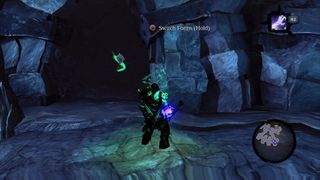
(Boneriven, 2nd fl) This coin is in the southernmost nook of floor 2.
Soul Arbiter’s Scroll #12
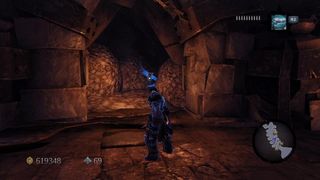
(Boneriven, 3rd fl) In the third-to-last nook on the right as you make your way south to the dungeon’s final room.
END of BACKTRACKING 4
Sign up to the 12DOVE Newsletter
Weekly digests, tales from the communities you love, and more


