Dark Souls Remastered full walkthrough guide: every area, boss, secret and more
Survival tips for Dark Souls Remastered - how to beat the game from start to finish
Dark Souls Remastered full walkthrough: LOST IZALITH
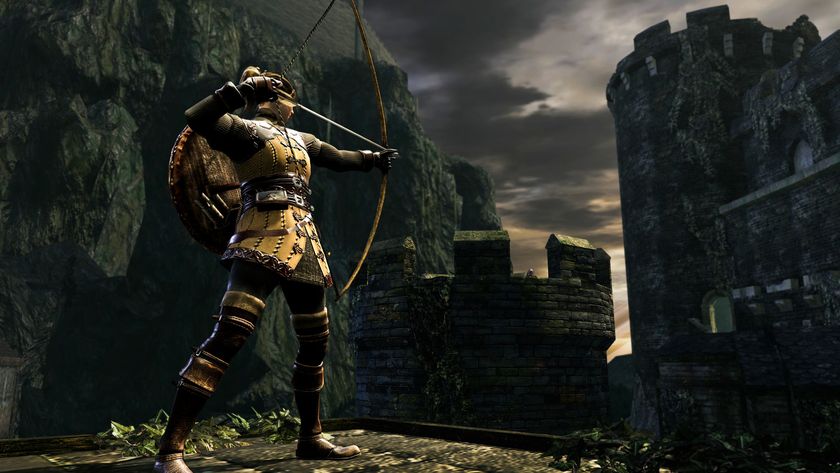
Walk forward through the lava and onto the root. Follow this into Lost Izalith. You’ll soon come upon some of the most daunting and intimidating enemies in the game: the Bounding Demons of Izalith. These dinosaurs are very difficult to face from close range, so it is highly suggested you take them out with a strong bow. In fact, if you don’t have a decent bow and about 200-300 arrows, go shopping now. The Bounding Demons do not respawn.

Using your bow, lure as many Demons as you can to this area where you’re standing on the root. They cannot proceed past a certain point, and will stagnate while you kill them with arrows/spells/Pyromancy. You can use this method to kill at least five of the demons from this initial spot.
Drop off this root and look off to your right. In the distance you’ll see two towers. These are your destinations. If you took out as many of the demons as you could from the root, or are wearing the Fog Ring, you can make it to the first tower unnoticed.
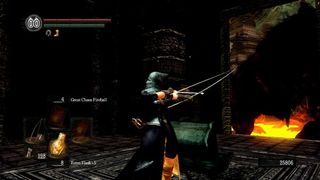
From inside, you can use the walls and ceiling as protection as you battle with more of the Bounding Demons. Even though there is only one door, use this opportunity to clear out as many of the demons as possible.
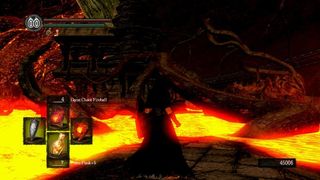
Exit the first tower and look for a root that you can walk on about halfway to the second tower. Follow it up to find Twin Humanities, as well as an excellent perch. From that perch and the upper level of the tower, you can take out all of the remaining Bounding Demons (at least the ones that are close enough to pose a threat) using arrows.
Once you’re clear, drop down. One of the walls of this tower is illusory. Strike it with a weapon to reveal a bonfire. This is the last bonfire before the boss, so consider kindling.
From the bonfire, exit the tower and look straight ahead for a root that you can use to climb up into the central structure (pictured above). Follow this into an area full of Demonic Statues. Continue on until you see stairs to your right. Take them up to face a Chaos Eater. These are easy to defeat via the circle-strafe method. It’s important to note that they are the only enemy that drops Red Titanite Slabs, though the chance is very slim.
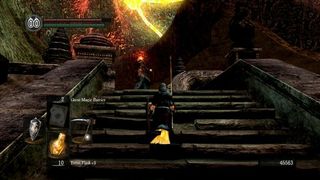
Continue on and pass through into small tower. There are a few paths to take upon exiting, but for right now let’s head up the stairs. Be prepared to take on a Pyromancer. Try to lure her down the steps and fight near the tower. She drops an Izalith Catalyst.
Proceed up the steps and, if you’ve fought him twice before, Kirk will invade one last time. Defeat him for his Barbed Straight Sword. (If you return to the Daughter of Chaos bonfire, you can find his Armor of Thorns set on his corpse, which is now near a wall.) Continue forward (the fog door to your left) and down the stairs. Take out the Choas Eater and open the chest behind it to find Pyromancy: Chaos Fire Whip.
Go back into the small dark tower and turn around. This time, take the root leading into the area below. Once in the middle of the area, you’ll have two options: right or left. Heading right leads to the shortcut between Lost Izalith and the Demon Ruins, which can be opened (or already is) if you are a level 2 member of the Chaos Servant Covenant.
We’re going left for now. The floor will break and you’ll fall into a new area. We suggest you equip the Rusted Iron Ring and equipment that is resistant to poison. Once you fall, you’ll notice another pit in front of you. Siegmeyer should be standing on the other side (if you’ve been following this walkthrough), so go over to him.
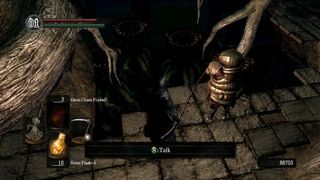
When you speak to him, he offers to help fight the Chaos Eaters below. This next part is tricky. In order to see his storyline all the way through, he must survive this battle with at least half of his health remaining. To make this easier, you can kill three of the four Chaos Eaters using a bow before speaking to Siegmeyer. Also, make sure to have your Rusted Iron Ring equipped before dropping down and don't hit Siegmeyer with any of your own attacks! If you meet the above requirement, go back (when you can) to Firelink Shrine and speak to Siegmeyer’s daughter. You can then find them both near the beach bonfire in Ash Lake, where you will be awarded a Titanite Slab.
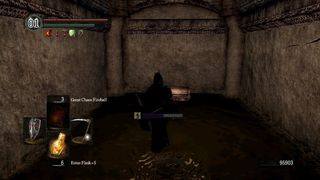
While you are in this poisonous pit, look for a chest containing a Red Titanite Slab. Then look for stairs leading up and out. Use the roots to escape or just use a Homeward Bone. When you’re ready, head through the fog door you saw earlier.
BOSS – BED OF CHAOS
You are required to run to both sides of the Bed of Chaos, break through the dead roots, and destroy the two living roots. Only then will you have access to the small creature at its center. Unlike other bosses, progress saves even if you die (so if you destroy one root, die, and return, the root will remain destroyed).
As soon as you land, run to the left (or right, your choice), sticking as close to the wall as possible to avoid the bed’s sweep attack. The orb protecting the heart is not physical, so walk (or roll) right through and strike the root. It's at this point that we recommend using a Homeward Bone or the Homeward Miracle to warp out of the room. Once you return, you’ll only have to make half the journey to the other side of the bed, as opposed to the full semi-circular run. Note that you can also quit the game after destroying the first root and you’ll reload outside the fog door.
Getting to the second root is harder. The floor will be crumbling away, and the newly grown scythe limb will be attacking you along with the normal sweep attack. It’s also harder to stay out of range of the sweeping attacks, as the holes in the ground won’t let you hug the wall like before.
As such, move slowly towards the bed and to the right, waiting for the sweep attack. Then sprint along the inside circle (as opposed to hugging the outside wall) and you should be able to make it to the second root without taking any damage.
Now for the center. From where you drop into the room, go straight ahead. Wait for the boss’s swipe attacks, then run forward and onto the root in the hole (which will be created once you get close enough) right in front of the boss. Note that if you fall as opposed to jump, you should aim a bit to the right, as the root is curved. Continue into the belly of the beast and destroy the red bug at the center. Use the bonfire that appears to warp out.
OPTIONAL: If you revisit Quelaana in Blighttown, she’ll give you Pyromancy: Fire Tempest as a reward for defeating the Bed of Chaos.
Jump to Section
- Firelink Shrine
- Undead Burg part 1
- Undead Burg part 2
- Undead Parish part 1
- Undead Parish part 2 (First Bell)
- (OP) Grinding for Souls & Finding Goodies in Darkroot Garden
- Lower Undead Burg
- (OP) Returning to the Undead Asylum
- The Depths
- Blighttown
- (OP) Exploring Blighttown's Swamp
- (OP) Undead Dragon & Valley of the Drakes
- Quelaag's Domain (Second Bell)
- (OP) Moonlight Butterfly & the Divine Ember
- (OP) Darkroot Basin, the Hydra, and Dusk
- Sen's Fortress part 1
- Sen's Fortress part 2
- Anor Londo part 1
- (OP) Painted World of Ariamis part 1
- (OP) Painted World of Ariamis part 2
- Anor Londo part 2
- Return to Firelink Shrine & Placing the Lordvessel
- Sif and the Darkroot Garden
- New Londo Ruins
- The Catacombs
- Tomb of the Giants part 1
- Tomb of the Giants part 2
- (OP) Dark Sun Gwyndolin & the Blade of the Darkmoon Covenant
- Duke's Archives
- Crystal Cave
- Demon Ruins part 1
- Demon Ruins part 2
- (OP) Great Hollow & Ash Lake
- (OP) Sanctuary Garden (New Content)
- (OP) Oolacile Sanctuary & Royal Wood (New Content)
- (OP) Oolacile Township (New Content)
- (OP) Chasm of the Abyss (New Content)
- (OP) Black Dragon Kalameet (New Content)
- Kiln of the First Flame & Gwyn, Lord of Cinder
Current page: Dark Souls: Lost Izalith
Prev Page Dark Souls: Great Hollow and Ash Lake (Optional) Next Page Dark Souls: Sanctuary Garden (Optional)Sign up to the 12DOVE Newsletter
Weekly digests, tales from the communities you love, and more
Dark Souls Remastered seamless co-op is officially coming from the creator behind the same Elden Ring mod, and it's set to include everything from PvP to scaling

There's a whole world of Dark Souls-style lore hidden in this series of dress-up games, and I bet you can't tell which is which

