Dark Souls Remastered full walkthrough guide: every area, boss, secret and more
Survival tips for Dark Souls Remastered - how to beat the game from start to finish
Dark Souls Remastered full walkthrough: SEN'S FORTRESS PART 1
Access Sen’s Fortress from the bonfire in Andrei the Blacksmith’s tower in the Undead Parish. Actually, now that you should have two embers (the Large Ember and the Divine Ember), give them both to Andrei and consider upgrading your equipment. At this point, we were at level 50 using an enhanced Black Knight Sword.
From the bonfire look for an door leading out to a long bridge connected to the massive structure known as Sen’s Fortress. Ringing the bells will have opened the gate, so head there now.
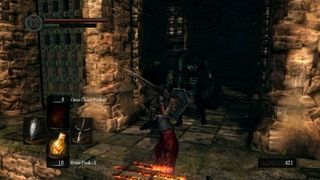
Immediately upon entering, watch out for the raised floor tile. This triggers an arrow trap that fires from the steps directly in front of you. There are also two Serpent Soldiers in this room who can be lured out one by one if you advance slowly enough. Continue on until you reach the bridge of swinging axe traps.
OPTIONAL: If you look down, you’ll notice a large tar pit and a Titanite Demon. This isn’t the only Titanite Demon down there, so be ready to take on several (individually, thank goodness) if you want the treasures and the potential Demon Titanite drops that lie at this level. If you cannot survive the fall, consider using Fall Control. Also make sure to have the Rusted Iron Ring equipped.
Take your time here, but keep your shield up. You’ll eventually get shot at from high to your left by a Serpent Mage. If you don’t have a bow or spell to deal with him from a distance, simply block his bolts (the Eagle Shield works well) and continue until you are directly underneath the bridge running perpendicular to the one you’re one. Take out the soldier here, finish crossing the bridge, then head left and up the stairs.You’ll now have to cross another bridge and deal with the mage (if you haven’t already).
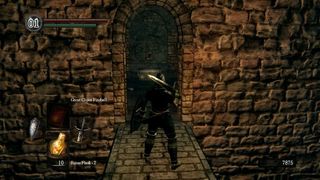
Watch out for the floor trap in the room at the end of the bridge (it's in front of the treasure chest). Just like the first one you encountered, stepping on it fires arrows from the wall in front of you.
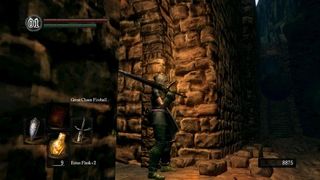
Continue on across another short bridge, but before you pass through the next doorway, be wary of a massive boulder that rolls by on the other side every few seconds. Stand in the doorway and face left so that you can see the boulder coming. As soon as it passes, dash towards the stairs and look for a recess on your left. There’s a fog door here, but don’t pass through it just yet. Instead, continue up the stairs. Inside the room at the top of the stairs you’ll find a chest containing a Ring of Steel Protection, which boosts your physical defense significantly.
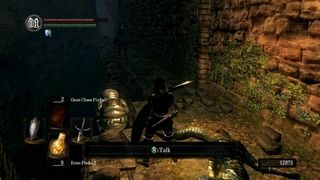
Now go back and stand at the top of the stairs. Instead of going down and through the fog door to your right, drop off the left side of the stairs. If you fall from the top of the stairs, you’ll land near a corpse holding a curved blade called Shotel. Drop down to the next level and you’ll find Seigmeyer of Catarina, who was previously sitting outside Sen’s Fotress until the gate was opened. Speak to him a few times, then run to the end of the path, back up the slope, and through the fog door.
Be careful of another floor trap in the narrow hallway. Staying to the left or right will keep you safe from the arrows. At the top of the short flight of stairs, you’ll have to deal with more rolling boulders. Turn right so that you can see the boulders coming down the stairs. Once one of them passes, quickly go up the stairs, but instead of heading through the door to your right, drop off the ledge to your left (you may have to roll to get over the small curb).
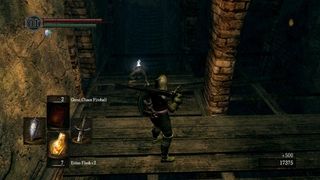
You’ll now be on some wooden planks with a Serpent Mage. Take it out, then loot the nearby corpse. Go through the door nearest the corpse. This leads you to the Black Sorcerer Armor set and the spell Hush.Open the metal door above you, then return to the wooden planks. Proceed through the hole in the wall and through the broken metal bars. In this area, you can find the Slumbering Dragoncrest Ring on a corpse near the edge. This ring silences your movements completely.
The only safe return from here is to drop onto the bridge below. Backtrack through the fog door and return to the second rolling boulder section. This time you want to take the stairs all the way down and enter a small room on your left. There’s a chest in here - but this is no ordinary chest. This is a Mimic. Do not try to open it. Instead, attack it, then engage it like a normal enemy, being extra careful not to get hit by its slow grab attack. It will drop a Lightning Spear: a very powerful weapon at this point in the game (especially considering you can attack with it while your shield is raised). Use the nearby elevator to return. Make sure to step off as soon as it stops, or it will continue up and into a set of ceiling spikes.

Walk up the stairs through the metal gate and stop once you’re on a narrow bridge. Look right. Drop down and run up these stairs to reach the boulder control room. Push the lever into the position shown. This routes the boulders down to where you may remember seeing a Serpent Soldier resting against a wall. Once a boulder or two has gone in this direction, turn the lever away and follow the path down to where that Soldier was resting. The boulders will have created a hole in the wall.
Through that hole, you’ll find the sorcerer Big Hat Logan in a hanging cage on your right. You need the Master Key (or return after getting the Cage Key) to free him. He’ll head back to Firelink Shrine, where he will sell you spells. Grab the Soul of a Hero from the other cage.
Jump to Section
- Firelink Shrine
- Undead Burg part 1
- Undead Burg part 2
- Undead Parish part 1
- Undead Parish part 2 (First Bell)
- (OP) Grinding for Souls & Finding Goodies in Darkroot Garden
- Lower Undead Burg
- (OP) Returning to the Undead Asylum
- The Depths
- Blighttown
- (OP) Exploring Blighttown's Swamp
- (OP) Undead Dragon & Valley of the Drakes
- Quelaag's Domain (Second Bell)
- (OP) Moonlight Butterfly & the Divine Ember
- (OP) Darkroot Basin, the Hydra, and Dusk
- Sen's Fortress part 2
- Anor Londo part 1
- (OP) Painted World of Ariamis part 1
- (OP) Painted World of Ariamis part 2
- Anor Londo part 2
- Return to Firelink Shrine & Placing the Lordvessel
- Sif and the Darkroot Garden
- New Londo Ruins
- The Catacombs
- Tomb of the Giants part 1
- Tomb of the Giants part 2
- (OP) Dark Sun Gwyndolin & the Blade of the Darkmoon Covenant
- Duke's Archives
- Crystal Cave
- Demon Ruins part 1
- Demon Ruins part 2
- (OP) Great Hollow & Ash Lake
- Lost Izalith
- (OP) Sanctuary Garden (New Content)
- (OP) Oolacile Sanctuary & Royal Wood (New Content)
- (OP) Oolacile Township (New Content)
- (OP) Chasm of the Abyss (New Content)
- (OP) Black Dragon Kalameet (New Content)
- Kiln of the First Flame & Gwyn, Lord of Cinder
Current page: Dark Souls: Sen's Fortress Part 1
Prev Page Dark Souls: Darkroot Basin, The Hydra, and Dusk (Optional) Next Page Dark Souls: Sen's Fortress Part 2Sign up to the 12DOVE Newsletter
Weekly digests, tales from the communities you love, and more
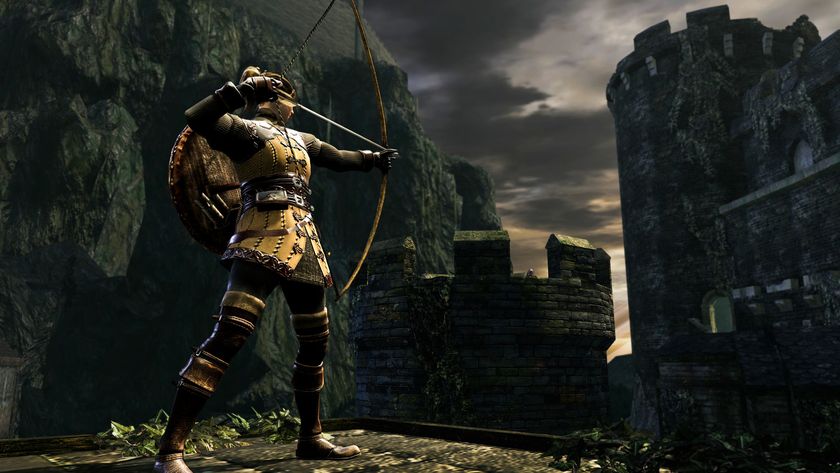
Dark Souls Remastered seamless co-op is officially coming from the creator behind the same Elden Ring mod, and it's set to include everything from PvP to scaling
There's a whole world of Dark Souls-style lore hidden in this series of dress-up games, and I bet you can't tell which is which

